
Breeze L4-2.4L VIN X (2000)
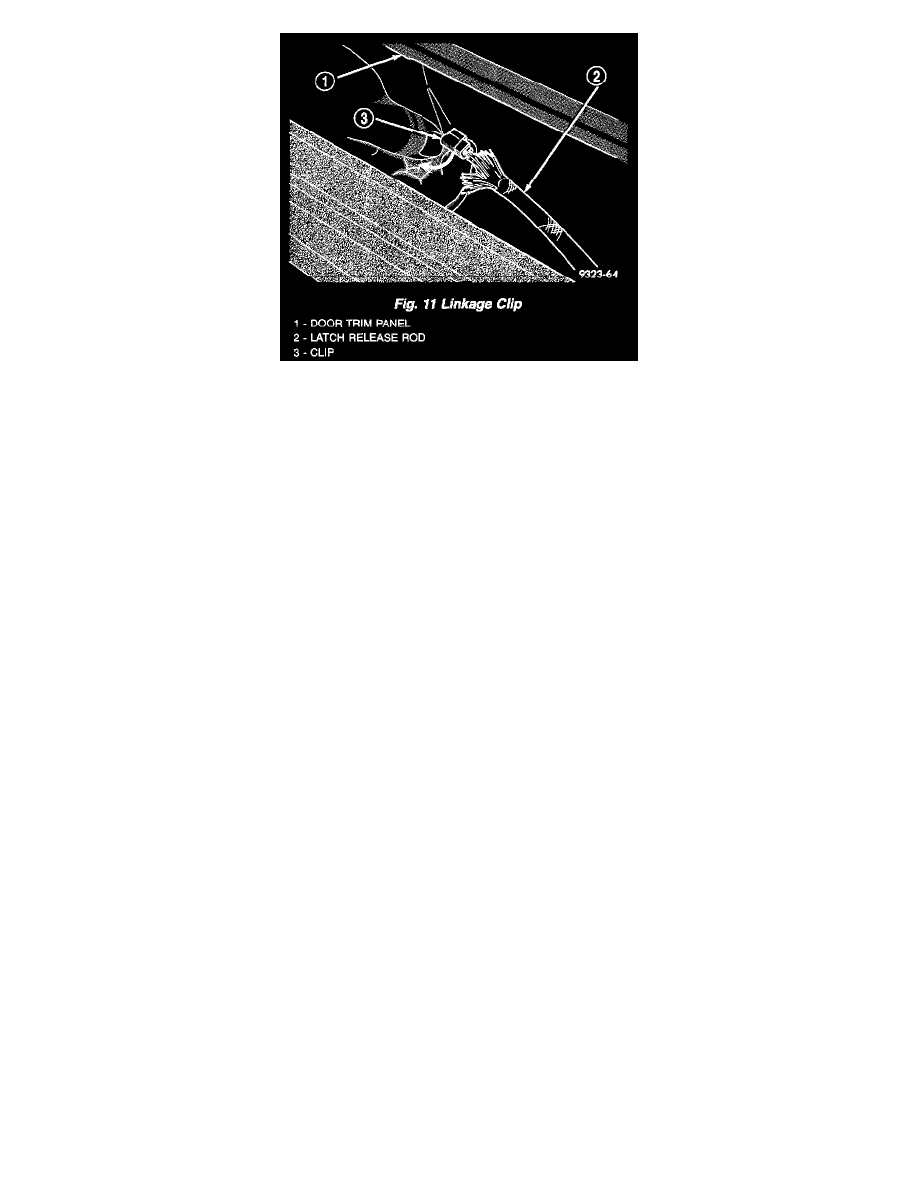
Fig.11 Linkage Clip
14. Disengage clip holding latch linkage to back of release handle.
15. Remove door trim panel from vehicle.
INSTALLATION
1. Replace the clips attaching trim panel to perimeter of door.
2. Connect main harness at door opening.
3. Position door trim panel next to door.
4. Engage clip holding latch linkage to back of release handle.
5. Position door trim panel on vehicle.
6. Engage trim panel to upper retainer channel.
7. Engage clips holding trim panel to perimeter of door.
8. Install screw attaching door latch handle to door panel.
9. Install screw cap from behind inside door handle.
10. Install screw attaching arm rest pull cup to support bracket behind trim panel.
11. Install screw cap from bottom of arm rest pull cup.
12. Install screws attaching door trim panel to door from around speaker opening.
13. Engage clips attaching speaker grille to trim panel.
14. Install window crank handle, if so equipped.
15. Connect battery.
Lower Quarter Trim Panel
LOWER QUARTER TRIM
REMOVAL
1. Remove upper quarter trim panels and position them out of the way.
2. Remove rear seat side bolster or seat back.
3. Remove rear door sill plate.
4. Remove screw attaching lower quarter trim to inner quarter panel.