
Breeze L4-2.4L VIN X (2000)
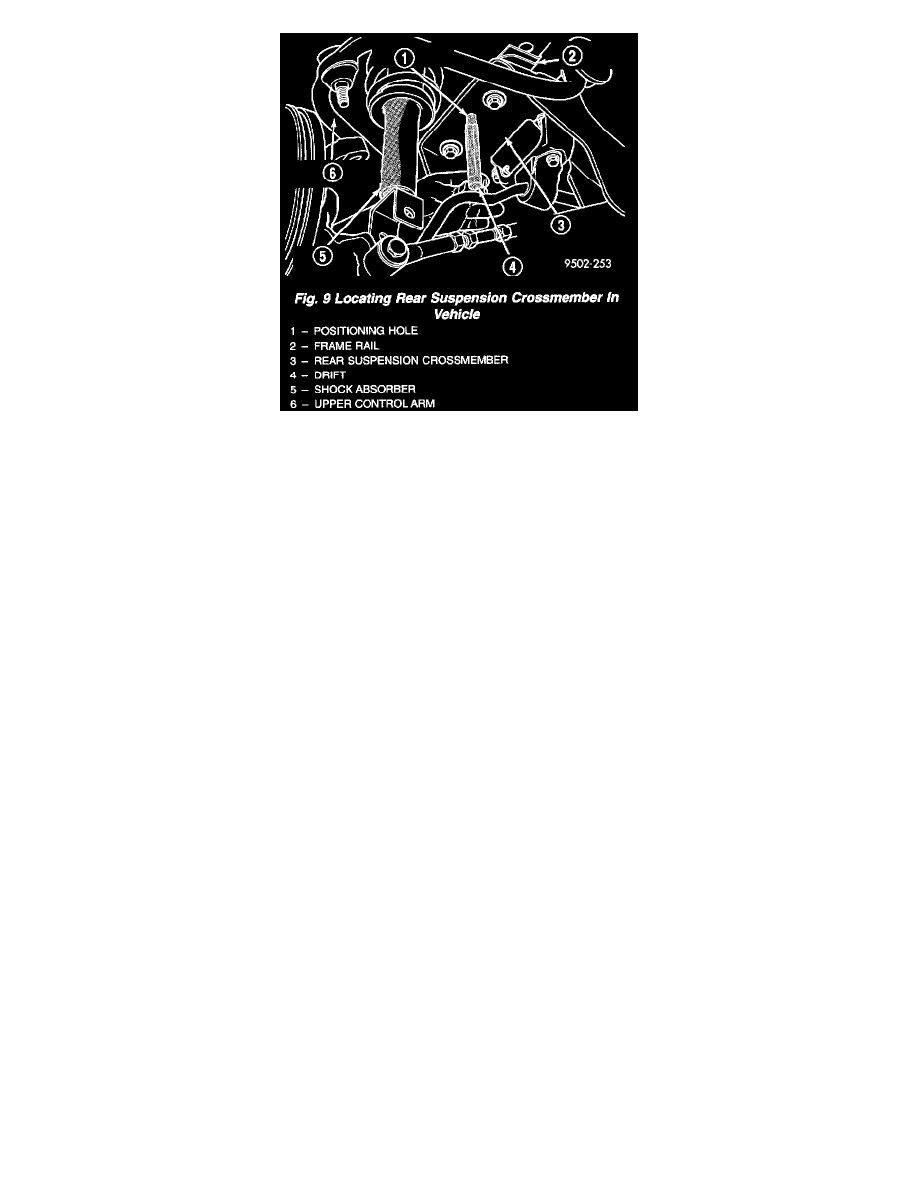
Fig. 9
5. Position a drift of the appropriate size into the positioning hole in each side of rear suspension crossmember and locating holes in the frame rail of
the body. (Fig. 9). This is required to properly position rear suspension crossmember side-to-side and front- to-rear in the body of the vehicle.
Then tighten the 4 crossmember to frame rail attaching bolts to 95 N.m (70 ft.lbs.) torque. Remove drifts from rear suspension crossmember.
6. Align lateral links with knuckles and install the lateral arm to knuckle attaching bolts. Tighten the 4 lateral arm to spindle attaching bolts to 95
N.m (70 ft.lbs.) torque.
7. Remove transmission jack supporting rear suspension crossmember.
8. Install muffler support bracket on rear frame rail (Fig. 3). Install rear exhaust pipe hanger on rear suspension crossmember (Fig. 4).
9. If vehicle is equipped with antilock brakes, install the wheel speed sensor cable routing clip on upper control arm mounting bracket (Fig. 6). Install
and securely tighten attaching bolt.
10. Install wheel and tire assembly on vehicle. Tighten the wheel mounting stud nuts in proper sequence until all nuts are torqued to half specification.
Then repeat the tightening sequence to the full specified 129 N.m (95 ft.lbs.) torque.
11. Lower vehicle to the ground.
12. Check and reset if required, rear wheel alignment to meet the preferred specifications.