
Breeze L4-2.4L VIN X (2000)
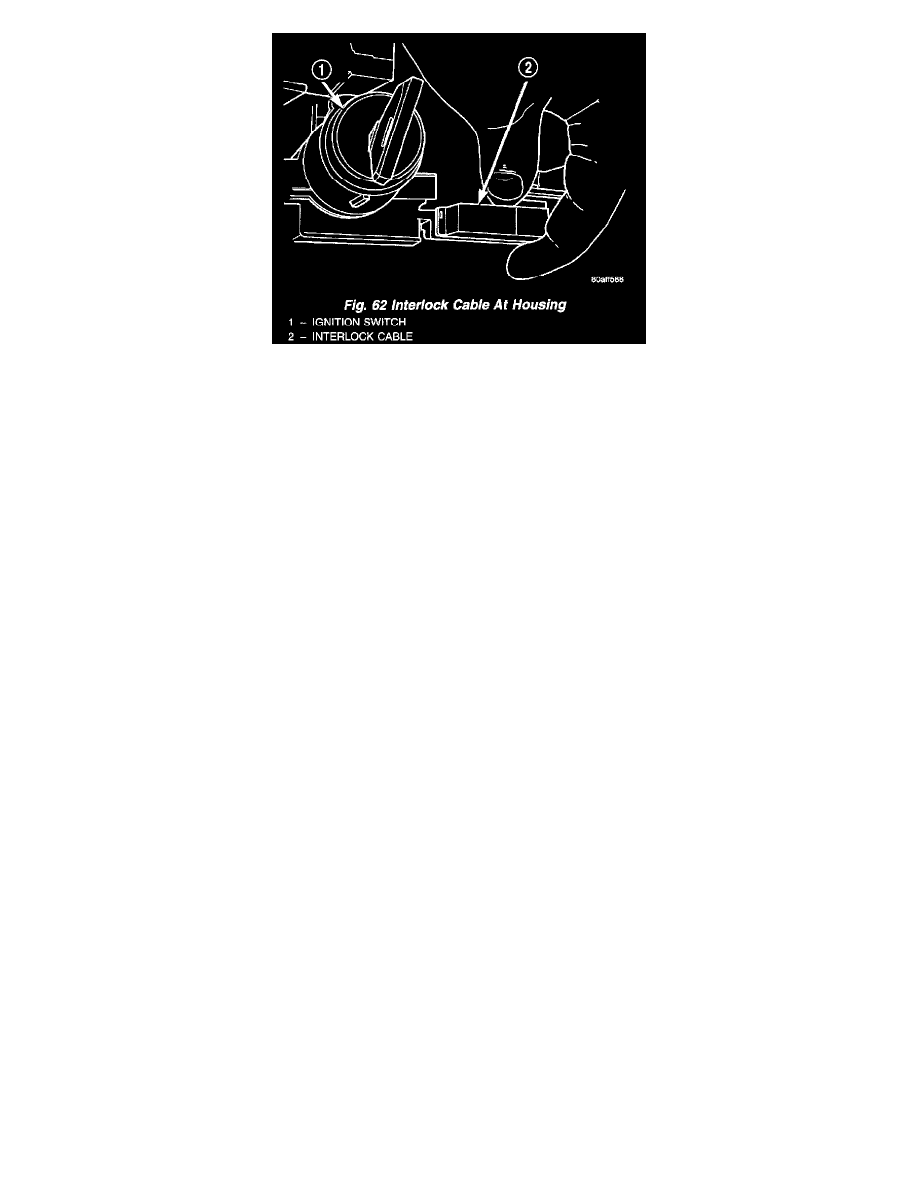
Fig. 62
3. Install the interlock cable into the interlock housing at the steering column (Fig. 62). Verify the cable snaps into the housing.
4. Install nylon cable retainer to lower column mounting stud.
5. Connect solenoid connector.
6. Insert interlock cable core wire into interlock adjustment lever groove. Make sure the interlock cable slug is seated in the groove (Fig. 52).
7. Insert interlock cable adjuster end into bracket and snap into place (Fig. 52).
NOTE: The Interlock Cable MUST be adjusted.
CAUTION: When installing forward console, the console will contact nylon shift release plunger (Fig. 50). If care is not used, plunger may
break, requiring shifter assembly replacement.
8. Install the forward IP console (front).
9. Install the floor console (rear).
10. Install the gearshift knob and tighten set screw (Fig. 49) to 2 Nm (20 inch lbs.).
11. Tilt wheel to full down position and install upper steering column shroud.
12. Hold tilt wheel lever down and slide lower shroud in at column.
13. Install screws at lower steering column shroud.
14. Install lower knee bo1ster screws and knee bo1ster.
15. Install screws holding instrument panel top cover to center of instrument panel.
16. Install center bezel.
17. Install screw holding end of instrument panel top cover. Install fuse panel cover from left end of instrument panel.
18. Connect the battery negative cable.