
Breeze L4-2.4L VIN X (2000)
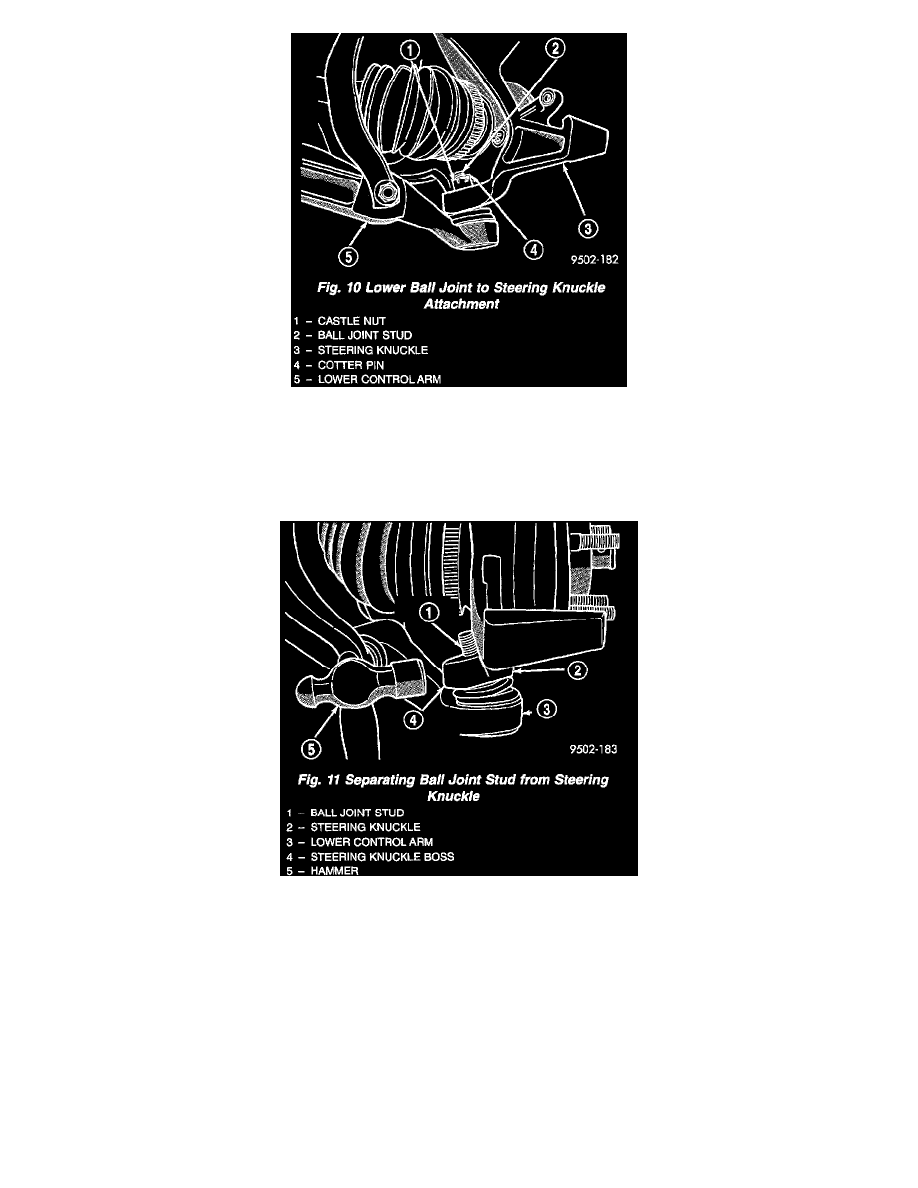
Fig. 10
12. Remove cotter pin and castle nut (Fig. 10) from stud of lower ball joint at the steering knuckle.
CAUTION: No tool is to be inserted between the steering knuckle and the lower ball joint to separate stud of lower ball joint from the steering
knuckle. The steering knuckle is to be separated from the stud of the ball joint only using the procedure as described in Step 13.
Fig. 11
13. Turn steering knuckle so the front of the steering knuckle is facing as far outboard in the wheel well as possible. Using a hammer strike steering
knuckle boss until steering knuckle separates from stud of lower ball joint (Fig. 11). When striking steering knuckle, care MUST he taken not to
hit lower control arm or ball joint grease seal.
NOTE: Care must be taken not to separate the inner C/V joint during this operation. Do not allow driveshaft to hang by inner C/V joint.
Driveshaft must be supported.