
Colt Vista 2WD L4-1997cc 2.0L SOHC (1984)
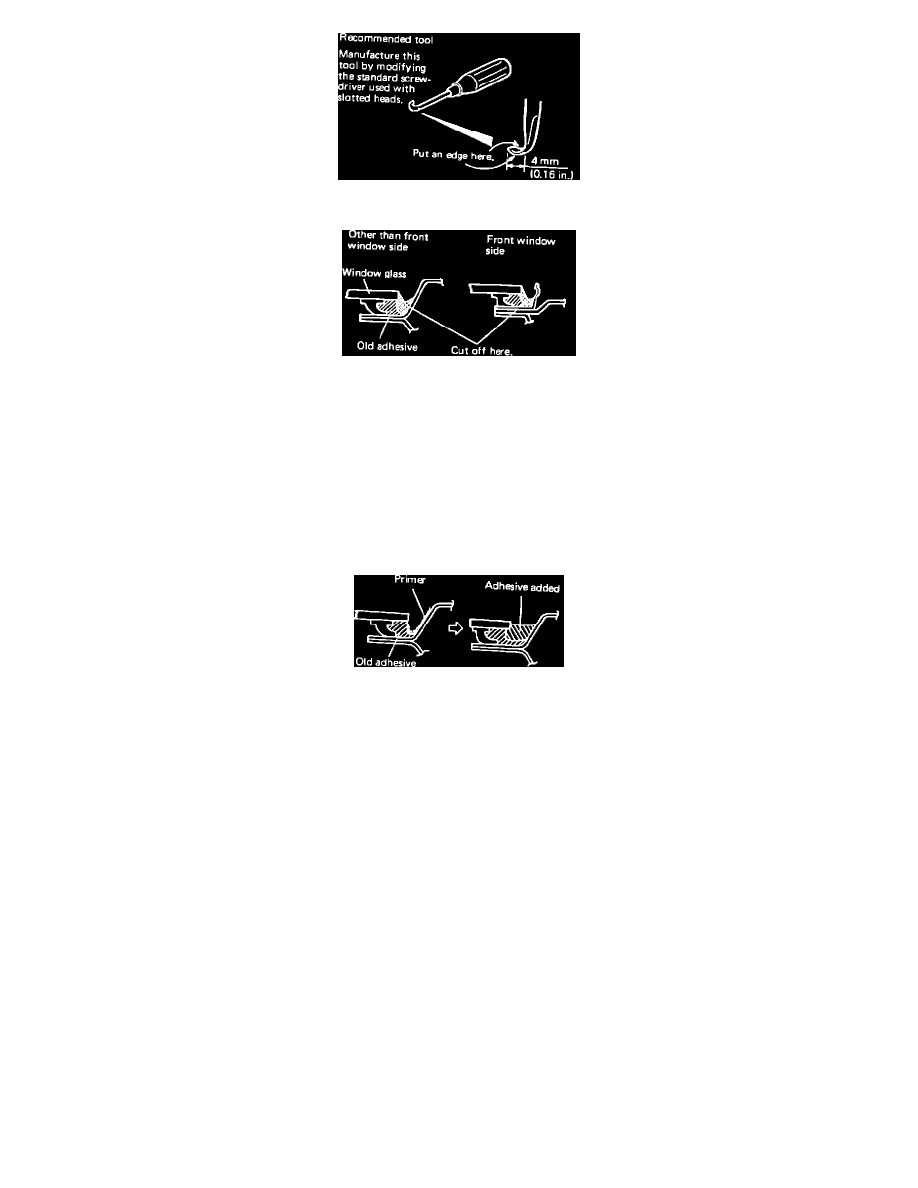
FIGURE 2
FIGURE 3
3.
Using a tool made from an old screwdriver (Figure 2), scrape off old adhesive until a uniform surface is obtained (Figure 3).
CAUTION: USE EXTREME CARE NOT TO DAMAGE ANY PAINTED SURFACE DURING THIS OPERATION. IF ANY PAINT IS
DAMAGED IT MUST BE REPAIRED BEFORE PROCEEDING.
Installation
1.
Position new moulding onto vehicle to be sure that it fits properly. Remove moulding.
2.
Clean old adhesive contact area and underside of moulding with naptha.
FIGURE 4
3.
Apply primer and adhesive to the old adhesive (Figure 4).
4.
Apply adhesive to the new moulding and the new corner joint mouldings.
5.
Install mouldings.
6.
Clean any excess adhesive from area using scraper and cloth moistened with naptha.