
Colt Vista 2WD L4-2350cc 2.4L SOHC (1993)
6.
Remove the screw from link "B" and remove the link.
7.
Remove the defroster lever and discard.
CAUTION:
USE A SCREWDRIVER TO UNLOCK THE TAB ON THE LEVER BEFORE REMOVING THE LEVER. (SEE FIGURE 2A)
8.
Install the new defroster lever.
9.
Install the "B" link and screw.
10.
Install the "A" link and screw.
11.
Install the heater control wire.
12.
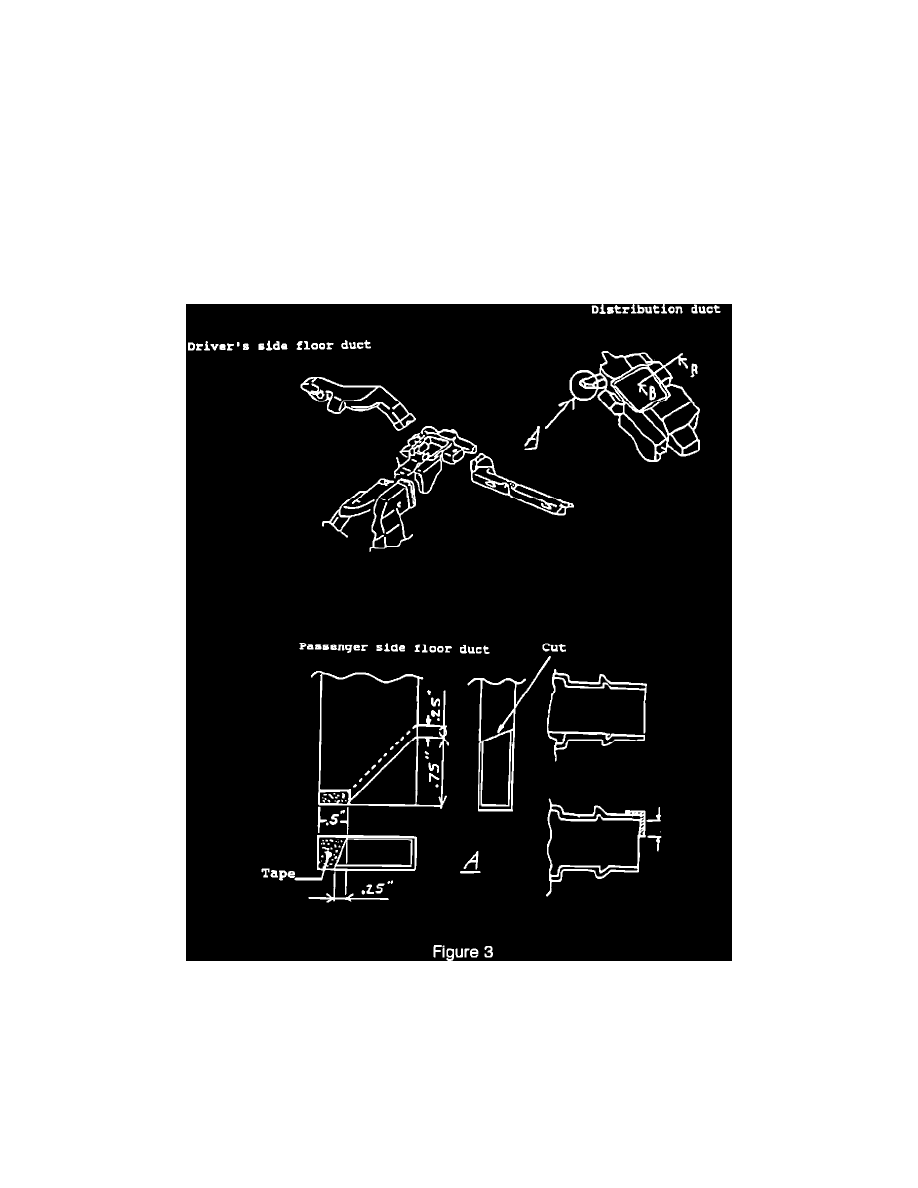
Modify the air outlet of the distribution duct by using a cutter and tape as shown in Figure 3.
13.
Modify, or replace the drivers side floor air duct. If replacing, replace with MB609838. If modifying, continue with the following procedure.