
Colt Vista 2WD L4-2350cc 2.4L SOHC (1993)
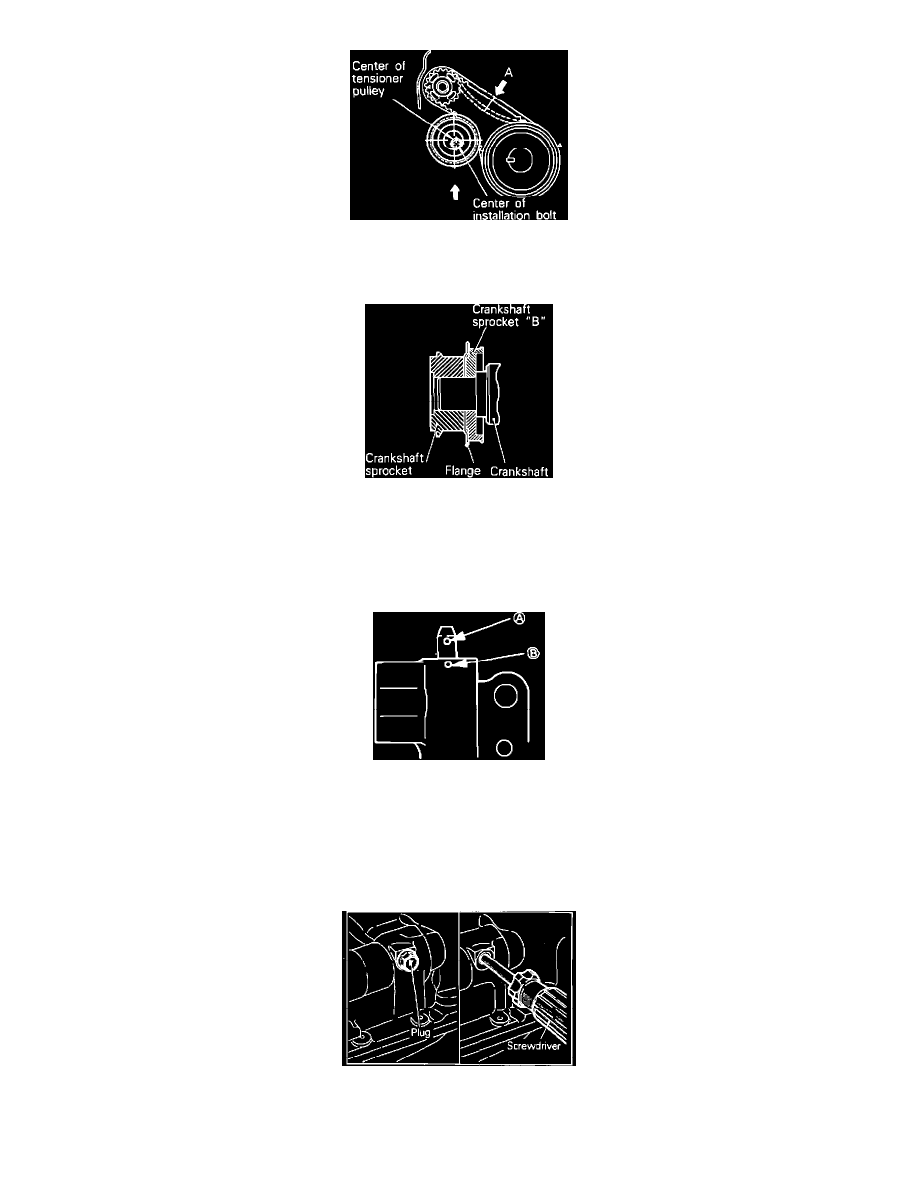
Fig. 44 Checking timing belt B tension. 1993-94 2.4L/4-143.5 engine
c. At the point marked ``A'' and ensure belt is within .20-.28 inch when depressed for correct tension, Fig. 44.
Fig. 45 Crankshaft flange & sprocket installation. 1993-94 2.4L/4-143.5 engine
6.
Install crankshaft flange and pulley as shown in Fig. 45.
7.
Install auto tensioner as follows:
a. Keeping auto tensioner level clamp it in a soft jawed vise. If plug at bottom of tensioner protrudes, surround it with a washer to prevent
the plug from being in direct contact with the vise.
Fig. 46 Aligning tensioner set holes. 1993-94 2.4L/4-143.5 engine
b. Push in the rod slowly with vise until set holes are aligned, Fig. 46.
c. Insert a wire .055 inch in diameter into set holes and unclamp tensioner from vise.
d. Install tensioner keeping wire installed in set holes.
8.
Install tensioner pulley onto tensioner arm. Position the pinhole in tensioner pulley shaft to the left of the center bolt, then tighten center bolt finger
tight.
Fig. 41 Locking silent shaft. 1993-94 2.4L/4-143.5 engine
9.
Ensure timing marks are aligned and remove plug on side of engine block, Fig. 41. Insert a Phillips screwdriver into hole to block the left silent
shaft.