
Colt Vista 4WD L4-1997cc 2.0L SOHC (1985)
Lower Side Moulding / Trim: Technical Service Bulletins
Body Moulding - Replacement
Models
1985 Colt
Subject
Moulding Replacement
Index
BODY
Date
June 10, 1985
No..
23-14-85
P-2005-C
To service the adhesive-type side mouldings on subject model vehicles, use one of the following repair procedures.
REPAIR PROCEDURES
Removal (if new moulding is to be installed)
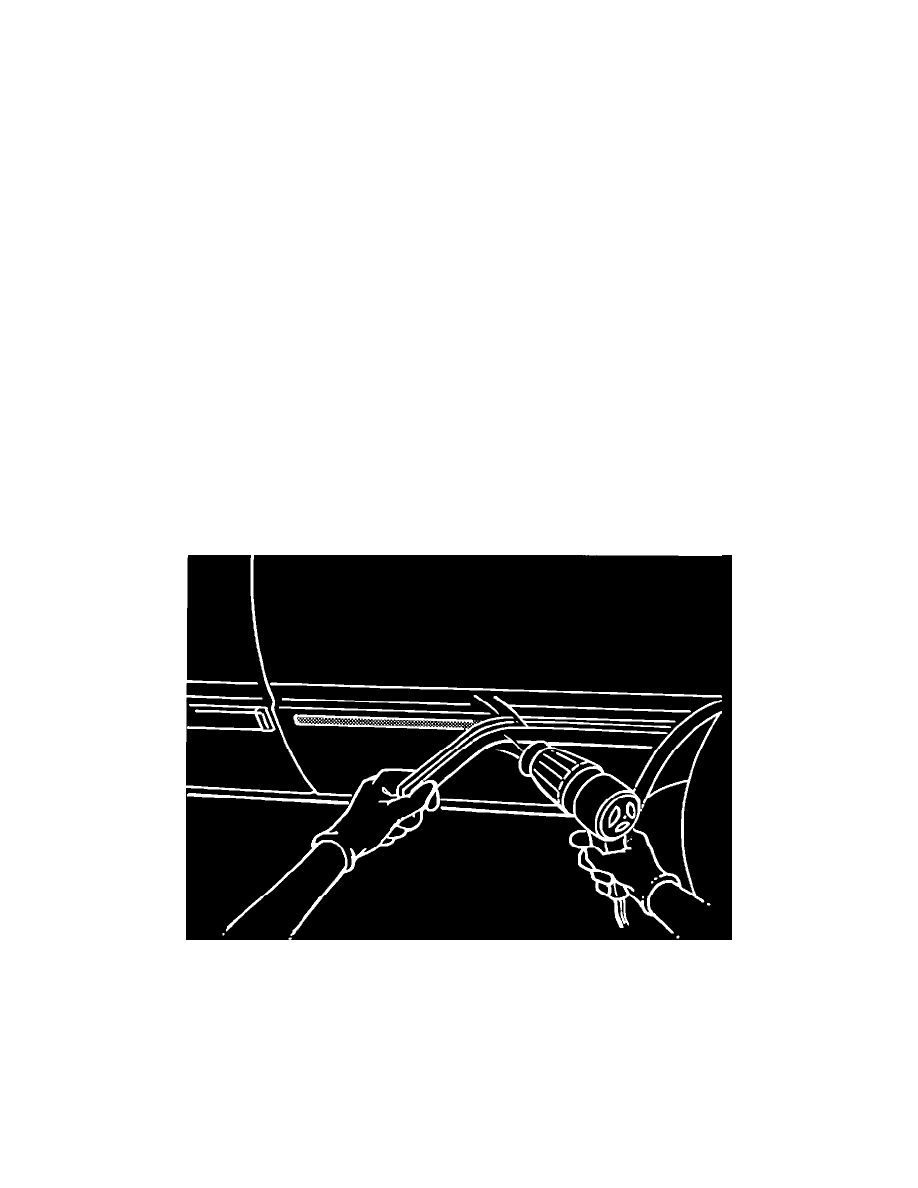
FIGURE 1 - Moulding Replacement
1.
Beginning at one end, heat moulding to 204~ to 238~F (60~ to 70~C) using heat gun (Miller Special Tool C-4342) or equivalent and carefully
peel moulding from vehicle (Figure 1). The wide moulding will have two strips of adhesive holding the moulding, which should be removed
simultaneously.
NOTE:
USE EXTREME CARE NOT TO DAMAGE VEHICLE PAINT BY USING EXCESSIVE HEAT.
2.
On standard width moulding remove remainder of the non-drying adhesive from the vehicle using Mopar Super Kleen or equivalent.
3.
Using a knife blade or equivalent, separate the remaining urethane adhesive from the vehicle.