
Colt Vista 4WD L4-1997cc 2.0L SOHC (1985)
2.
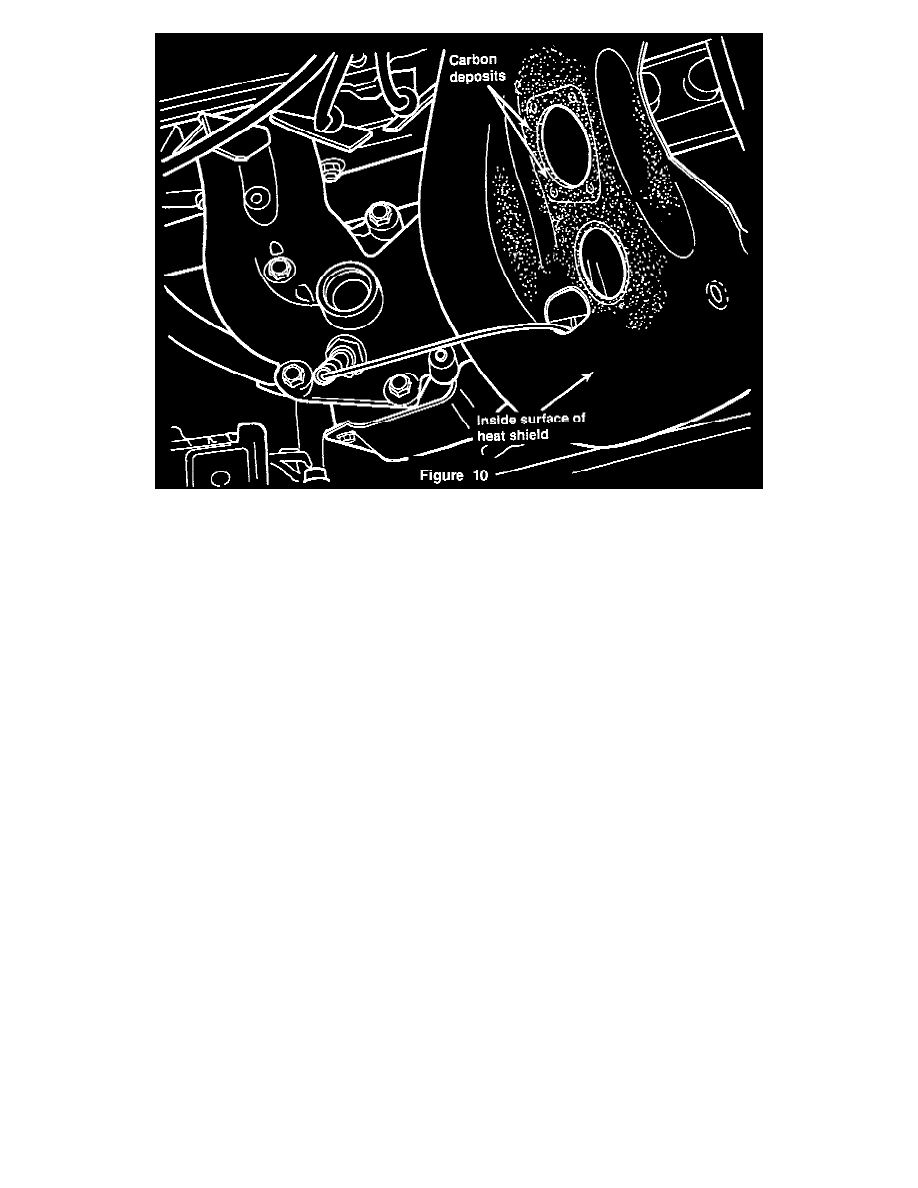
Visually inspect the inside of the heat shield for signs of exhaust leakage such as carbon deposits (Figure 10).
NOTE:
If the heat shield shows signs of exhaust leakage, discard the exhaust manifold and replace it in step E-12 with a new manifold from package
PN C3940377
3.
Remove the stud nuts attaching the exhaust manifold to the cylinder head.
4.
Remove the bolts se6uring the exhaust manifold to the catalyst case assembly.
5.
Slide the manifold and gasket off the studs and remove. Also remove the catalyst case gasket.
6.
Raise the vehicle on a hoist.
7.
Disconnect the front manifold mounted catalytic converter (MCC) from the exhaust pipe.
8.
Lower the vehicle.
9.
Remove the MCC.
10.
Transfer the heat shields from the old MCC to the new MCC.
11.
Install the new MCC on the exhaust pipe.
12.
Install the exhaust manifold on the studs. The original gaskets may be reused if the manifold is not replaced.
13.
Evenly tighten the exhaust manifold stud nuts to 13 ft-lbs (17 N.m) torque.
14.
Evenly tighten the bolts to the catalyst case to 24 ft-lbs (32 N.m) torque.
15.
If the exhaust manifold was replaced, transfer the oxygen sensor from the old manifold to the new manifold.
16.
Reinstall the heat shield and reconnect the oxygen sensor electrical connector. Reinstall the air injection tube.
17.
Raise the vehicle on a hoist.
18.
Tighten the nuts connecting the MCC and exhaust pipe to 25 ft-lbs (34 N.m) torque.