
Conquest L4-2555cc 2.6L SOHC Turbo (1984)
A.
Remove waste gate actuator.
B.
Remove the coupling band from exhaust to turbine housing. Remove exhaust turbine housing and inspect it for cracks or internal damage.
Replace as required (Figure 6).
C.
Index the compressor cover with a grease pencil using the oil supply hole as the reference point for the new turbine cartridge (Figure 6). With
the compressor cover facing down, remove the snap ring retaining the compressor cover using snap ring pliers. Tap the compressor cover all
around with a soft faced hammer (plastic or rubber) to separate the turbine cartridge from the compressor cover (Figure 7).
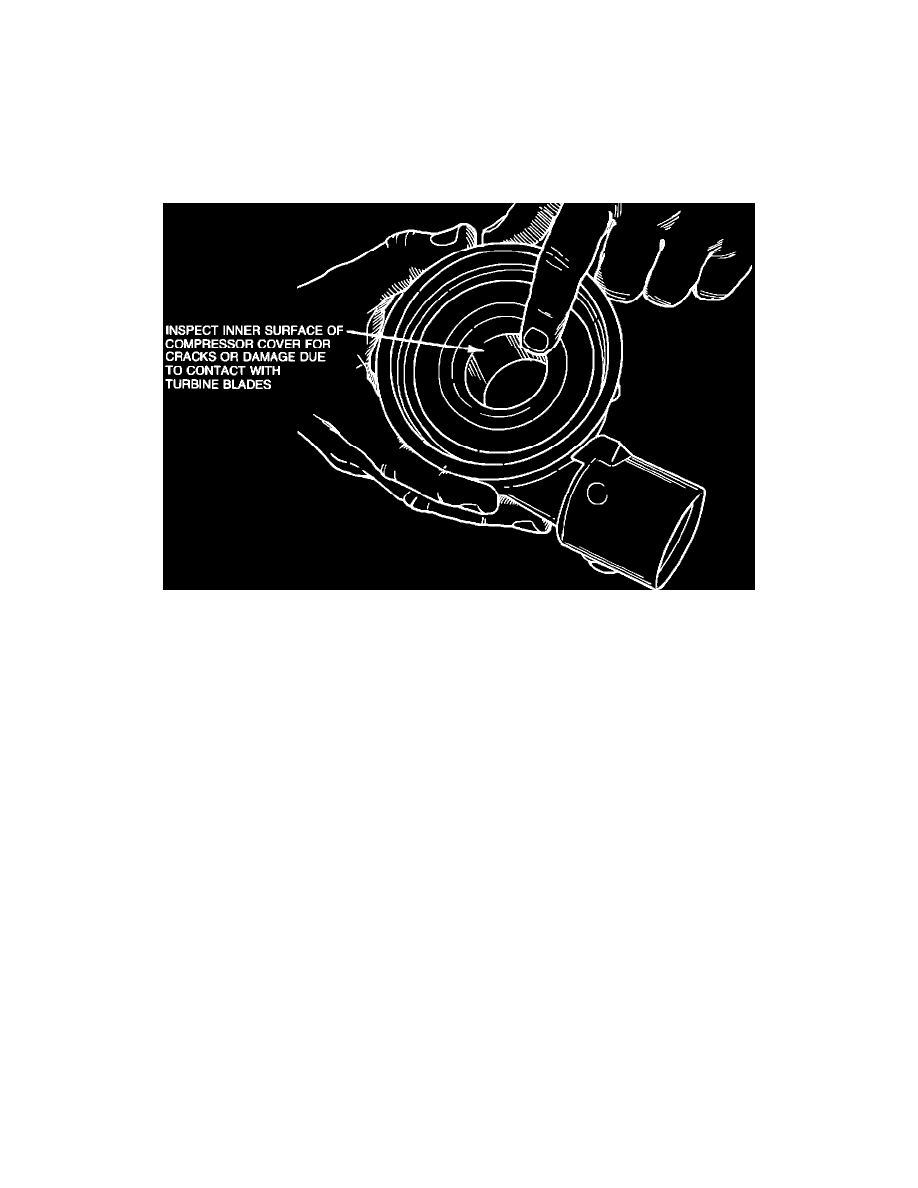
FIGURE 8 - Compressor Cover
Inspect inside of compressor cover for cracks or damage due to contact with turbine blades. Replace as required (Figure 8).
TURBO ASSEMBLY
CAUTION:
BE CAREFUL NOT TO DAMAGE THE TURBINE BLADES DURING HANDLING AND ASSEMBLY OF THE
REPLACEMENT TURBINE CARTRIDGE.
A.
Remove any carbon or fuel residue stains from the inner surfaces of the exhaust turbine and compressor cover with spray carburetor cleaner and a
brush. Blow dry and wipe off with a clean cloth.