
Gran Fury V8-318 5.2L VIN P 2-bbl (1983)
Ball Joint: Testing and Inspection
Lower Ball Joint
UPPER BALL JOINT
1. Position a suitable jack under lower control arm and raise wheel and tire assembly clear of floor, then remove wheel cover and wheel bearing dust
cover and cotter pin.
2. Tighten wheel bearing adjusting nut just enough to remove all play between hub, bearings and spindle.
3. Lower jack positioned under lower control arm to allow tire to lightly contact floor.
4. Grasp top of tire and move wheel and tire assembly inward and outward. While moving tire inward and outward, check for movement at ball joints
between steering knuckle and upper control arm.
5. If any lateral movement is present, the upper ball joint should be replaced.
6. After completing upper ball joint check, readjust wheel bearing as described under "Wheel Bearings, Adjust."
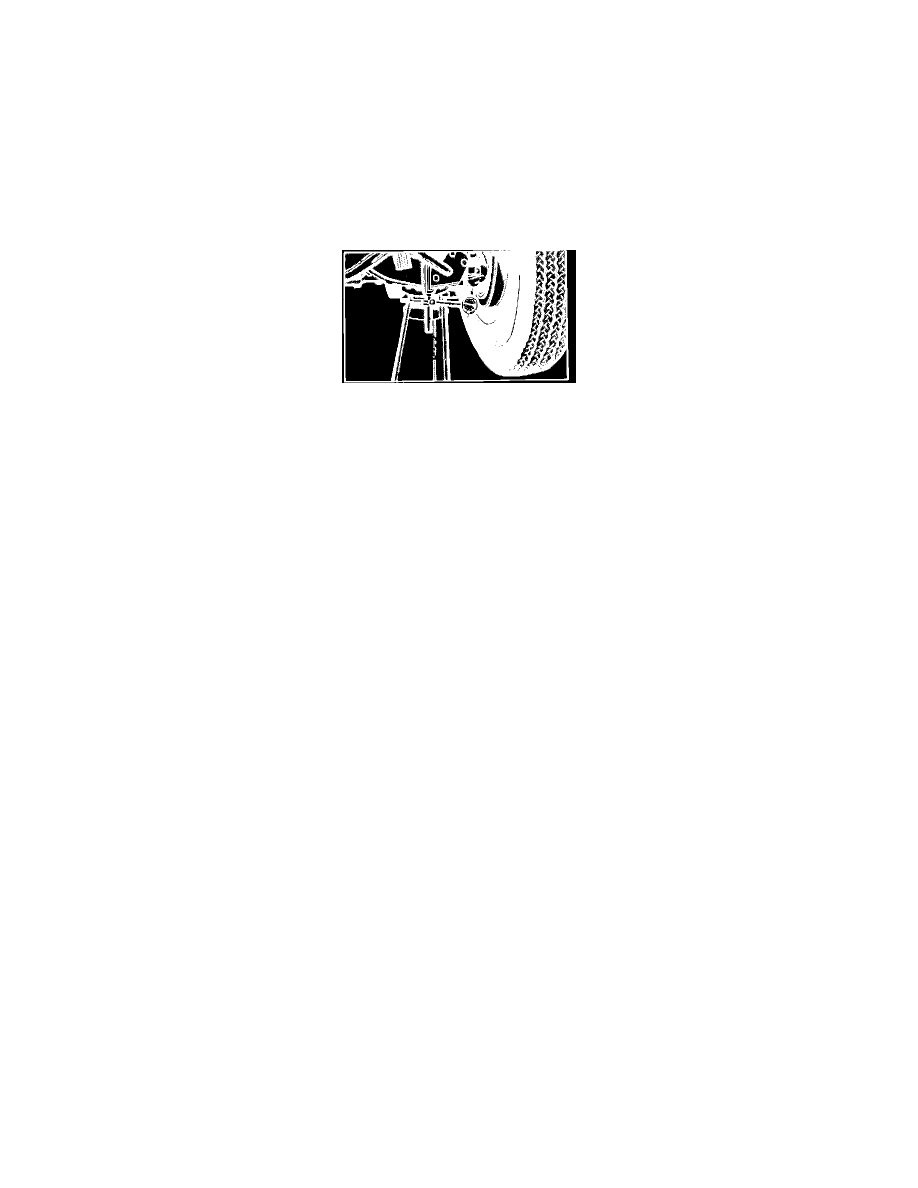
Fig. 5 Checking lower ball joint for wear
LOWER BALL JOINT
If loose ball joints are suspected, first make sure the front wheel bearings are properly adjusted and that the control arms are tight.
1. Raise front of vehicle and place jack stands underneath each lower control arm as far out as possible. The upper control arms must not contact
the rubber rebound bumpers.
2. With weight of vehicle on lower control arms, attach dial indicator onto lower control arm.
3. Place dial indicator plunger tip against ball joint housing and zero dial indicator.
4. Using a pry bar under the center of the tire, raise and lower the tire and measure the axial travel of the ball joint housing with respect to the ball
joint. If the axial travel is 0.030 inch or more than specified, the ball joint should be replaced.