
Grand Voyager L4-153 2.5L SOHC (1989)
Camshaft: Service and Repair
Some engines may be equipped with camshafts which have oversize journals. When servicing camshaft on these engines, proper replacement
components must be installed. To identify oversize camshaft journals, barrel of cam is painted green and O/S J is stamped on air pump end
of camshaft. Never install an oversize journal camshaft in a cylinder head with standard size bores, or cam cap breakage could result.
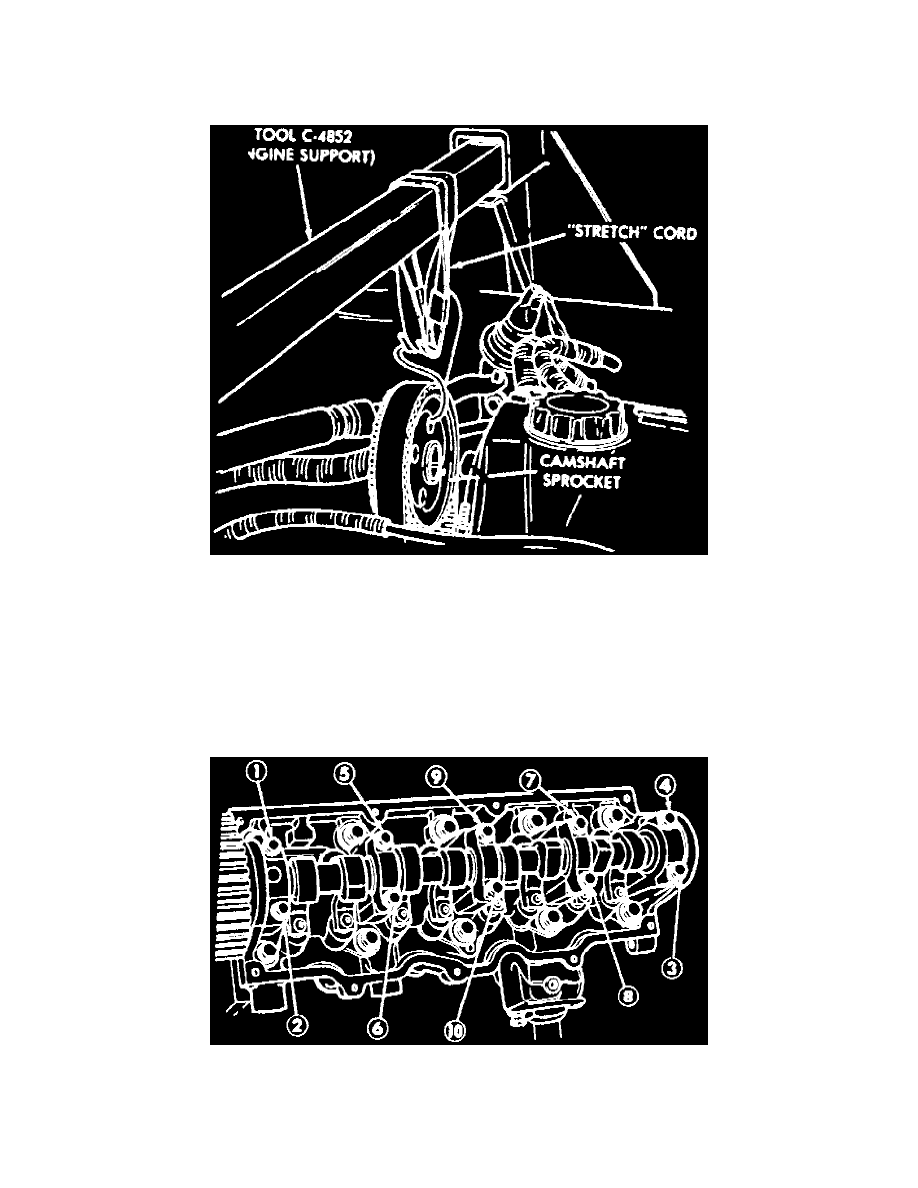
Fig. 3 Camshaft Sprocket Suspension
Removal and installation of camshaft requires separation of camshaft sprocket from camshaft. In order to maintain timing of camshaft, intermediate
shaft and crankshaft, timing belt is left indexed on camshaft sprocket while assembly is suspended under light tension,.
When removing camshaft sprocket from camshaft, adequate tension on sprocket and belt assembly must be maintained to prevent timing belt from
disengaging from intermediate or crankshaft timing sprockets. Failure to maintain adequate tension on timing belt may result in incorrect engine
timing.
1. Remove cylinder head cover and curtain.
2. Mark rocker arms to ensure installation in original position.
Fig. 17 Camshaft Bolt Removal Sequence
3. Evenly loosen camshaft bearing bolts in sequence shown in Fig. 17, until all bolts have been loosened 3-4 turns.
4. Tap rear of camshaft with suitable mallet to break caps free.
5. Continue loosening bearing cap bolts, ensuring camshaft does not cock, then remove bearing caps and camshaft. Loosen bearing cap bolts