
Grand Voyager V6-201 3.3L VIN R SMFI (1997)
CAUTION: When installing guide pin bolts extreme caution should be taken not to cross-thread the caliper guide pin bolts.
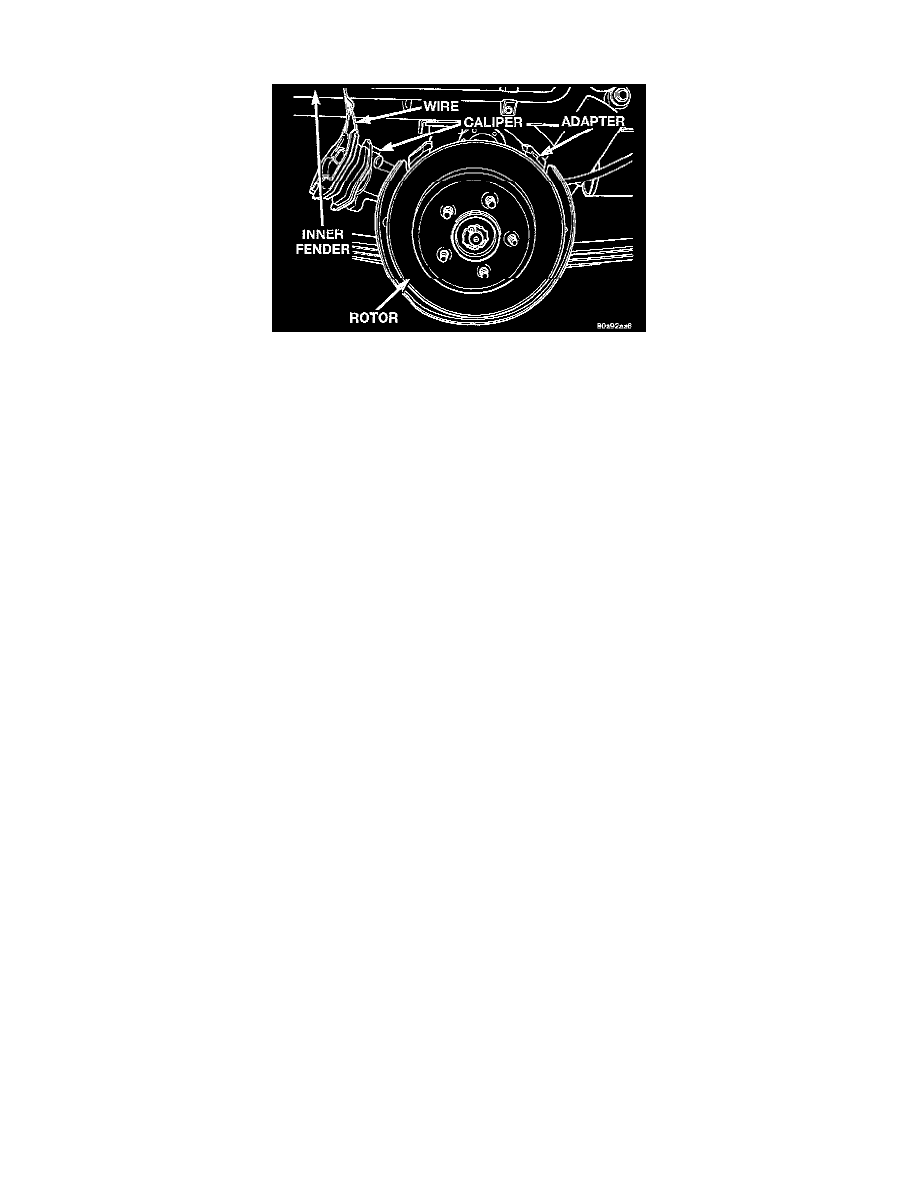
Correctly Supported Caliper
5. Install the caliper guide pin bolts. Tighten the guide pin bolts to a torque of 22 Nm (17 ft. lbs.).
NOTE:
a. If caliper was replaced or overhauled continue with step 6.
b. If pads were replaced proceed to step 8.
6. Install brake hose onto caliper using banjo bolt. Torque the brake hose to caliper assembly banjo bolt to 33 Nm (24 ft. lbs.).
CAUTION: New seal washers MUST always be used when installing brake hose to caliper.
7. Bleed the brake system. See: Brake Bleeding/Service and Repair
8. Install the wheel and tire assembly.
9. Tighten the wheel mounting stud nuts in proper sequence until all nuts are torqued to half specification. Then repeat the tightening sequence to the
full specified torque of 115-156 Nm (84-115 ft. lbs.).
10. Remove jackstands or lower hoist.
WARNING: Before moving vehicle, pump the brake pedal several times to ensure the vehicle has a firm brake pedal to adequately stop
vehicle.
11. Road test the vehicle and make several stops to wear off any foreign material on the brakes.