
Grand Voyager V6-3.0L VIN 3 (1998)
Backup Light Bulb: Service and Repair
REMOVAL
1. Release liftgate latch and open liftgate.
2. Remove screws holding tail, stop, turn signal and back-up lamp to rear door opening trough.
3. Separate inner end of lamp from quarter panel.
4. Disengage hook holding outer end of lamp to quarter panel opening.
5. Separate lamp from quarter panel.
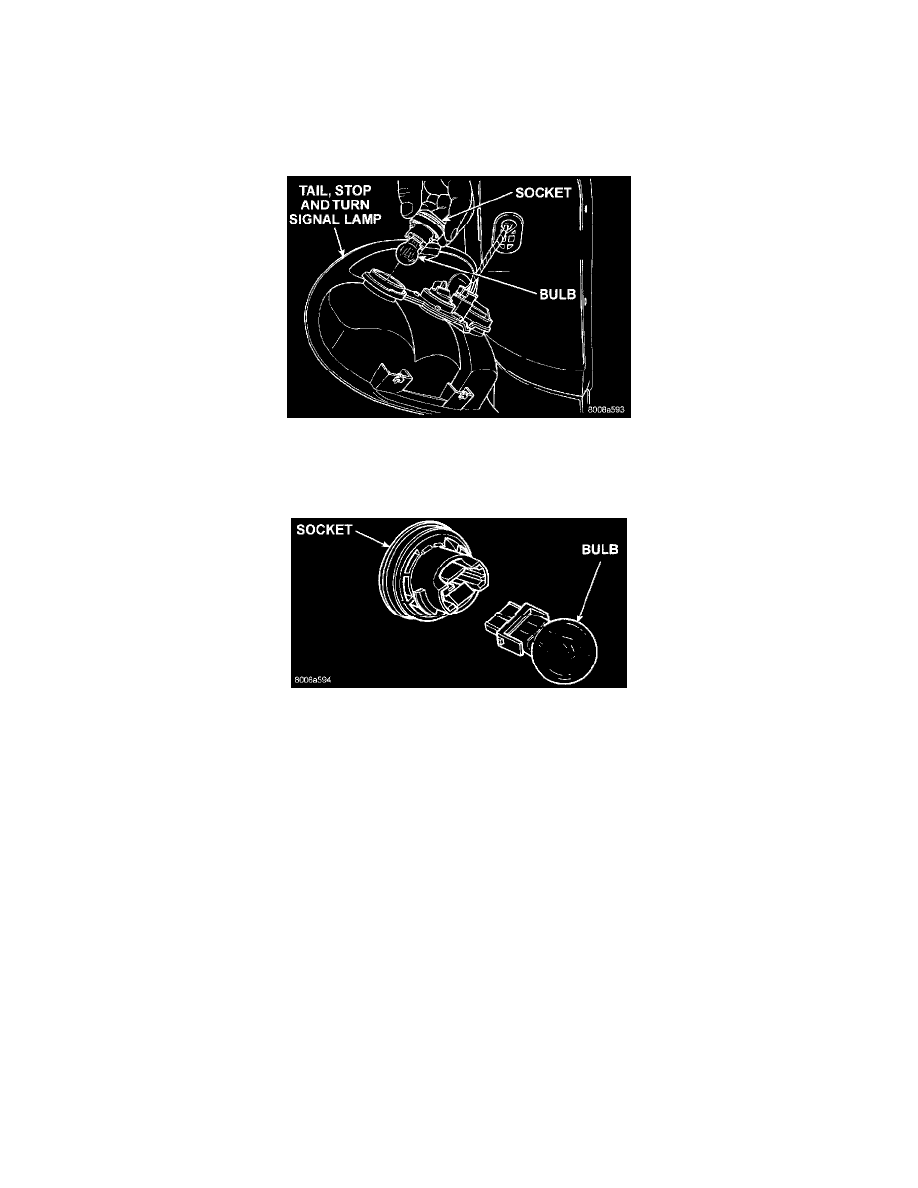
Tail, Stop, Turn Signal And Back-Up Lamp Bulb
6. Rotate lamp socket counterclockwise one quarter turn.
7. Pull socket from back of lamp.
Pull Bulb From Socket
8. Pull bulb from socket.
INSTALLATION
1. Align key on bulb base to groove in socket and insert bulb into socket.
2. Insert socket into back of lamp.
3. Rotate lamp socket clockwise one quarter turn.
4. Engage hook to hold outer end of lamp to quarter panel opening.
5. Place lamp in position on quarter panel.
6. Install screws to hold lamp to rear door opening trough.
7. Verify tail, stop, turn signal and back-up lamp operation.