
Grand Voyager V6-3.0L VIN 3 (1998)
Fuel Injector: Service and Repair
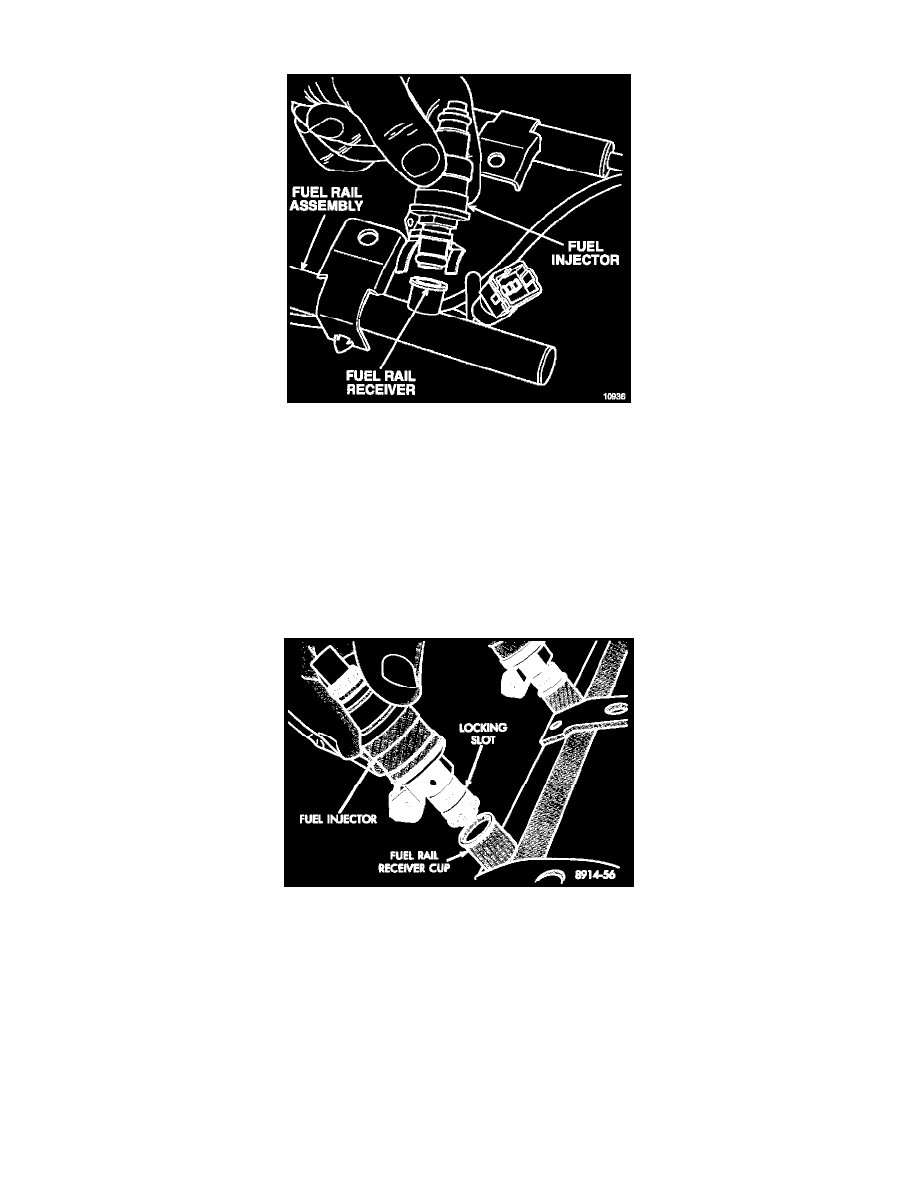
Fig 55 Fuel Injector And Rail -- Typical
WARNING: The fuel system is under a constant pressure of approximately 330 kPa (48 psi). Perform fuel pressure release procedure before
servicing the fuel injectors.
REMOVAL
1. Perform the Fuel Pressure Release Procedure.
2. Disconnect negative cable from battery
3. The fuel rail must be removed first to service the injectors.
4. Label each injector connector with its cylinder number. Disconnect electrical connector from injector.
5. Position fuel rail assembly so that the fuel injectors are easily accessible.
6. Remove injector clip from fuel rail and injector.
Fig 56 Servicing Fuel Injector -- Typical
7. Pull injector straight out of fuel rail receiver cup.
8. Check injector 0-ring for damage.
-
If 0-ring is damaged, it must be replaced.
-
If injector is to be reused, a protective cap must be installed on the injector tip to prevent damage.
9. Repeat procedure for remaining injectors.
INSTALLATION
1. Before installing an injector, the rubber 0-ring must be lubricated with a drop of clean engine oil to aid in installation.
2. Being careful not to damage 0-ring, install injector nozzle end into fuel rail receiver cap.
3. Install injector clip by sliding open end into top slot of the injector. The edge of the receiver cup will slide into the side slots of clip.
4 Repeat steps for remaining injectors.
5. Install fuel rail assembly.