
Grand Voyager V6-3.3L VIN G Flex Fuel (1999)
Control Arm Bushing: Service and Repair
Front
REMOVE
1. Remove the lower control arm from the front suspension cradle.
2. Securely mount the lower control arm in a vise.
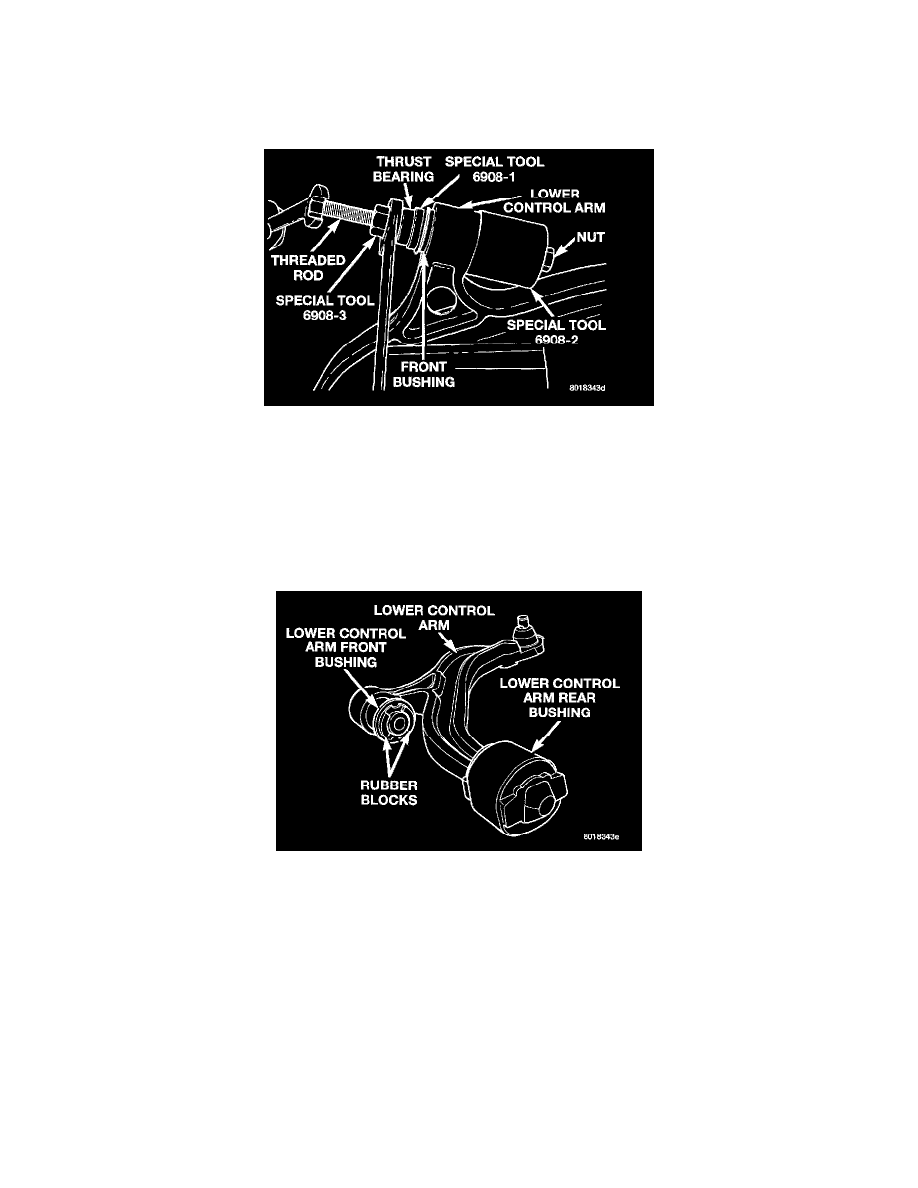
Tools Assembled For Removal Of Front Bushing
3. Assemble for removal of the front bushing, the Bushing Receiver, Special Tool 6908-2, Bushing Remover, Special Tool 6908-1, Nut, Special Tool
6908-3 thrust washer, threaded rod and small nut, as shown on the lower control arm and front bushing.
4. To remove front bushing from lower control arm, hold the threaded rod stationary and tighten the Nut, Special Tool 690-3. This will force the
front bushing out of the lower control arm and into Bushing Receiver, Special Tool 6908-2.
INSTALL
1. Securely mount the lower control arm in a vise.
Installation Position Of Lower Control Arm Front Bushing
NOTE: The lower control arm front bushing is a directional bushing. It must be installed in the lower control arm positioned.
2. Position the front bushing in the lower control arm so that the 2 rubber blocks on the bushing are positioned horizontally.