
Grand Voyager V6-3.8L VIN L (1999)
Backing Plate: Service and Repair
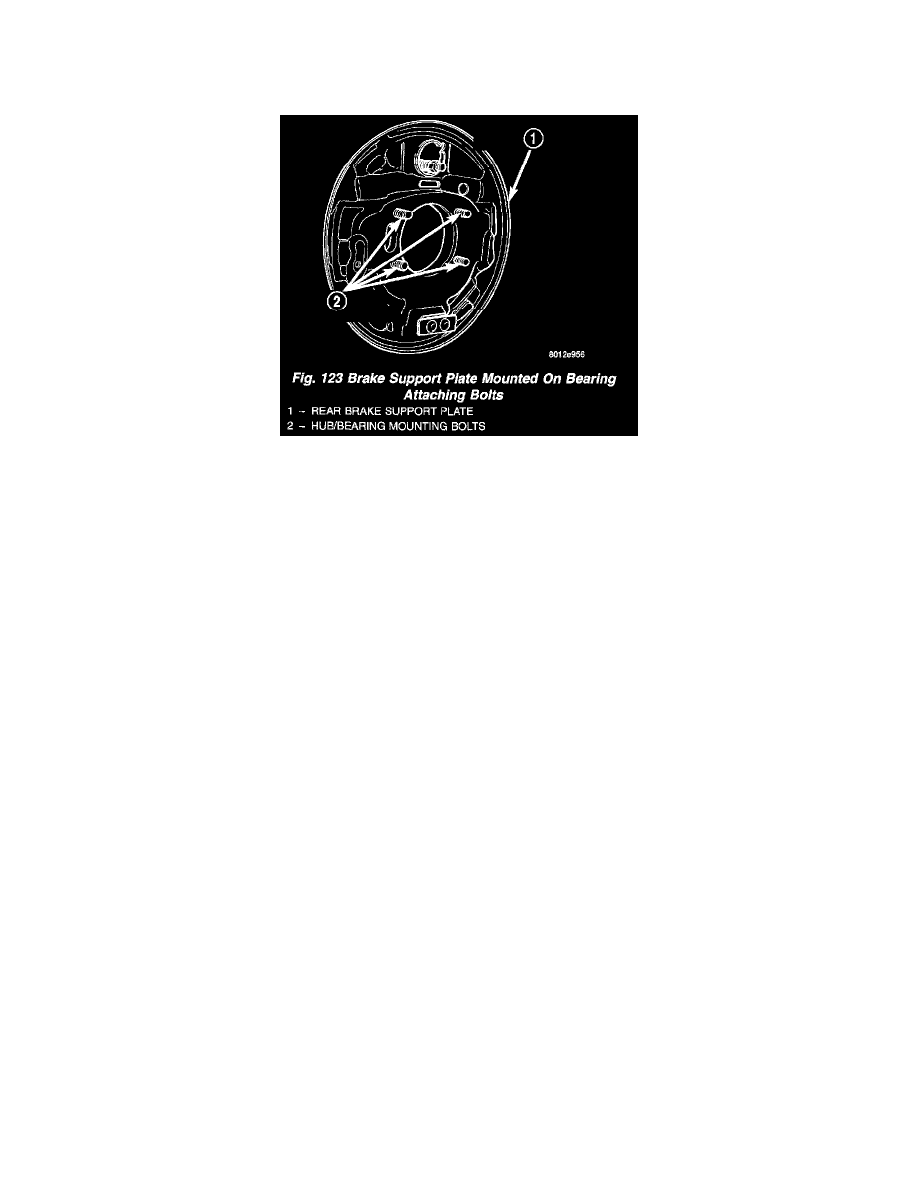
Installation
1. Install the 4 hub/bearing to axle mounting bolts into the mounting holes in the flange of the rear axle.
2. Install the rear brake support plate on the 4 mounting bolts installed in the flange of the rear axle.
NOTE: When installing the hub/bearing on the rear axle, the bearing is to be installed with the thick bearing mounting flange pointing down.
3. Align the rear hub/bearing with the 4 mounting bolts and start mounting bolts into hub/bearing. Tighten the 4 bolts in a criss-cross pattern until the
hub/bearing and brake support plate is fully and squarely seated onto flange of rear axle.
4. Tighten the 4 hub/bearing mounting bolts to a torque of 129 Nm (95 ft. lbs.)
5. Apply sealant such as Mopar Gasket-In-A-Tube or an equivalent around the wheel cylinder opening in the brake support plate.
6. Install wheel cylinder onto brake support and tighten the wheel cylinder to brake support plate attaching bolts to 8 Nm (75 inch lbs.).
7. Install brake tube on rear wheel cylinder. Tighten tube nut to a torque of 16 Nm (142 inch lbs.).
8. Install the rear wheel speed sensor on the rear hub/bearing flange. Install the speed sensor attaching bolt and tighten to a torque of 12 Nm (105
inch lbs.).
9. Install the rear park brake cable into its mounting hole in the rear brake support plate.
10. Install the park brake cable on the park brake actuation lever.
11. Install the rear brake shoes on the brake support plate.
12. Install brake drum onto hub/bearing.
13. Install wheel and tire.
14. Tighten wheel stud nuts to 129 Nm (95 ft. lbs.).
15. Adjust the rear brakes.
16. Bleed the entire brake system.