
Grand Voyager V6-3.8L VIN L (1999)
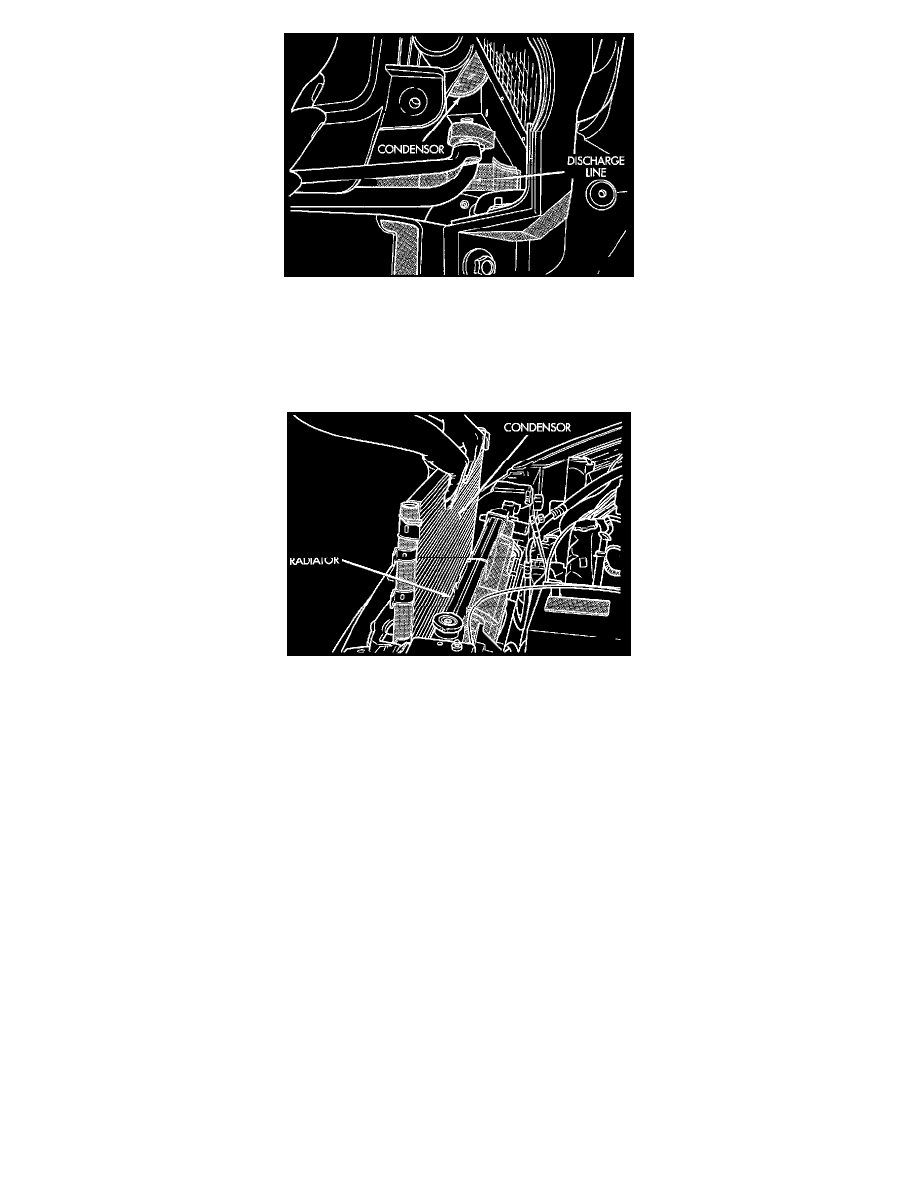
Upper Discharge Line
6. Remove upper discharge line at condenser.
7. Through fascia, remove lower liquid line from filter-drier.
8. Remove (2) lower condenser mounting bolts.
9. Remove (2) upper mounting bolts.
Condenser Removal
10. Remove condenser from vehicle.
INSTALLATION
NOTE: Inspect Cooling Module for presence of seals. Verify seals are available for re-installation.
1. Before installation, replace all O-rings and gaskets, coat all sealing surfaces with approved wax-free refrigerant oil. Then, reverse the above
procedures,
2. Torque the following components to specifications:
-
Liquid line at filter/drier - 45 in. lbs. ± 10.
-
Upper discharge line at condenser - 180 in. lbs. ± 20.
-
Lower liquid line to condenser - 180 in. lbs. ± 20.
-
(2) lower, condenser mounting bolts - 45 in. lbs. ± 10.
-
(2) upper, condenser mounting bolts - 45 in. lbs. ± 10.
-
Tube fitting - 65 in. lbs. ± 5.
3. Evacuate and charge system.