
Horizon L4-135 2.2L SOHC VIN C (1988)
Valve Body: Service and Repair
VALVE BODY RECONDITION
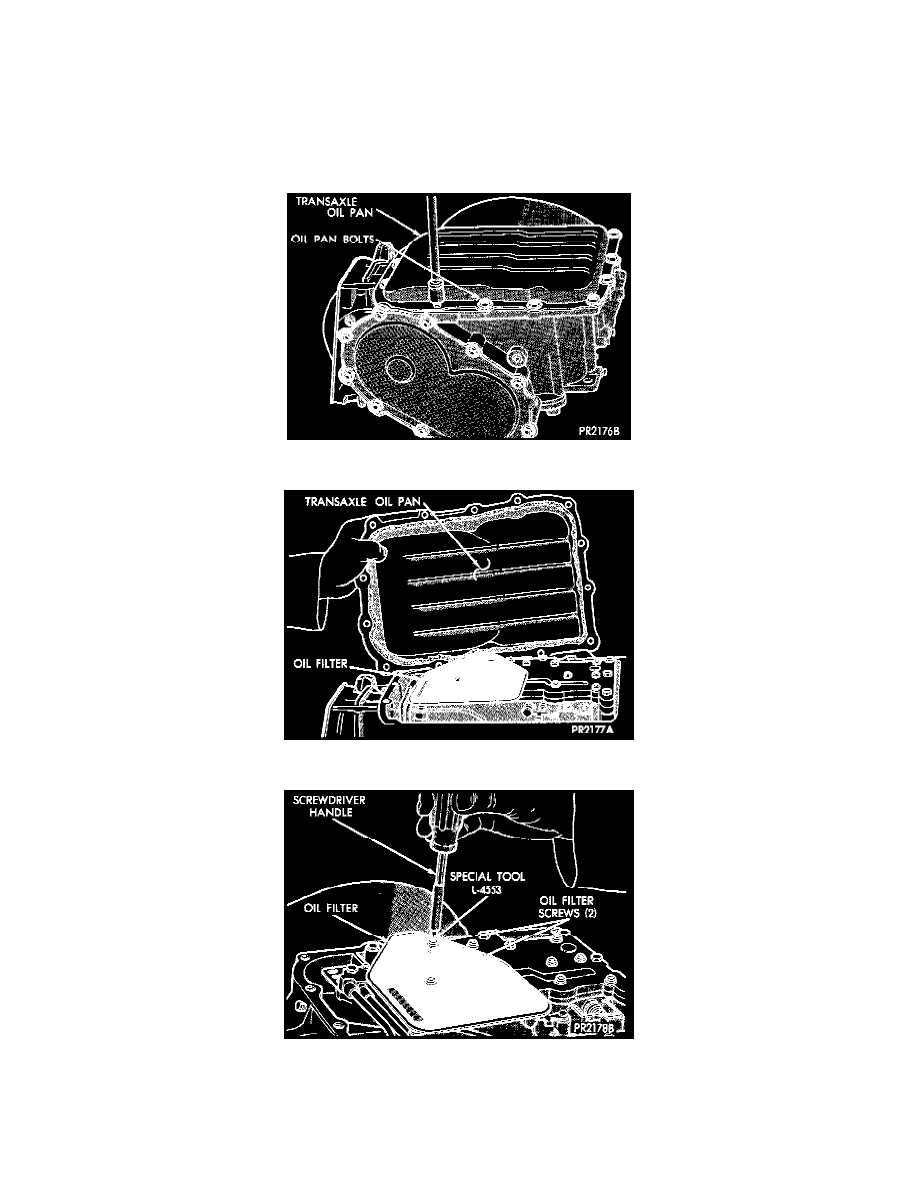
NOTE: Prior to removing any transaxle subassemblies, plug all openings and thoroughly clean exterior of the unit, preferably by steam.
Cleanliness through entire disassembly and assembly cannot be overemphasized. When disassembling, each part should be washed in a suitable
solvent, then dried by compressed air. Do not wipe parts with shop towels. All mating surfaces in the transaxles are accurately machined;
therefore, careful handling of all parts must be exercised to avoid nicks or burrs. Remove all old R.T.V. sealant before applying new R.T.V.
sealant. Use only R.T.V. sealant when installing oil pan.
1. Remove or install neutral starting and back-up lamp switch.
Oil Pan Bolts
Oil Pan
Oil Filter Screws