
Horizon/TC3 L4-105 1720cc 1.7L SOHC VIN A 2-bbl (1982)
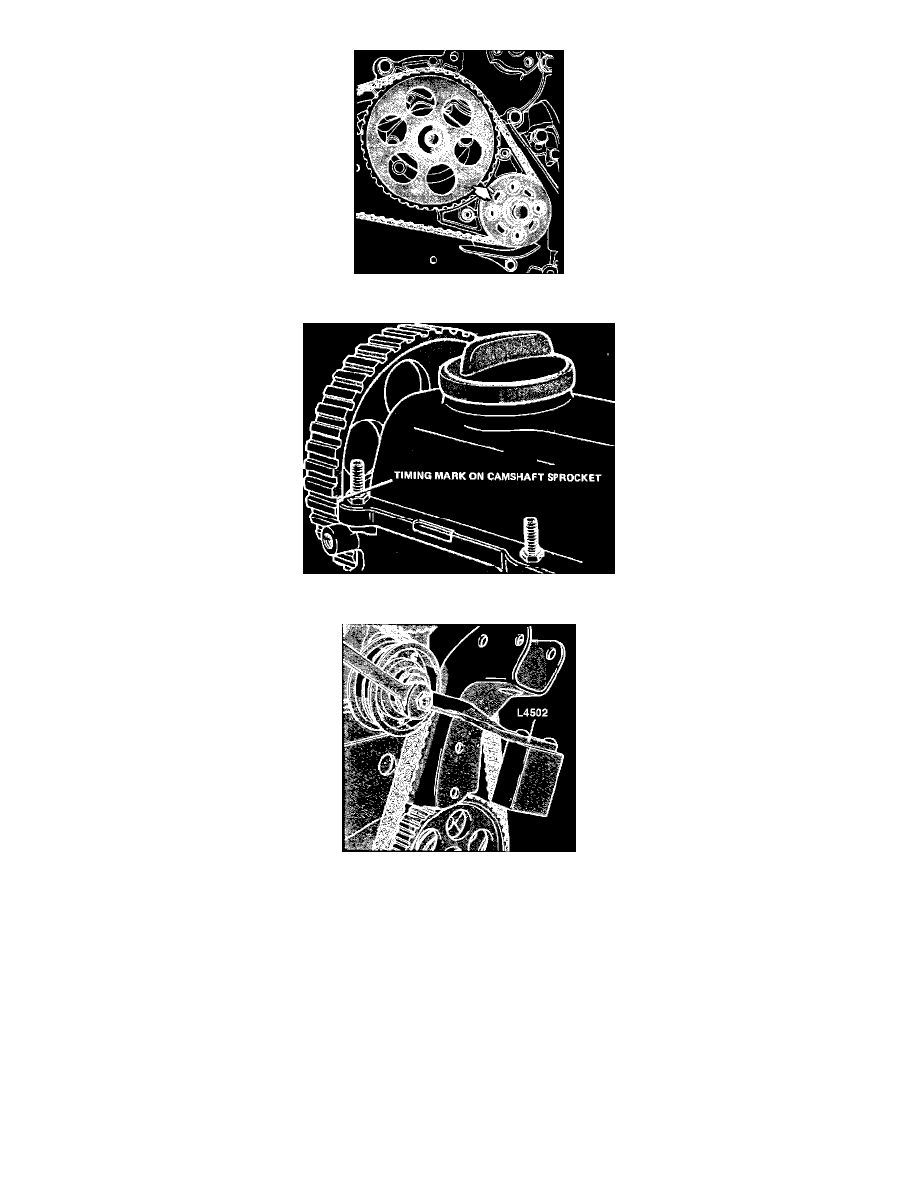
Fig. 15 Aligning timing marks on crankshaft & intermediate shaft sprockets
Fig. 16 Aligning timing mark on camshaft sprocket
Fig. 17 Timing belt tensioner tool installation
11.
Remove crankshaft pulley, Fig. 14, and power steering belt, if equipped.
12.
Remove lower plastic timing belt cover.
13.
Lower vehicle and support engine with a suitable jack.
14.
Remove right engine mounting bolt and raise engine slightly.
15.
Loosen timing belt tensioner and remove timing belt.
16.
Rotate crankshaft and intermediate sprockets until markings are aligned on sprockets, Fig. 15.
17.
Rotate camshaft sprocket until marking on sprocket is aligned with cylinder head cover, Fig. 16.
18.
Install timing belt.
19.
Install belt tensioning tool L-4502 on large belt tensioner nut in horizontal position, Fig. 17.
20.
Reset tool index, as needed, to maintain axis within 15° of horizontal with tensioner bearing against belt.
21.
Rotate engine clockwise, 2 full revolutions, then tighten tensioner locknut. Ensure that timing marks are properly aligned with No. 1 cylinder