
Laser AWD L4-1997cc 2.0L DOHC Turbo (1992)
Timing Belt: Service and Repair
This article has been revised per TSB 090194.
1.
Remove lower left engine compartment splash shield.
2.
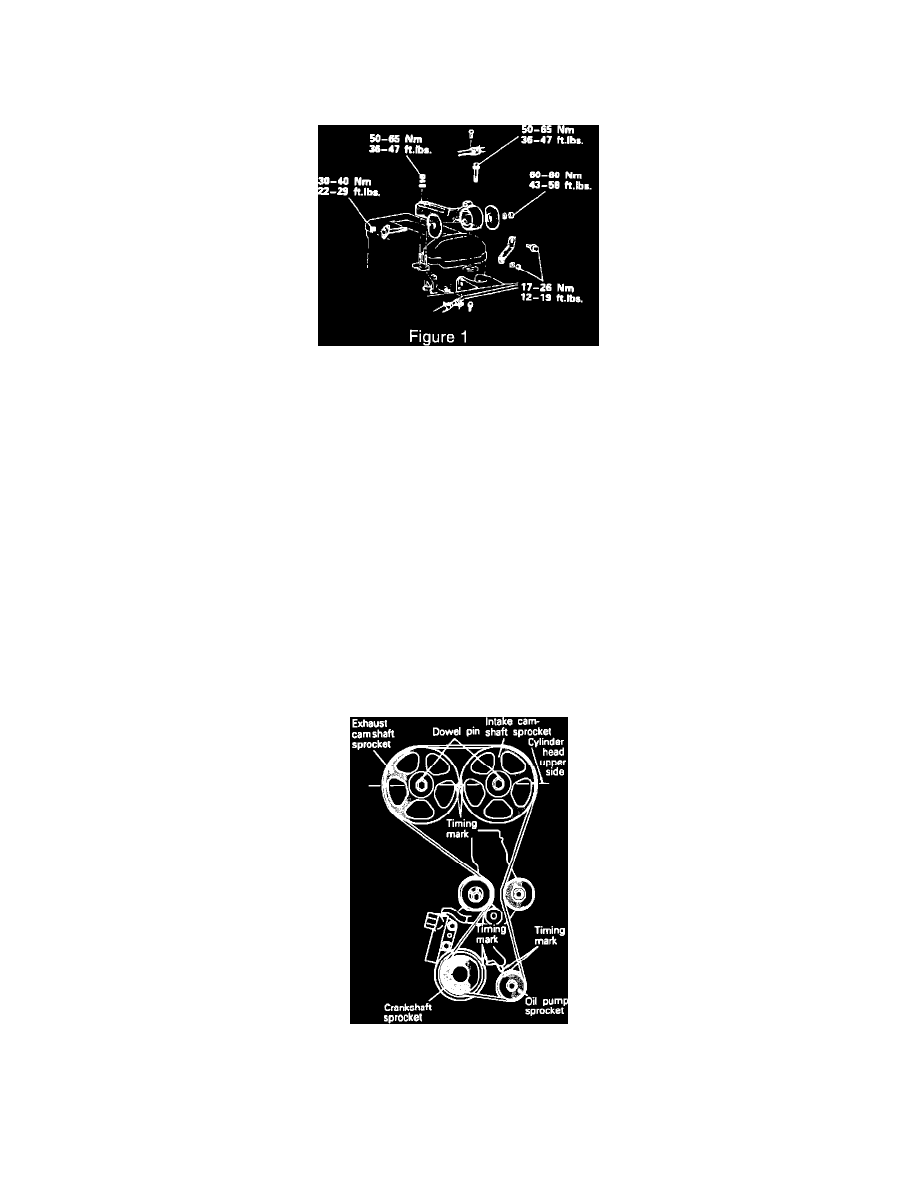
Support engine with engine support fixture, tool # C-4852 or # 7137, and remove the left engine mount and bracket Fig. 1.
NOTE:
Loosen water pump pulley bolts before removing belt.
3.
Loosen the water pump pulley bolts. Remove the alternator/water pump drive belts, and the power steering drive belt.
4.
Remove water pump pulley.
5.
Remove the tensioner pulley bracket and the A/C belt.
6.
Remove crankshaft pulley.
7.
Remove the upper and lower timing belt covers.
8.
Rotate the crankshaft clockwise and align the timing marks so as to bring the No. 1 piston to the Top-Dead-Center (TDC) position of the
compression stroke.
Caution:
Rotate the crankshaft in a clockwise direction.
Fig. 2 Aligning Timing Marks. 2.0L/4-122
The camshaft sprocket dowel pins must be at the 12 o'clock position and the camshaft sprocket timing marks must be aligned together (left
sprocket at the 3 o'clock and right sprocket at the 9 o'clock positions). Both camshaft sprocket timing marks must be in line with the top surface of
the cylinder head Fig. 54. [A straight edge (ruler) laid across the center of the camshaft attaching bolts will help you to better see and align the
timing marks.] The crankshaft and oil pump sprockets must also be aligned with their respective timing marks Fig. 54.