Laser FWD L4-1997cc 2.0L DOHC Turbo (1993)

Connecting Rod: Service and Repair
PISTON AND CONNECTING ROD ASSEMBLY REMOVAL
1. Remove top ridge of cylinder bores with a reliable ridge reamer before removing pistons from cylinder block. Be sure to keep tops of pistons
covered during this operation. Mark piston with matching cylinder number.
2. Remove oil pan. Scribe the cylinder number on the side of the rod and cap for identification.
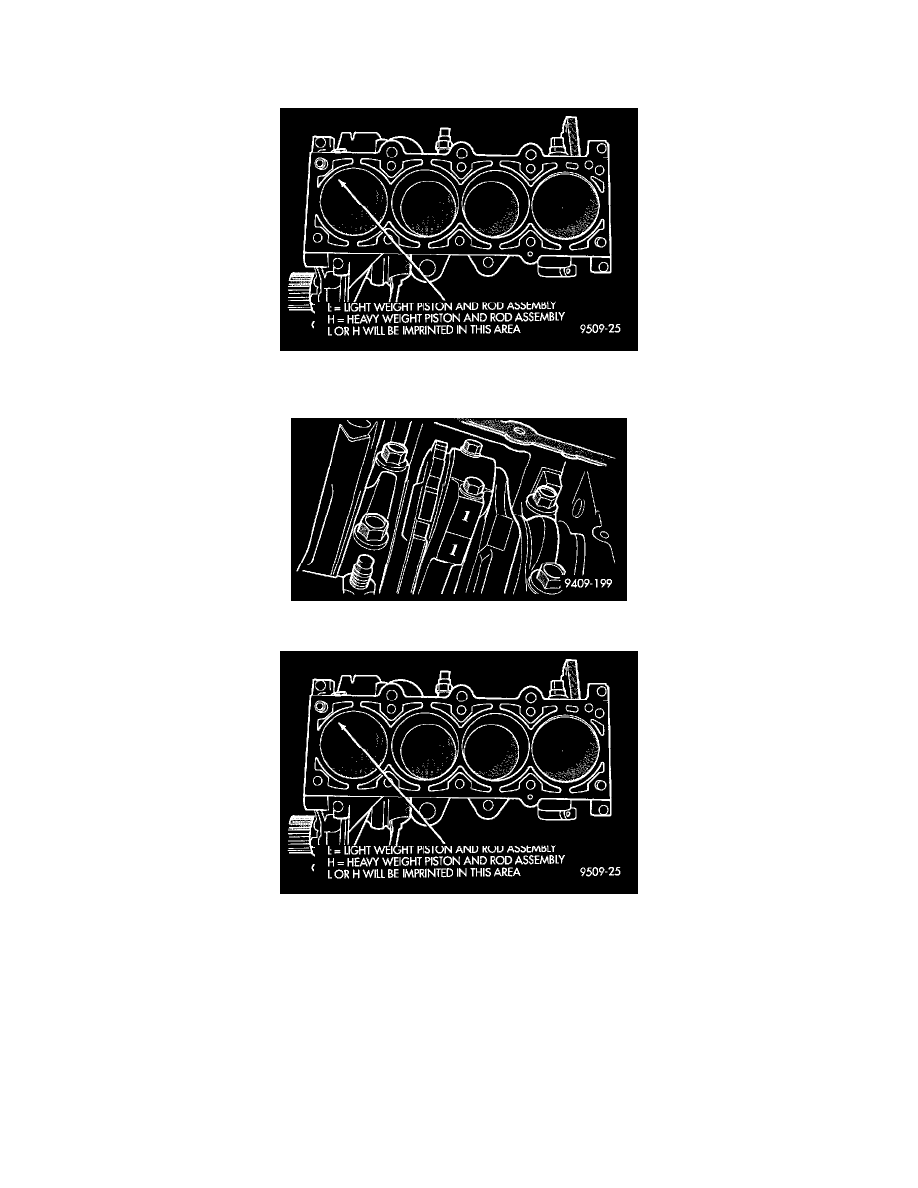
3. Pistons have stamping in the front half of the piston facing towards the front of engine. The stamping is a weight identification for the assembly L
is for light and H is for heavy. These assemblies should all be the same weight class. Service piston assemblies are marked with a S and can be
used with either L or H production assemblies.
4. Pistons and connecting rods must be removed from top of cylinder block. Rotate crankshaft so that each connecting rod is centered in cylinder
bore.
5. Remove connecting rod cap bolts. Push each piston and rod assembly out of cylinder bore. Be careful not to nick crankshaft journals.
6. After removal, install bearing cap on the mating rod.
7. Piston and Rods are serviced as an assembly.
INSTALLATION
1. Before installing pistons and connecting rod assemblies into the bore, be sure that compression ring gaps are staggered so that neither is in line
with oil ring rail gap.
