
Neon L4-2.0L DOHC (1996)
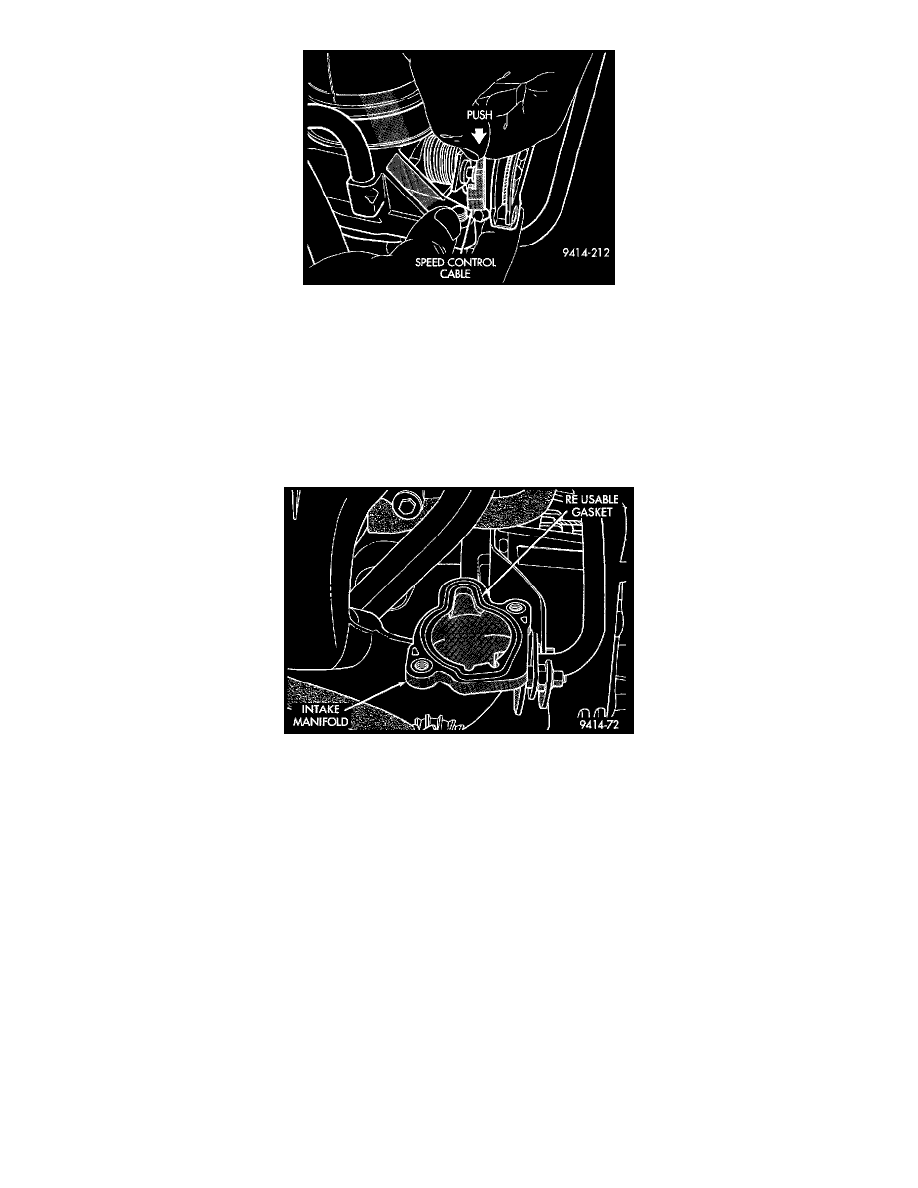
Fig. 91 Speed Control Cable Connector
7. if equipped with speed control, hold throttle lever in the wide open position. Using finger pressure only -- remove speed control cable by
PUSHING connector off the lever nail head (Fig. 88) and (Fig. 91). DO NOT try to pull connector off perpendicular to the lever.
8. Compress the retaining tabs on the cable and slide cable out of bracket (Fig. 89).
9. Remove 2 screws holding cable mounting bracket and support bracket.
10. Remove TPS connection
11. Remove Idle Air Control motor connector.
12. Remove EVAP purge hose.
13. Remove throttle body mounting bolts. Remove throttle body.
Fig. 92 Re-Usable Throttle Body Gasket
14. The rubber 0-ring gasket on the intake manifold is reusable. Wipe the 0-ring clean before installing throttle body (Fig. 92).
INSTALLATION
1. Install throttle body on intake manifold. Tighten mounting bolts to 23 Nm (200 in lb).
2. Attach cable mounting bracket and support bracket with 2 screws.
3. Connect electrical connection to throttle body.
4. Connect the EVAP purge hose.
5. Install cable housing(s) retainer tabs into bracket.
6. Install throttle body cables using the following procedures.
7. From the engine compartment, rotate the throttle lever forward to the wide open position and install throttle cable clasp (Fig. 89).
8. If equipped with speed control, rotate throttle lever forward to the wide open position and slide speed control cable connector onto nail head.
9. Rotate throttle lever forward to the wide open position and slide kickdown cable connector onto nail head.
10. Install throttle cable cover. Tighten bolt to 5.6 Nm (50 in lb).