
Neon L4-2.0L VIN C (1997)
CAUTION: Use only the specified anaerobic sealer on the bedplate or damage may occur to the engine.
4. Apply 1.5 - 2.0 mm (0.059 - 0.078 inch) bead of Mopar Torque Cure Gasket Maker to cylinder block as shown.
5. Install lower main bearings into main bearing cap/bedplate. Make certain the bearing tabs are seated into the bedplate slots. Install the main
bearing/bedplate into engine block.
6. Before installing the bolts the threads should be oiled with clean engine oil, wipe off any excess oil.
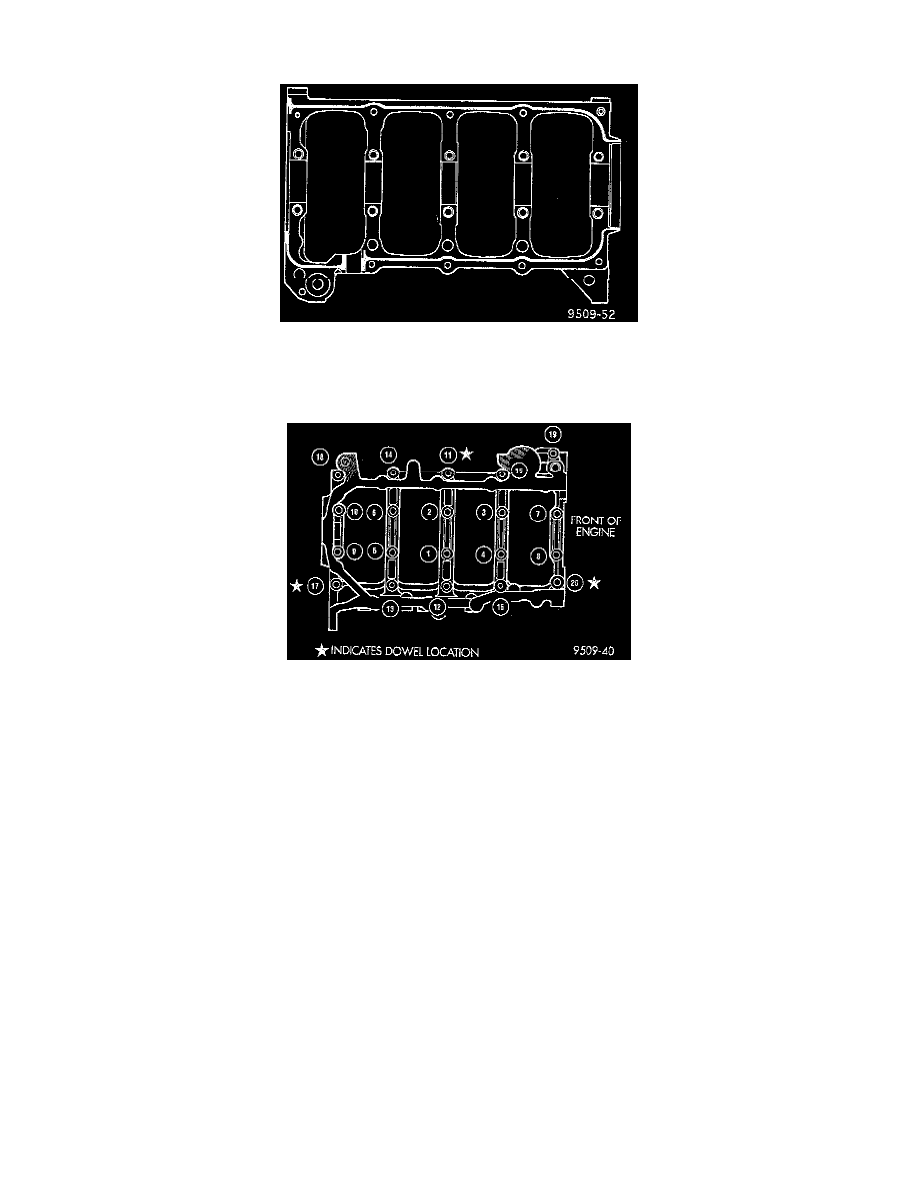
7. Install main bearing bedplate to engine block bolts 11, 17 and 20 finger tight. Tighten this bolts down together until the bedplate contacts the
cylinder block. Torque bolts to 30 Nm (22 ft. lbs.).
8. Install main bearing bedplate to engine block bolts (1 thru 10) and torque each bolt to 81 Nm (60 ft. lbs.) in sequence shown.
9. Install main bearing bedplate to engine block bolts (11 thru 20), with baffle studs in positions 12, 13 and 16 and torque each bolt to 30 Nm (22 ft.
lbs.) in sequence shown.
10. After the main bearing bedplate is installed, check the crankshaft turning torque. The turning torque should not exceed 5.6 Nm (50 inch lbs.).
11. Install oil pump and check crankshaft end play.
12. Install crankshaft sprocket.
13. Install oil filter adapter and filter.