
Neon L4-2.0L VIN C (1997)
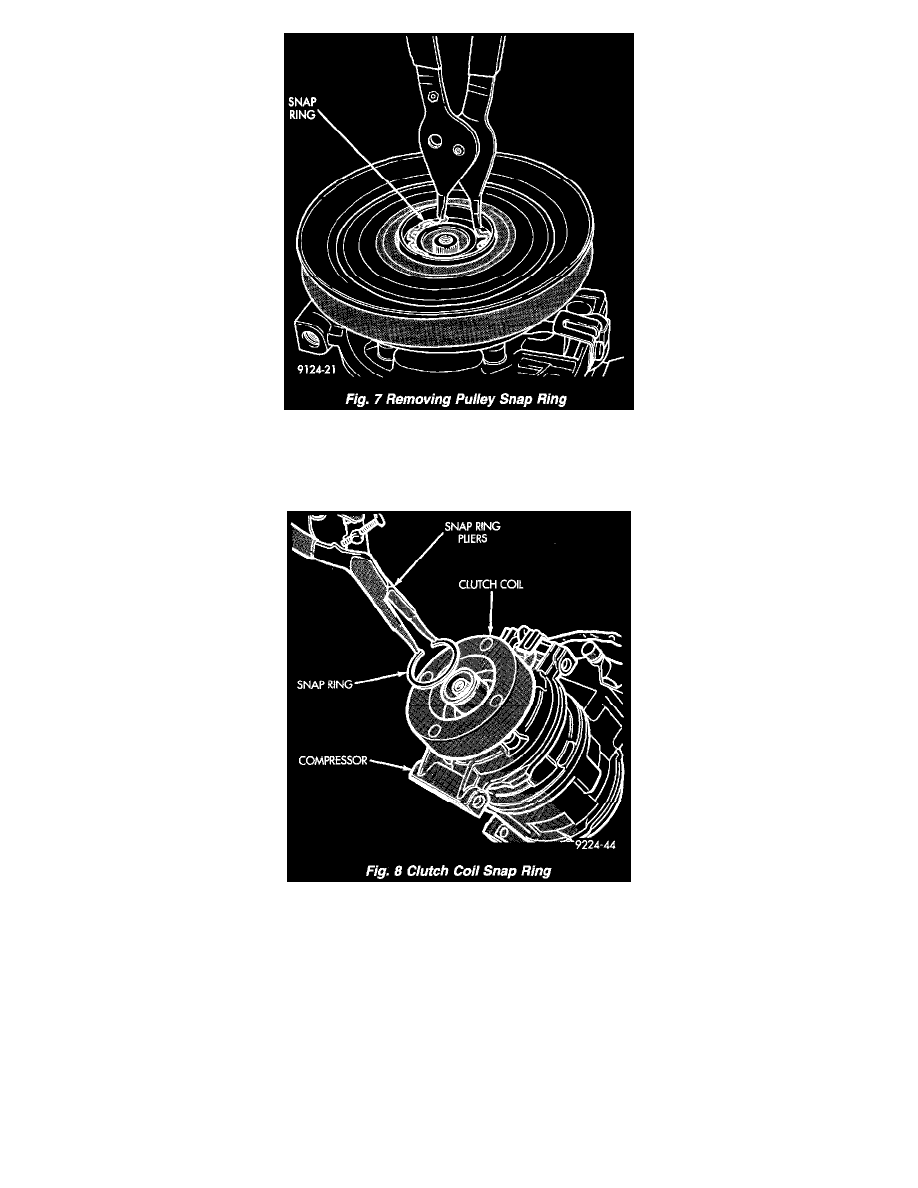
Removing Pulley Snap Ring
3. Remove pulley retaining snap ring with Snap Ring Pliers (C-4574), and slide pulley assembly off of compressor.
4. Remove coil wire bracket/ground clip screw and wire harness.
Clutch Coil Snap Ring
5. Remove snap ring retaining field coil onto compressor housing. Slide field coil off of compressor housing.
6. Examine frictional faces of the clutch pulley and front plate for wear. The pulley and front plate should be replaced if there is excessive wear or
scoring. If the friction surfaces are oily, inspect the shaft nose area of the compressor for oil and remove the felt from the front cover. If the
compressor felt is saturated with oil, the shaft seal is leaking and will have to be replaced.
7. Check bearing for roughness or excessive leakage of grease. Replace bearing as required.
INSTALLATION
1. Align pin in back of field coil with hole in compressor end housing, and position field coil into place. Make sure that lead wires are properly
routed, and fasten the diode and coil wire bracket with retaining screw.
2. Install field coil retaining snap ring with Snap Ring Pliers (C- 4574). Press snap ring to make sure it is properly seated in the groove.
NOTE: The bevel side of the snap ring must be outward. Also both eyelets must be to the right or left of the pin on the compressor.