
Neon L4-2.0L VIN C (1997)
body of the strut only by strut clevis bracket.
2. Install the compressed coil spring onto the strut. Coil spring is to be installed with smaller coil down, so spring correctly seats on strut assembly.
3. Install jounce bumper on the strut shaft.
4. Install dust shield, pivot bearing and upper spring seat as an assembly on the strut.
5. Position upper spring seat alignment notch with clevis bracket on strut assembly.
6. Install strut mount on strut assembly and the strut mount retaining nut on the shaft of the strut assembly.
WARNING: The following 2 steps must be completely done before spring compressor, special tool C-4838 is released from the coil spring
.
7. Install Socket, Strut Nut, Special Tool L-4558A (or L-4558), or equivalents on the strut shaft retaining nut. Then install a 10 mm socket through
the center of the socket and on the hex of the strut shaft. While holding strut shaft from turning, torque strut shaft retaining nut to 75 Nm (55 ft.
lbs.).
8. Equally loosen both Spring Compressors, Special Tool C-4838, or equivalent until top coil of spring is fully seated against upper spring seat and
strut mount. Then relieve all tension from spring compressors and remove spring compressors from strut assembly spring.
Disassembly
NOTE: The rear strut unit is not serviced and must be replaced as an assembly if found to be defective. The strut is available with 2 calibrations, be sure
strut is replaced with an assembly of the same calibration.
COMPONENTS
The components of the strut assembly listed below are replaceable if found to be defective.
-
Coil spring (Coil springs come in a standard rate of 120 lbs. per inch be sure spring is replaced with a spring of the same rate.)
-
Dust shield
-
Mount assembly
-
Jounce Bumper
-
Lower Spring Isolator
-
Shaft Nut
PROCEDURE
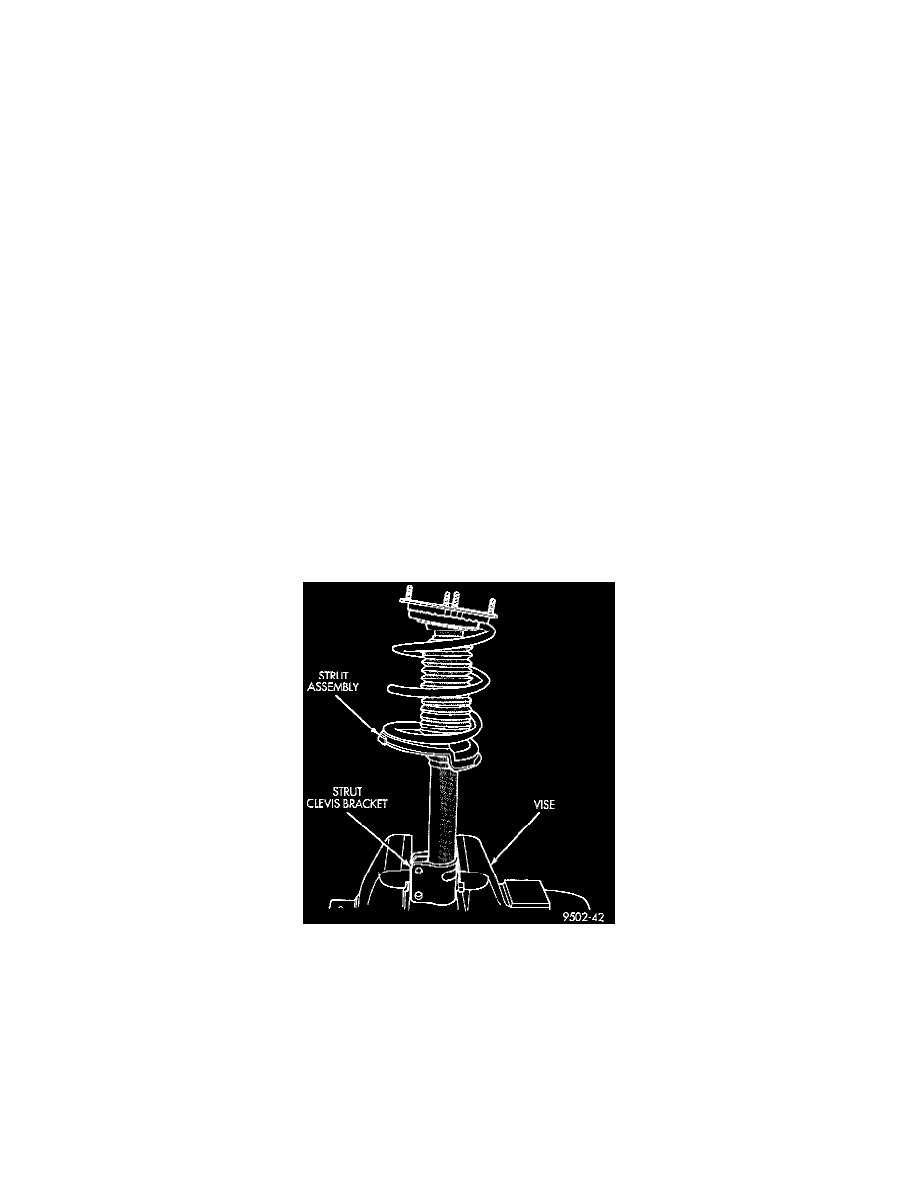
1. Remove strut assembly requiring service from the vehicle.
2. Position strut assembly in a vise. Using paint or equivalent, mark the strut unit, lower spring isolator, spring and upper strut mount for indexing of
the parts at assembly.