
PB 150 V8-318 5.2L VIN T 2-BBL (1983)
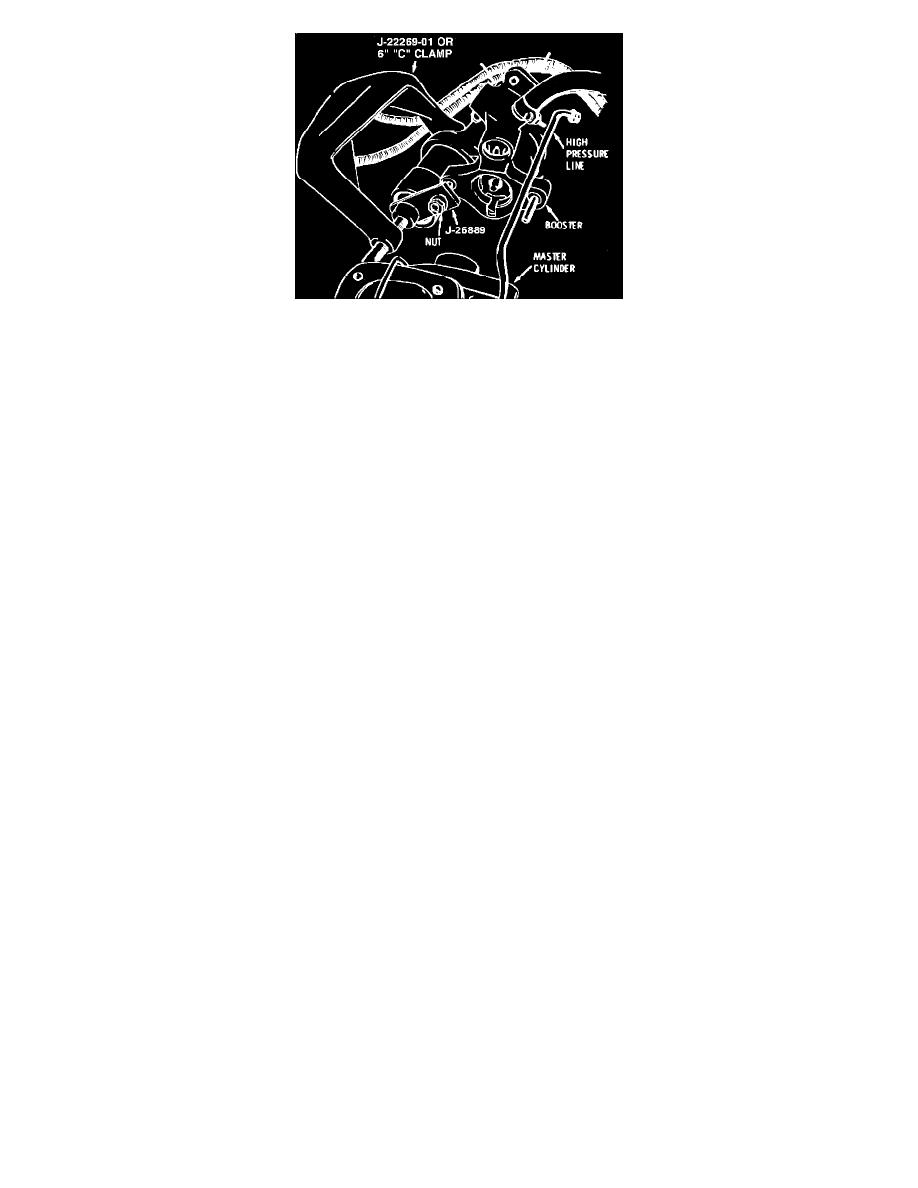
Fig. 5 Removing accumulator
9. Install spool return spring and spool valve assembly into bore in housing. Extend power piston lever to accept sleeve on spool valve, then slide
lever pins into slot in sleeve.
10. Install new housing seal in groove in hosing cover, then lubricate input rod seals.
11. Install housing cover and cover attaching screws. Torque screws to 18-26 ft lb.
12. Install output rod, spring, baffle and new spring retainer, then secure baffle and spring retainer using a suitable tool.
13. Install accumulator seal and accumulator in housing, then place retaining ring over accumulator.
14. Install tool No. J-26889 over accumulator, then using a suitable C-clamp, depress accumulator, and install retaining ring.
15. Remove C-clamp and tool No. J-26889, then check retaining ring for proper installation.
16. Install mounting bracket and bracket attaching nut. Torque attaching nut to 110 ft lb and lock in position.
17. If repair kit contains a grommet retained pedal rod, proceed as follows:
a. Install boot on pedal rod, if equipped.
b. Install new grommet in groove near end of pedal rod.
c. Moisten grommet with water, then insert grommet end of pedal rod into the input rod end of the booster housing.
d. Push on end of pedal rod to seat grommet. When grommet is fully seated, pedal rod will rotate freely with no binding.
e. Slide open end of boot onto the hub of the booster.
18. If repair kit contains a staked two piece pedal rod, proceed as follows:
a. Install boot over externally threaded pedal rod, if equipped, then slide open end of boot onto hub of booster.
b. Install locknut onto externally threaded pedal rod.
c. Install eyelet pedal rod onto externally threaded pedal rod, then adjust pedal rod and secure with locknut.
Hydro-Boost II