
PB 150 V8-318 5.2L VIN T 2-BBL (1983)
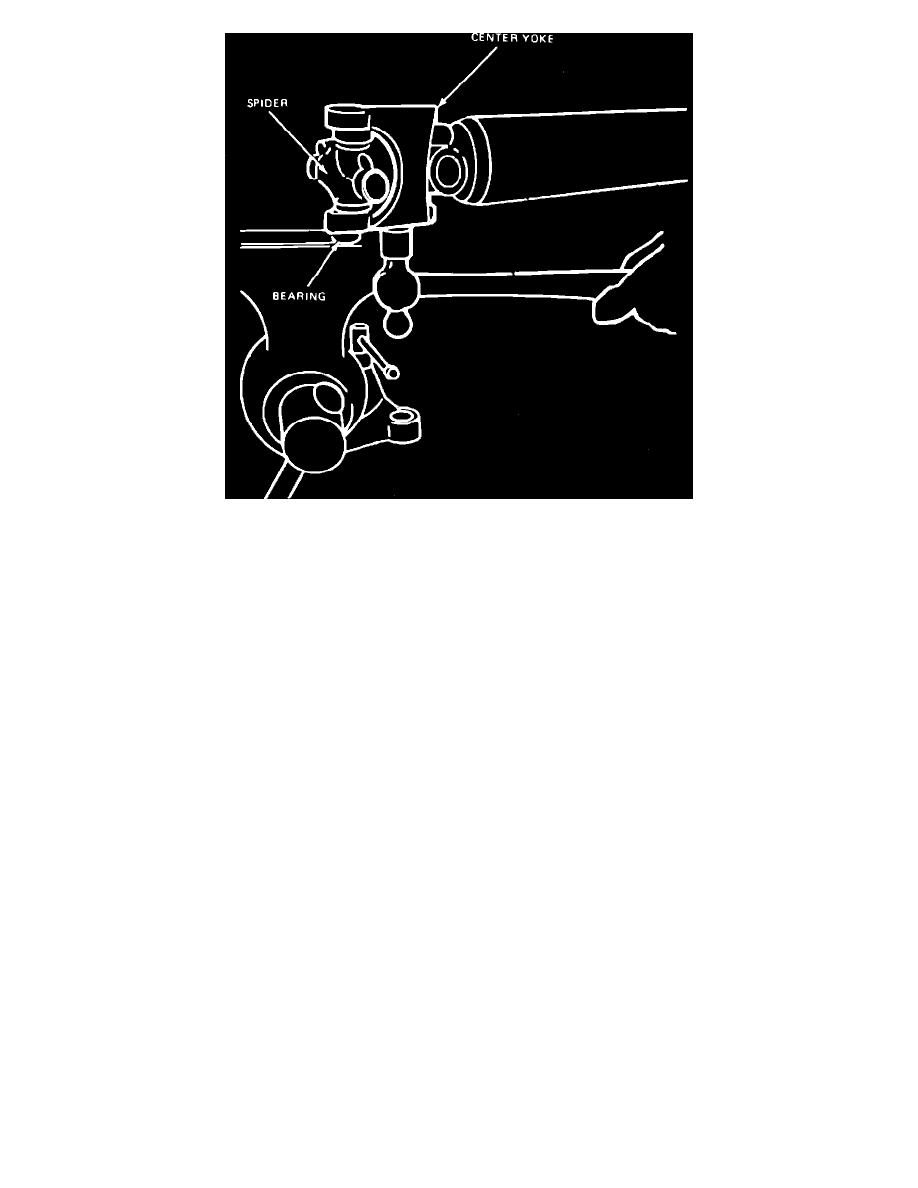
Fig. 8 Removing bearing cap by holding cap in vise & striking center yoke with hammer
WITH UNIVERSAL JOINT REPLACEMENT TOOL
DISASSEMBLY
1. Place driveshaft in a vise using care to avoid damaging it.
2. Remove bearing retaining snap rings. Some universal joints use injected nylon retainers in place of snap rings. During servicing, the snap
rings supplied with the replacement universal joint assembly must be used.
3. Position tool on shaft and press bearing out of yoke. If bearing cannot be pressed all the way out, remove it using vise grips or channel lock pliers
or position driveshaft as shown and strike center yoke with hammer. Mark yoke and shaft to make sure they will be reassembled in their same
relative positions.
4. Reposition tool so that it presses on the spider in order to press other bearing from opposite side of flange.
5. If used, remove flange from spider.
ASSEMBLY
1. Start new bearing into yoke, then position spider into yoke and press bearing until it is 1/4 inch below surface.
2. Remove tool and install a new snap ring.
3. Start new bearing in opposite side of yoke, then install tool and press on bearing until opposite bearing contacts snap ring.
4. Remove tool and install remaining snap ring.