
Prowler V6-3.5L VIN G (1999)
Refrigerant Pressure Sensor / Switch: Service and Repair
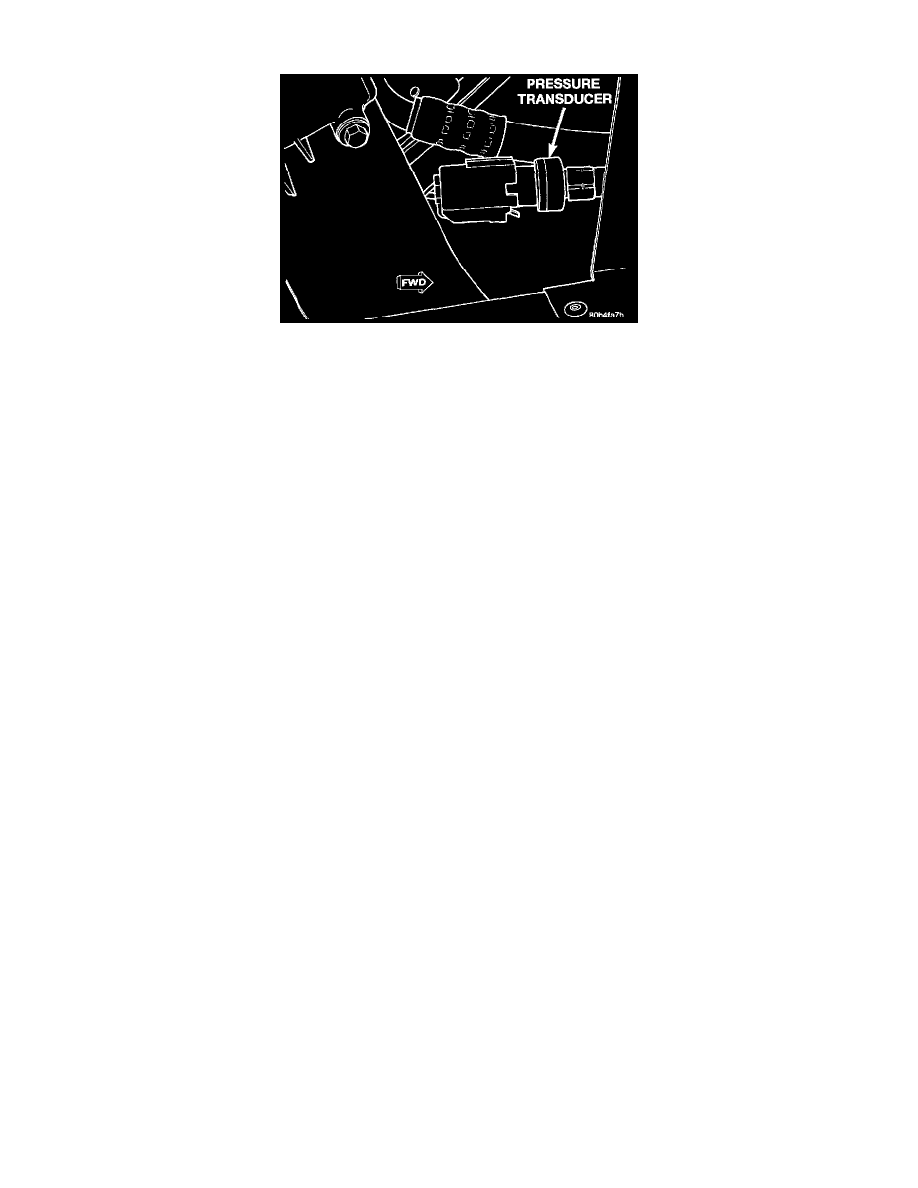
Fig 9 Pressure Transducer
A/C PRESSURE TRANSDUCER
CAUTION: A/C pressure transducer switch connector terminal contacts can be damaged by probing tools during system diagnosis and repair. Failure to
use their respective mating terminals or pin gauge to check for tightness will cause contact beam spreads. This will result in loss of continuity.
NOTE: O-ring replacement is required whenever the pressure transducer is serviced. Be sure to use the O-ring specified for this vehicle.
REMOVAL
1. Disconnect the wire harness connector from the A/C pressure transducer.
NOTE: A slight release of pressure trapped in the fitting may be experienced. It is not necessary to discharge the refrigerant system.
2. Remove the right upper hood side panel for access to the pressure transducer.
3. Remove the transducer with a counterclockwise rotation using a 14 mm open-end wrench.
INSTALLATION
For installation, reverse above procedures. Tighten pressure transducer to 6 Nm (50 in lb).