
Prowler V6-3.5L VIN G (1999)
Fuel Rail: Service and Repair
WARNING: RELEASE FUEL SYSTEM PRESSURE BEFORE SERVICING FUEL RAIL. SERVICE VEHICLES IN WELL
VENTILATED AREAS AND AVOID IGNITION SOURCES. NEVER SMOKE WHILE SERVICING THE VEHICLE.
REMOVAL
1. Release fuel system pressure. Refer to Fuel System Pressure Release Procedure.
See: Fuel Filter/Fuel Pressure Release/Service and Repair
2. Disconnect the negative battery cable.
3. Remove intake manifold plenum.
4. Remove intake manifold plenum mounting bolts. Lift plenum up off of engine. Cover intake manifold to prevent foreign material from entering
engine.
5. Disconnect fuel supply tube quick connect fitting at the rear of the fuel rail.
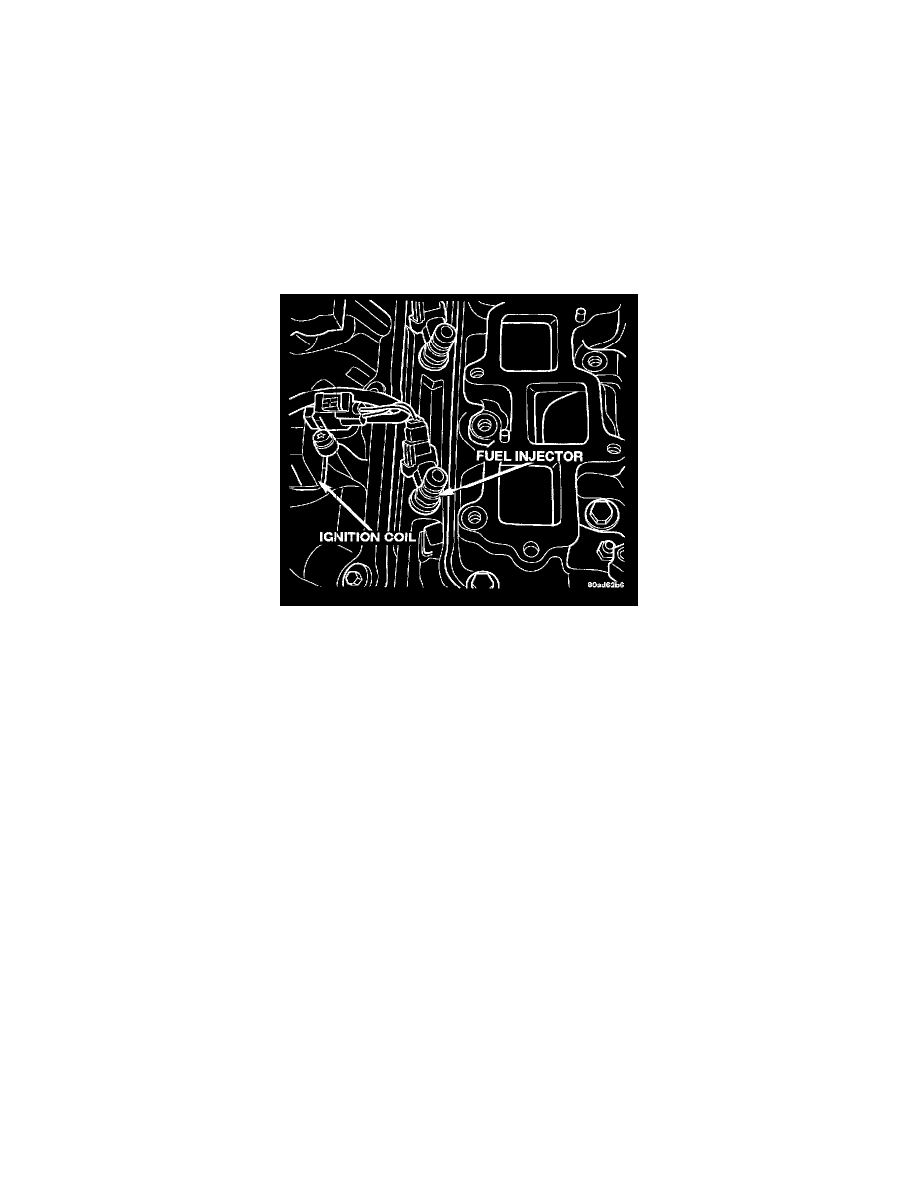
Injector Electrical Connectors
6. If the injector connectors are not tagged with their cylinder number, tag them to identify the correct cylinder.
7. Remove mounting bolts on both sides of fuel rail.
8. Lift fuel rail straight up off of cylinder head.
9. Remove retaining clips from fuel injectors at fuel rail.
10. Remove fuel injector from fuel rail.
INSTALLATION
1. Lightly lubricate the fuel injector O-rings with a couple drops of clean engine oil.
2. Install retaining clips on fuel injectors.
3. Push injectors into fuel injector rail until clips are in the correct position.
4. Position fuel rail over cylinder heads, and push rail into place. Tighten fuel rail mounting bolts to 11 Nm (100 in. lbs.) torque.
5. Install intake manifold plenum.
6. Connect negative cable to battery.