
Prowler V6-3.5L VIN G (1999)
17.
Tighten the ball joint press until the tool bottoms against the lower control arm.
NOTE:
The ball joint will not be fully removed from the lower control arm at this time.
18.
Remove the ball joint press.
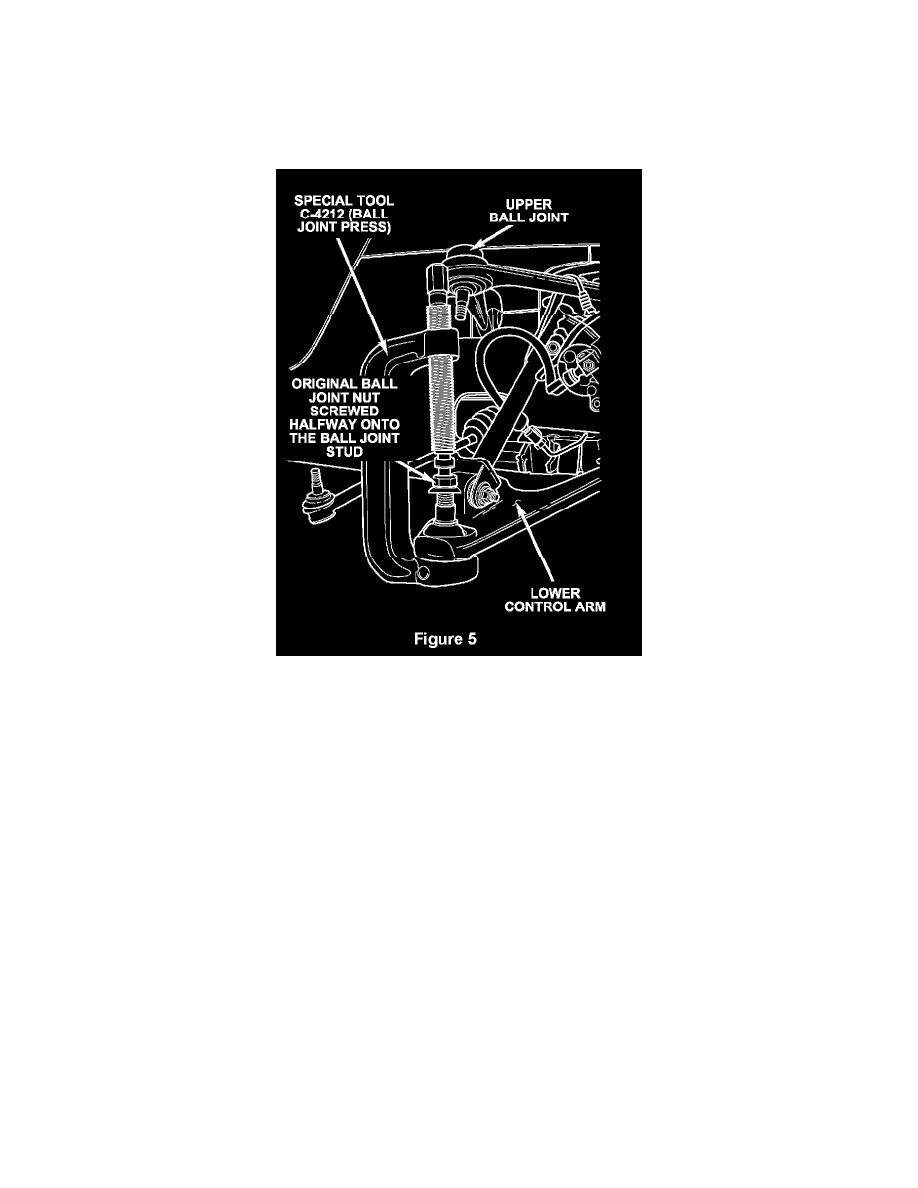
19.
Install the original lower ball joint nut onto the ball joint stud so that the threads of the stud are halfway through the nut (Figure 5)
20.
Reinstall the ball joint press without any adapters and tighten the press to complete the removal of the ball joint from the lower control arm (Figure
5).
21.
Discard the old ball joint and nut.
22.
With the plastic ball joint boot protective sleeve in place, install the new ball joint into the lower control arm.