Prowler V6-3.5L VIN G (1999)

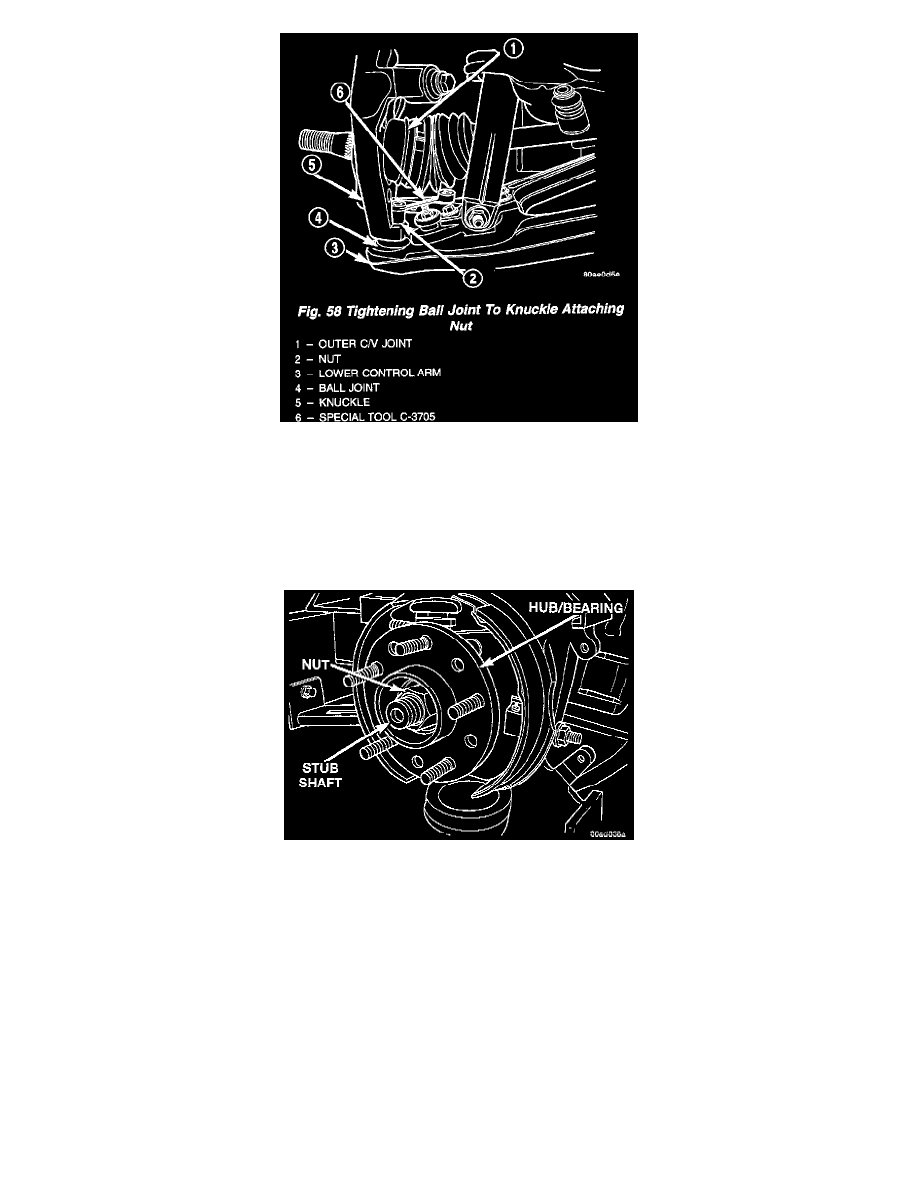
4. Tighten the lower control arm ball joint to knuckle attaching nut using Adapter, Special Tool C-3705. Tighten the lower ball joint to knuckle
attaching nut to a torque of 128 Nm (95 ft. lbs.).
5. Install the 3 hub/bearing attaching bolts into the knuckle.
6. Install the caliper adapter on the knuckle using the 3 hub/bearing bolts to hold it in place.
7. Install the hub/bearing on the stub shaft of the outer C/V joint. Align the hub/bearing with its 3 mounting bolts and hand start the bolts in to the
flange of the hub/bearing. Equally tighten the 3 mounting bolts pulling the hub/bearing onto the stub shaft and into the knuckle. Continue to tighten
the 3 mounting bolts equally until the caliper adapter and hub bearing are squarely seated on the knuckle. Tighten the 3 mounting bolts to a torque
of 110 Nm (80 ft. lbs.).
8. Install the stub axle to hub/bearing retaining nut. Snug the retaining nut at this time but do not attempt to tighten it to the required torque
specification.
