
Prowler V6-3.5L VIN G (1999)
Valve Body: Service and Repair
The valve body can be removed with the transaxle remaining in the vehicle, or with the transaxle removed. The illustrations in this procedure shows the
transaxle removed from the vehicle for clarity.
The solenoid pack and Transmission Range Sensor (TRS) are mounted on top side of the valve body. They will remain attached to the valve body when
the valve body is removed from the transaxle. The solenoid pack and TRS can only be removed from the valve body after the valve body is removed
from the transaxle.
REMOVAL
1. Disconnect the TRS wiring connector. The solenoid wiring connector can remain attached to the case.
2. Disconnect the shift cable from the shift lever (at the transaxle).
3. Move the shift lever clockwise as far as it will go. This should be one position past the L position. Then remove the shift lever.
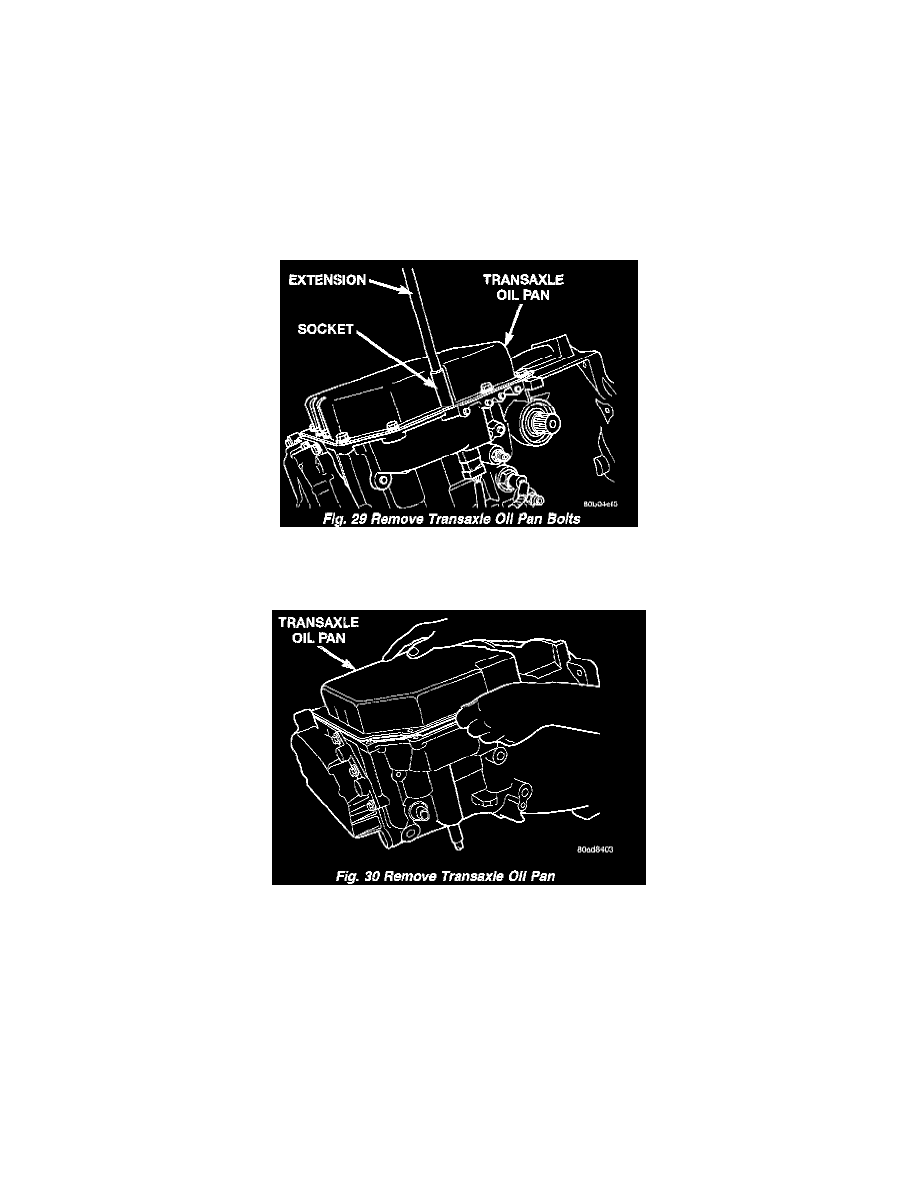
Fig. 29
4. Remove transaxle pan bolts (Fig. 29).
Fig. 30
5. Remove transaxle oil pan (Fig. 30). When reinstalling oil pan be sure that pan flange is clean and oil free. Apply a 1/8 inch bead of MOPAR
Silicone Sealer onto oil pan flange before installing.