
Reliant L4-156 2.6L SOHC (1984)
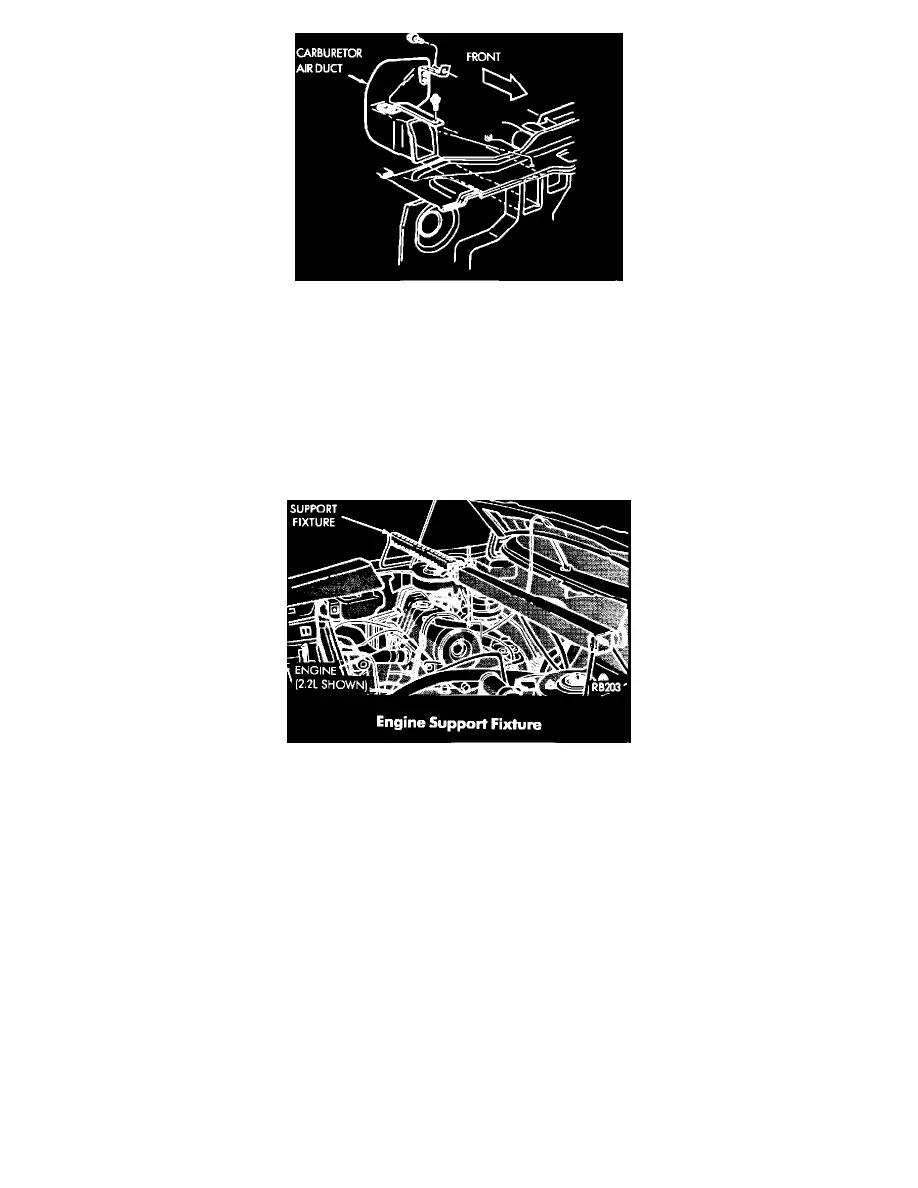
FIGURE 1
Service Procedure
A.
Domestic Vehicles (Continued)
4.
k. Carburetor air duct (on passenger cars only): Remove. (See Figure 1.)
l.
Alternator and belt(s): Remove.
m.
Power steering pump belt (if soequipped): Remove.
FIGURE 2
n.
Mount engine support fixture to vehicle with end brackets resting in fender-to-inner shield channel areas. (See Figure 2.) Attach and adjust
support to engine at right (passenger side) rear lifting-eye location.
o.
Raise vehicle on hoist.
p.
Drain engine oil, replacing plug when drained.
q.
Right front wheel and inner splash shield: Remove.
r.
Air conditioner compressor (if so-equipped): Remove (4) bolts attaching compressor to mounting brackets. With compressor still attached to
refrigerant lines, move compressor out of the way toward the vehicle right front corner. Support the compressor in this temporary position to
avoid damaging refrigerant lines.