
Sundance L4-153 2.5L SOHC Turbo (1990)
Fuel Pressure Regulator: Service and Repair
Fuel Pressure Regulator
REMOVAL
1.
Fuel system pressure must be released prior to service.
2.
Disconnect negative battery terminal and remove vacuum hose from fuel pressure regulator.
3.
Loosen and remove fuel return hose at pressure regulator.
4.
Using 2 wrenches, one on the fuel pressure regulator, and another on the fuel return tube nut, loosen tube nut and disconnect the return tube from
the fuel pressure regulator.
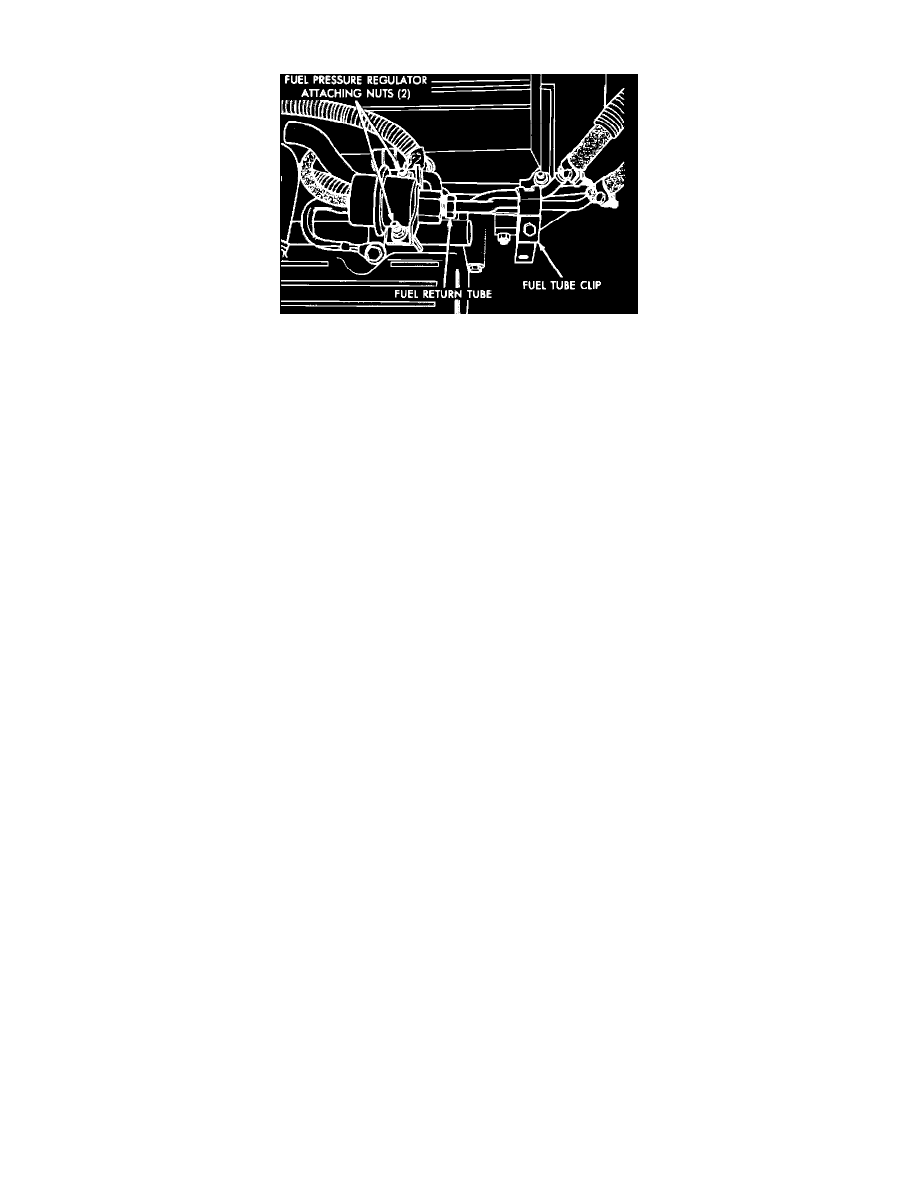
5.
Remove the 2 fuel pressure regulator attaching nuts. Remove the fuel pressure regulator from the fuel rail. Check the fuel pressure regulator
O-ring and replace if worn or damaged.
INSTALLATION
1.
Lube the fuel pressure regulator O-ring with clean engine oil before installing regulator, then install regulator into receiver cup on fuel rail.
2.
Install fuel pressure regulator attaching nuts and torque to 65 lb-in (7 Nm). Install fuel return tube to fuel pressure regulator and torque to 250
lb-in (28 Nm). Hold the fuel pressure regulator with one wrench and tighten the fuel tube nut with the other.
3.
Install the fuel return hose and tighten the clamp to 10 lb-in (1 Nm).
4.
Install vacuum hose to fuel pressure regulator and reconnect negative battery terminal. Perform fuel system leak test. See: Fuel Pressure/Testing
and Inspection