Voyager V6-181 3.0L SOHC (1988)

Fuel Pressure Regulator: Service and Repair
Fuel Rail Assembly & Fuel Pressure Regulator
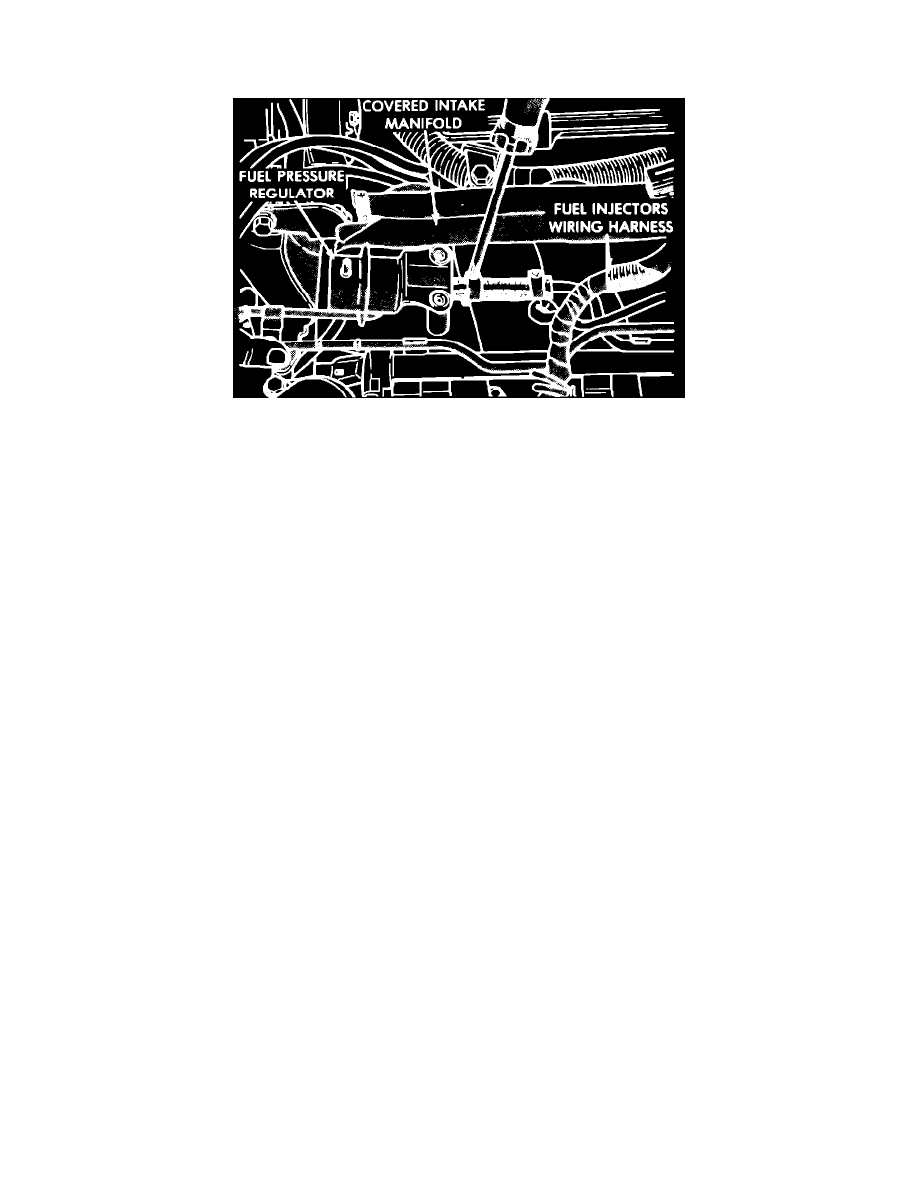
Fig. 14 Removing fuel pressure regulator hose
1. Perform fuel system pressure release procedure.
2. Disconnect battery ground cable.
3. Disconnect air cleaner to throttle body hose.
4. Disconnect throttle cable and kick down linkage from throttle body.
5. Disconnect vacuum hoses and electrical connectors from throttle body.
6. Disconnect PCV and brake booster hoses from air intake plenum.
7. Remove EGR tube flange from air intake plenum.
8. Disconnect electrical connectors from charge and coolant temperature sensors.
9. Disconnect vacuum hose connections from air intake plenum.
10.
Disconnect fuel hoses from fuel rail.
11.
Remove eight bolts attaching air intake plenum to intake manifold, then remove air intake plenum.
12.
Disconnect vacuum hoses from fuel rail and fuel pressure regulator, Fig. 14.
13.
Disconnect fuel injector wiring harness from engine wiring harness.
14.
Remove fuel pressure regulator attaching bolts, then loosen hose clamps and remove regulator.
15.
Remove fuel rail attaching bolts, then carefully rail assembly from intake manifold.
16.
Reverse procedure to install and note the following:
a. Prior to installation lubricate O-rings with a drop clean engine oil.
b. Ensure injectors are seated in receiver cup with lock ring.
c. Ensure injectors are fully seated in ports.
d. Torque fuel rail attaching bolts to 115 inch lbs.
e. Torque fuel pressure regulator attaching bolts to 95 inch lbs.
f.
Prior to starting engine check all hoses and electrical connectors for proper connection.
g. After completing installation, check system for leaks.
