
Voyager V6-201 3.3L VIN R SMFI (1997)
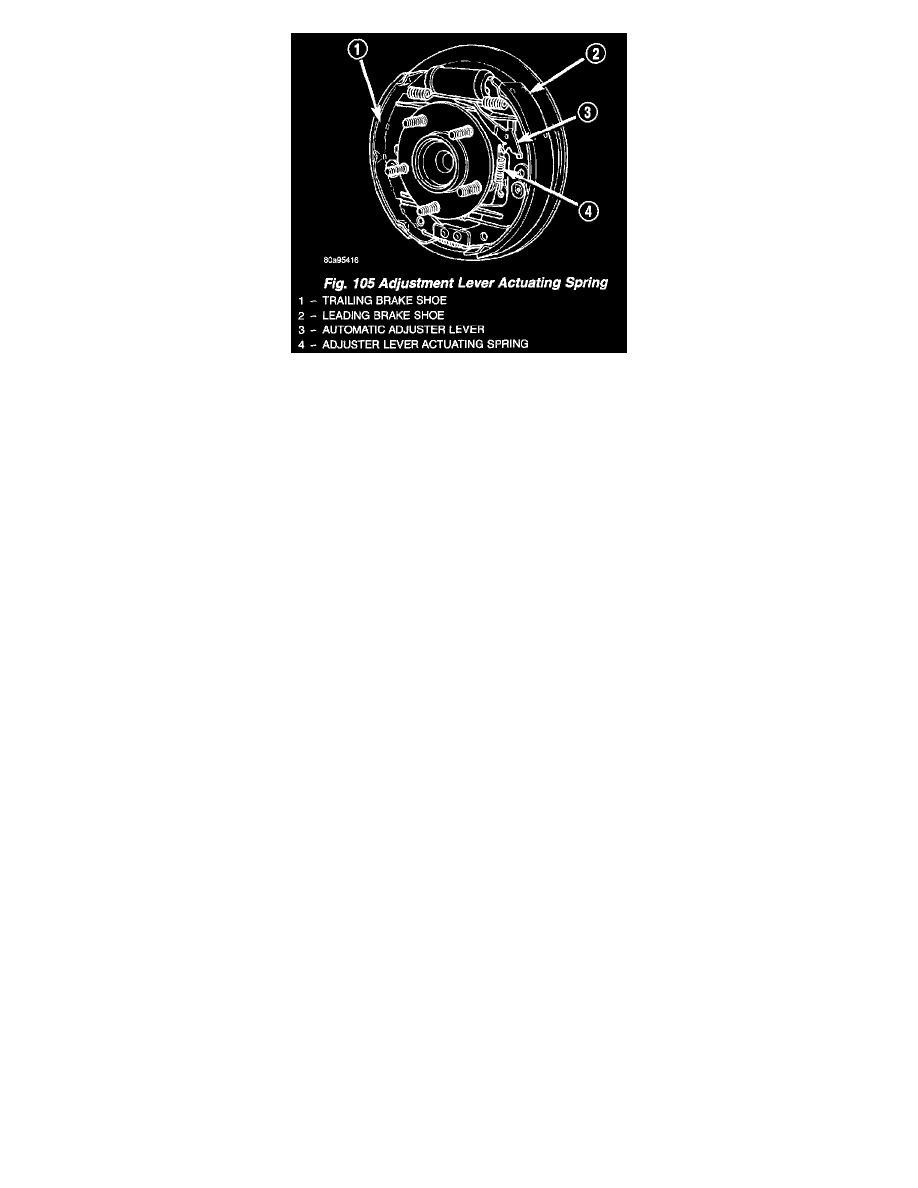
10. Install the actuating spring on the automatic adjustment lever and leading brake shoe assembly.
11. Verify that the automatic adjuster lever has positive contact with the star wheel on the automatic adjuster assembly.
12. When all components of both rear brake assemblies are correctly and fully installed, remove the locking pliers from the front park brake cable.
13. Adjust brake shoes assemblies so as not to interfere with brake drum installation.
14. Install the rear brake drums.
15. Adjust rear brake shoes.
16. Install the wheel and tire assembly.
17. Push the park brake pedal to the floor once and release pedal. This will automatically remove the slack from and correctly adjust the park brake
cables.
18. Tighten the wheel mounting stud nuts in proper sequence until all nuts are torqued to half specification. Then repeat the tightening sequence to the
full specified torque of 115-156 Nm (84-115 ft. lbs.).
19. Road test vehicle. The automatic adjuster will continue the brake adjustment during the road test of the vehicle.