
Voyager V6-229 3.8L (1996)
Front Door Handle: Service and Repair
REMOVAL
1. Remove front door trim panel and water shield as necessary to gain access to the outside door handle.
2. Roll door glass up.
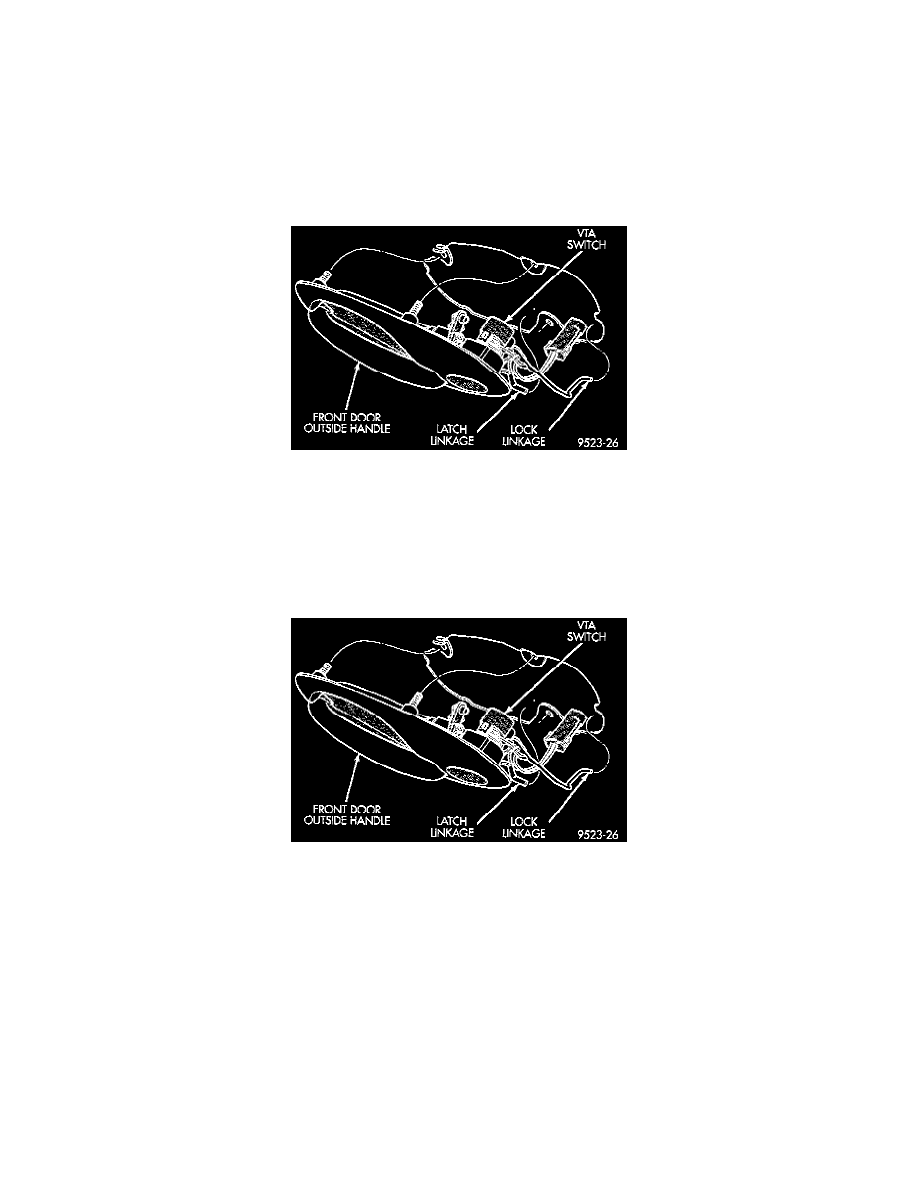
3. Through access hole at rear of inner door panel, if equipped, disengage vehicle theft alarm (VTA) switch connector from door harness.
4. Disengage push-in fasteners holding VTA switch harness to inner door reinforcement bar.
5. Disengage clip holding door latch linkage to door latch.
6. Separate latch linkage from latch.
7. Disengage clip holding door lock linkage to door latch.
8. Separate lock linkage from latch.
Front Door Outside Handle
9. Remove nuts holding outside door handle to door outer panel.
10. Separate outside door handle from vehicle.
INSTALLATION
If outside door handle replacement is necessary, transfer lock cylinder from the original handle to the new one.
1. Place outside door handle in position on vehicle.
Front Door Outside Handle
2. Install nuts to hold outside door handle to door outer panel.
3. Insert lock linkage into door latch.
4. Engage clip to hold door lock linkage to latch.
5. Insert latch linkage into door latch.
6. Engage clip to hold door latch linkage to latch.
7. Engage push-in fasteners to hold VTA switch harness to inner door reinforcement bar.
8. Engage VTA switch connector into door harness.
9. Verify door latch operation.
10. Install water shield and door trim panel.