
Voyager V6-229 3.8L (1996)
3.
Latch Removal and Replacement From the Quad Seat Base.
A.
Right Hand Seat
1.
Release the E-Z Entry latch to gain access to the floor latch.
2.
Remove the floor latch from the seat base, a slight tap with a rubber mallet may help.
3.
Position the new floor latch to the seat base so the bolt holes are aligned. A slight tap with a rubber mallet may help.
B.
Left Hand Seat
1.
Remove the rear plastic upholstery trim clip from the trim wire and open the cupholder.
2.
Push the floor latch assembly down and out of the slot in the seat base so it rests on the cupholder tracks. Carefully rotate the floor
latch assembly so the finger of the latch moves toward the center of the seat base. Remove the floor latch assembly from the seat base.
3.
Position the new floor latch assembly so it is aligned with the slot in the seat base. Rotate the floor latch assembly so the finger of the
latch moves upward toward the cupholder and into the slot in the seat base. Align the bolt holes of the floor latch with the bolt holes
of the seat base.
4.
Apply Mopar Lock N' Seal P/N 4318034 to the threads of the bolts that attach the floor latch to the seat base.
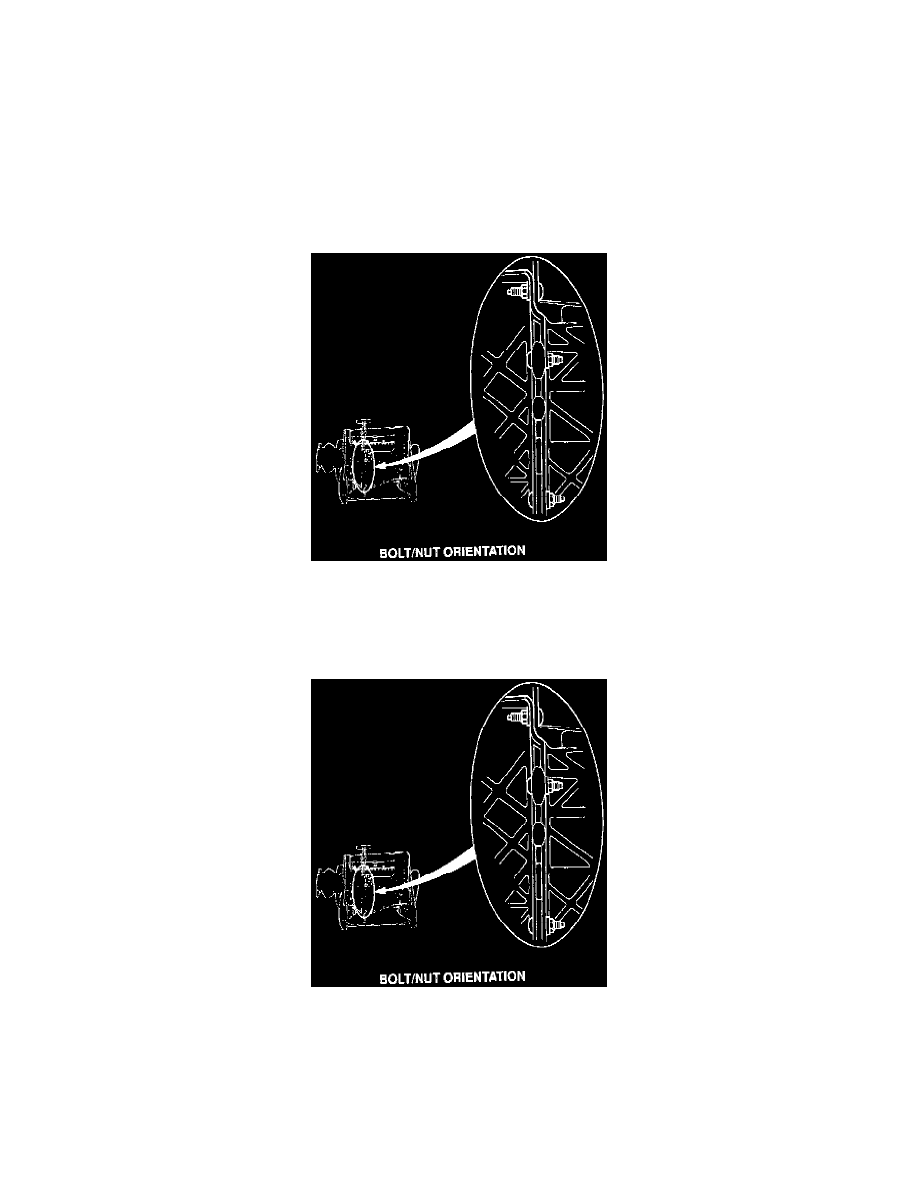
5.
Install the bolts through the floor latch and seat base holes as they were ORIGINALLY orientated and hand tighten the nuts.
6.
Torque the nuts and bolts to 30-50 ft. lbs. (41-68 Nm).
7.
Reinstall the seat(s) in the vehicle.
POLICY: Reimbursable within the provisions of the warranty.