
Voyager V6-229 3.8L (1996)
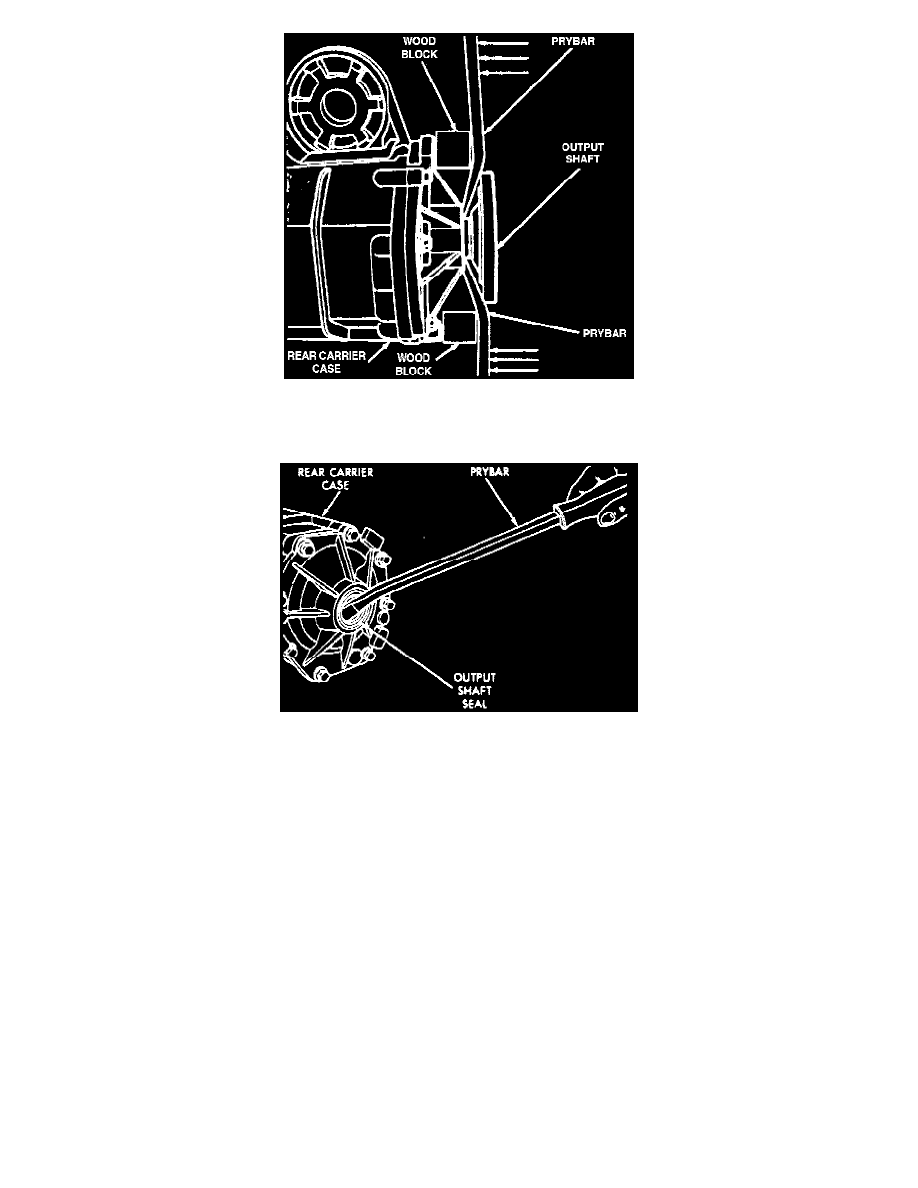
Fig. 9 Output Shaft Removal
4. Using two suitable prybars and wood blocks disconnect output shaft.
Fig. 10 Differential Carrier Seal Removal
5. Using a suitable prybar, remove seal. Ensure to not damage race.
6. Reverse procedure to install, noting the following:
a. Using seal installation tool No. MD998334, or equivalent, install oil seal.
b. Using suitable mallet, lightly tap output shaft to seat ring.
c. Tighten inner halfshaft attaching bolts and wheel lug nuts to specifications.
Overrunning Clutch Vacuum Motor
REMOVAL
1. Remove differential assembly as outlined under Differential/Service and Repair.
2. Cut vacuum line clamps, then disconnect.
3. Remove overrunning clutch cover attaching bolts, then remove cover.
4. Clamp assembly in suitable soft jawed vise.