
Voyager V6-3.3L VIN G Flex Fuel (2000)
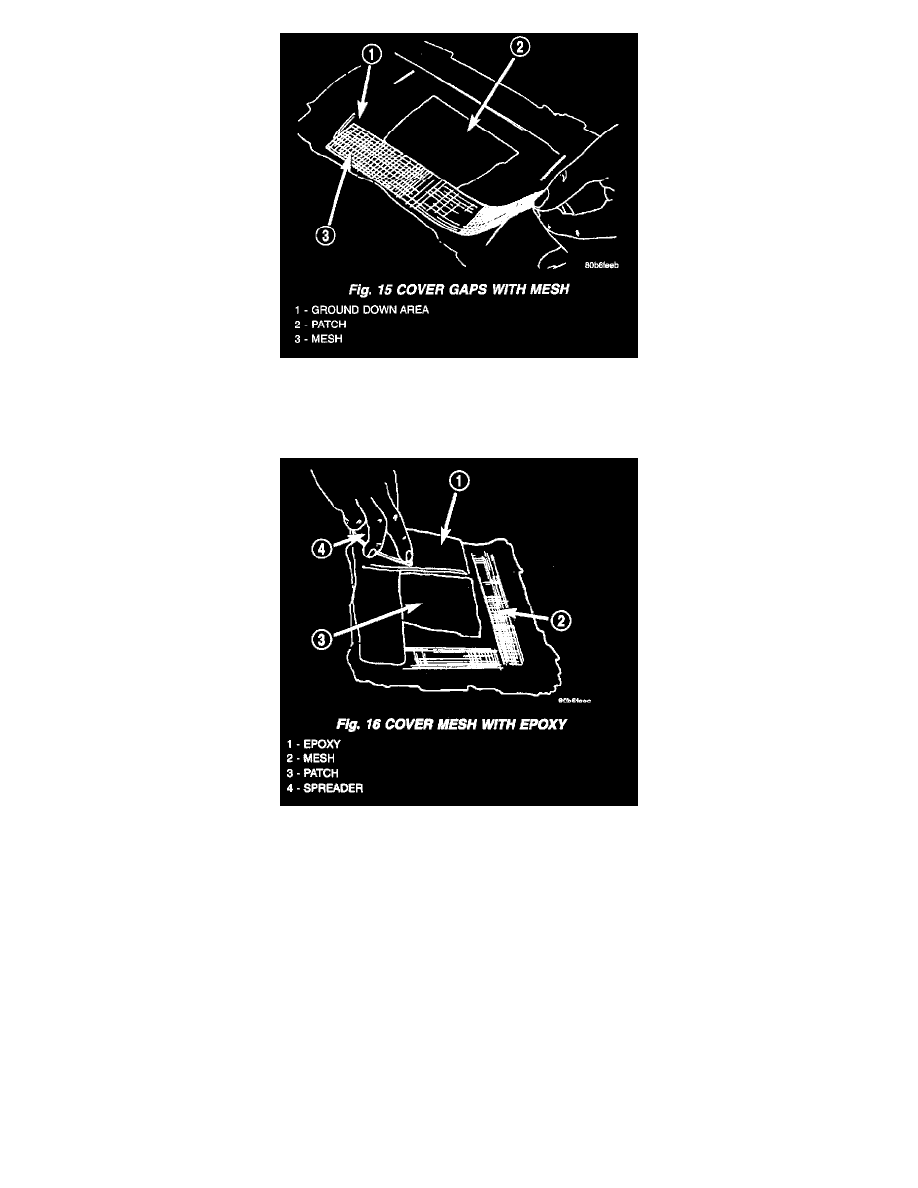
Fig. 15
17. Apply adhesive backed nylon mesh (dry wall tape) over gaps around patch (Fig. 15).
18. Mix enough epoxy to cover the entire patch area.
Fig. 16
19. Apply epoxy over the mesh around patch, and smooth epoxy with a wide spreader to reduce finish grinding. Use two to three layers of mesh and
epoxy to create a stronger repair (Fig. 16).
PATCHED PANEL SURFACING
After patch panel is installed, the patch area can be finished using the same methods as finishing other types of body panels. If mesh material is exposed
in the patched area, grind surface down, and apply a coat of high quality rigid plastic body filler. Prime, block sand, and paint as required.
STANDARD PROCEDURE - HEAT STAKING
1. Remove trim panel.
2. Bend or move the trim panel components at the heat staked joints. Observe the heat staked locations and/or component seams for looseness.
3. Heat stake the components.
a. If the heat staked or component seam location is loose, hold the two components tightly together and using a soldering gun with a flat tip, melt
the material securing the components together. Do not over heat the affected area, damage to the exterior of the trim panel may occur.
b. If the heat staked material is broken or missing, use a hot glue gun to apply new material to the area to be repaired. The panels that are being
heat staked must be held together while the applying the glue. Once the new material is in place, it may be necessary to use a soldering gun to