Voyager V6-3.3L VIN G Flex Fuel (2000)

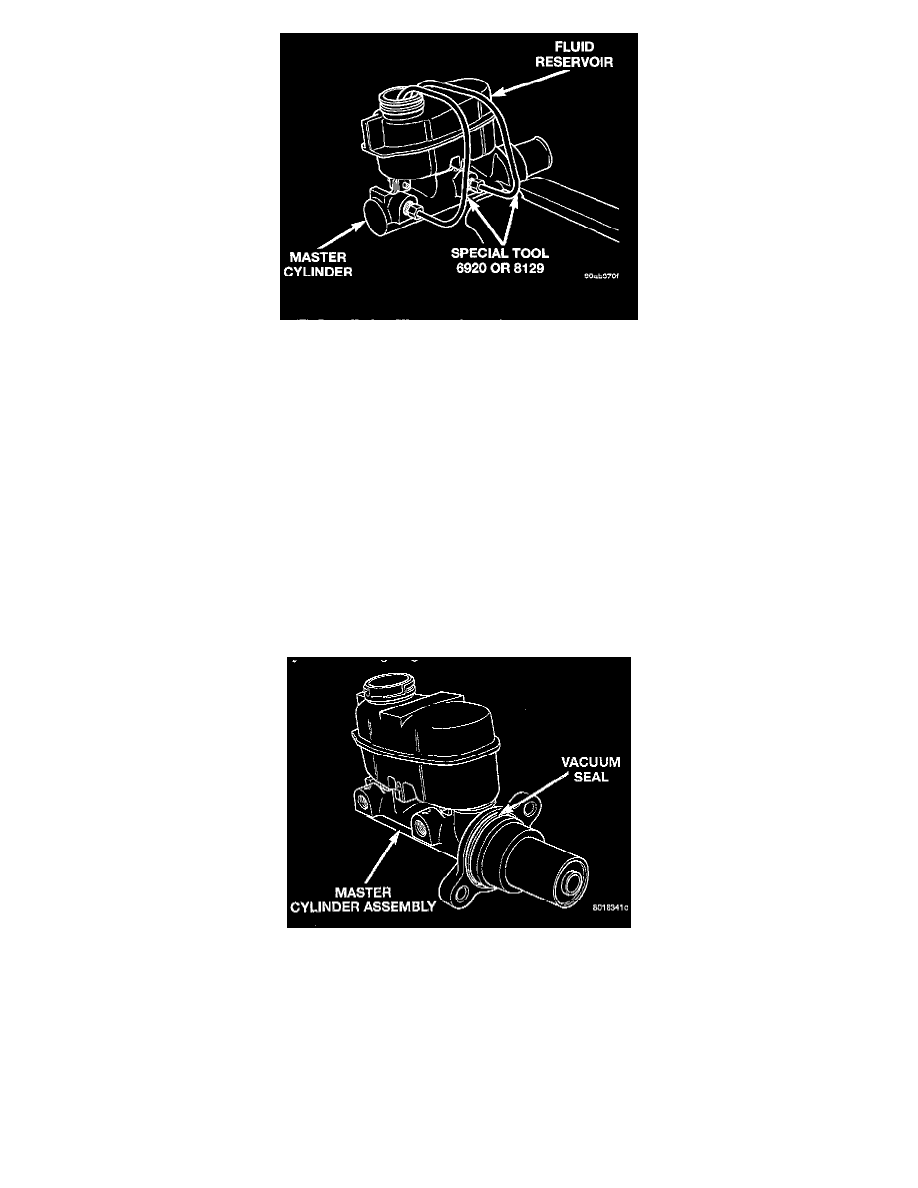
Bleed Tubes Installed On Master Cylinder
2. Install the Bleeding Tubes, Special Tool 6920 for a non traction control master cylinder or Special Tool 8129 for a traction control master cylinder
on the master cylinder. Position bleeding tubes so the outlets of bleeding tubes will be below surface of brake fluid when reservoir is filled to its
proper level.
3. Fill brake fluid reservoir with brake fluid conforming to DOT 3 specifications such as Mopar or an Equivalent.
4. Using a wooden dowel, depress push rod slowly, and then allow pistons to return to released position. Repeat several times until all air bubbles are
expelled from master cylinder.
5. Remove bleeding tubes from master cylinder outlet ports, and then plug outlet ports and install fill cap on reservoir.
6. Remove master cylinder from vise.
NOTE: It is not necessary to bleed the ABS Hydraulic Control Unit (HCU) after replacing the master cylinder. But, the base brake hydraulic
system must be bled to ensure no air is entered the hydraulic system when the master cylinder was removed.
INSTALL
CAUTION: When replacing the master cylinder on a vehicle, a NEW vacuum seal MUST be installed on the master cylinder. Use only procedure
detailed below for installing the vacuum seal onto the master cylinder.
Vacuum Seal Installed On Master Cylinder
1. Install a NEW vacuum seal on master cylinder making sure seal sits squarely in groove of master cylinder casting.
2. Position master cylinder on studs of power brake unit, aligning push rod on power brake vacuum booster with master cylinder push rod.
3. Install the 2 master cylinder to power brake unit mounting nuts. Then tighten both mounting nuts to a torque of 25 Nm (225 inch lbs.).
CAUTION: When installing the primary and secondary brake tubes an master cylinder, be sure brake tubes do not contact any other components
within the vehicle and that there is slack in the flexible sections of the tubes. This is required due to the movement between the ABS Hydraulic
Control Module (HCU) and the master cylinder, when the vehicle is in motion.
4. Connect the primary and secondary brake tubes to master cylinder primary and secondary ports. Brake tubes must be held securely when tightened
to control orientation of flex section. Then fully tighten the tube nuts to a torque of 17 Nm (145 inch lbs.).
