
Voyager V6-3.3L VIN G Flex Fuel (2000)
14. Remove bolts fastening crossover pipe to front exhaust manifold and nuts fastening manifold to cylinder head. Remove assemblies.
15. Inspect and clean manifold. Refer to Cleaning and Inspection for procedures.
INSTALLATION
1. Install rear exhaust manifold and tighten attaching bolts to 23 Nm (200 inch lbs.).
2. Install generator.
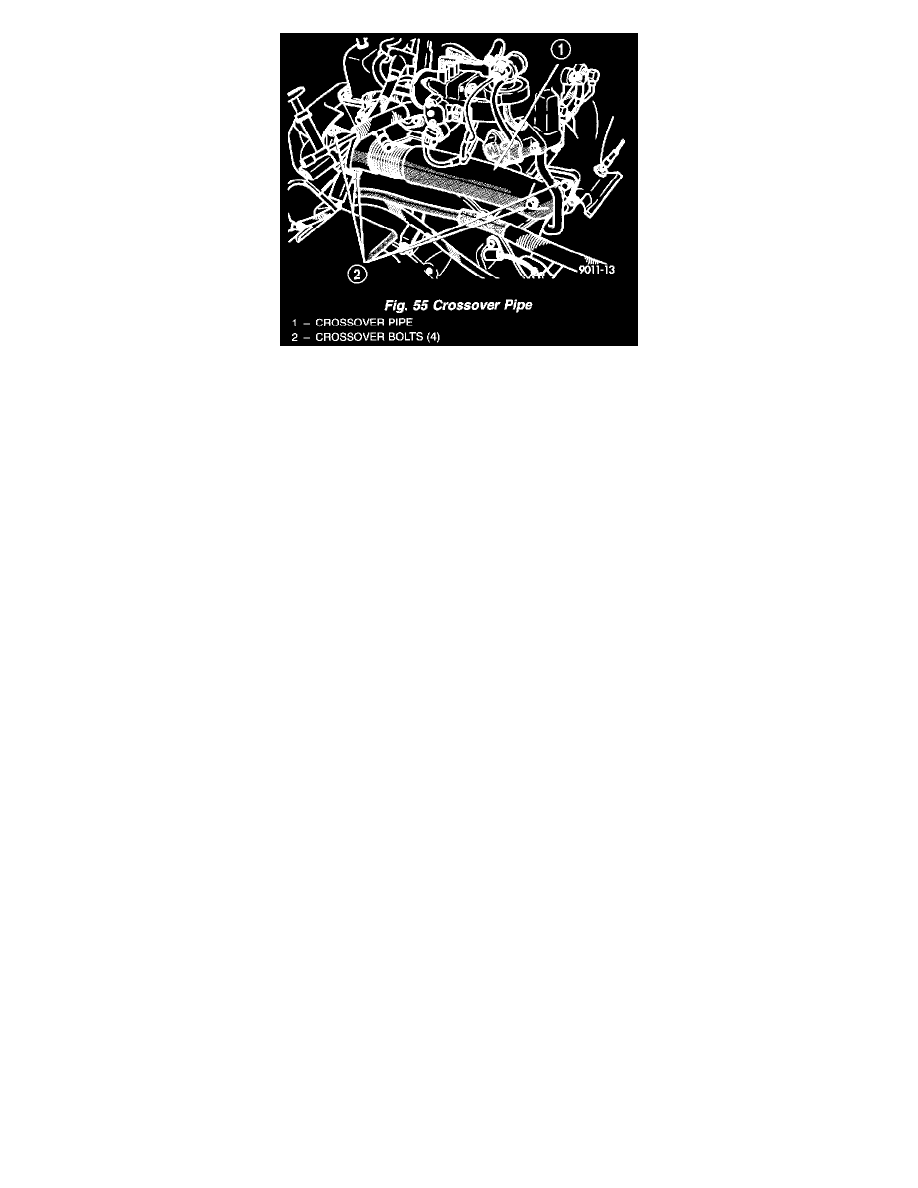
NOTE: Inspect crossover pipe fasteners for damage from heat and corrosion. Replace if necessary.
3. Using new gasket, attach crossover pipe to exhaust manifold and tighten bolts to 54 Nm (40 ft. lbs.).
4. Connect oxygen sensor lead.
5. Install EGR Tube and Generator/Power Steering Strut.
6. Install front exhaust manifold and tighten attaching bolts to 23 Nm (200 inch lbs.).
NOTE: If dipstick tube was disturbed, the tube to block seal may be damaged. To reseal the dipstick tube, remove the tube, clean, and reseal
using Mopar Stud & Bearing Mount Adhesive.
7. Attach exhaust crossover with a new gasket and tighten fasteners to 54 Nm (40 ft. lbs.) .
8. Connect up stream oxygen sensor connector.
9. Install exhaust system.
10. Attach exhaust pipe to exhaust manifold using new gasket and tighten bolts to 28 Nm (250 inch lbs.).
11. Connect downstream oxygen sensor connector.
12. Install front manifold heat shield and tighten attaching screws to 12 Nm (105 inch lbs.).
13. Install accessory drive belt.
14. Connect battery negative cable.