
Voyager V6-3.3L VIN R (1999)
Parking Brake Pedal: Service and Repair
REMOVAL
1. Manually release the automatic self-adjusting mechanism tension of the parking brake lever (pedal) assembly.
2. Disconnect negative (ground) cable from the battery and isolate cable from battery terminal.
3. Remove sill scuff plate from left door sill.
4. Remove the left side kick panel.
5. Remove the steering column cover from the lower instrument panel.
6. Remove the reinforcement from the lower instrument panel.
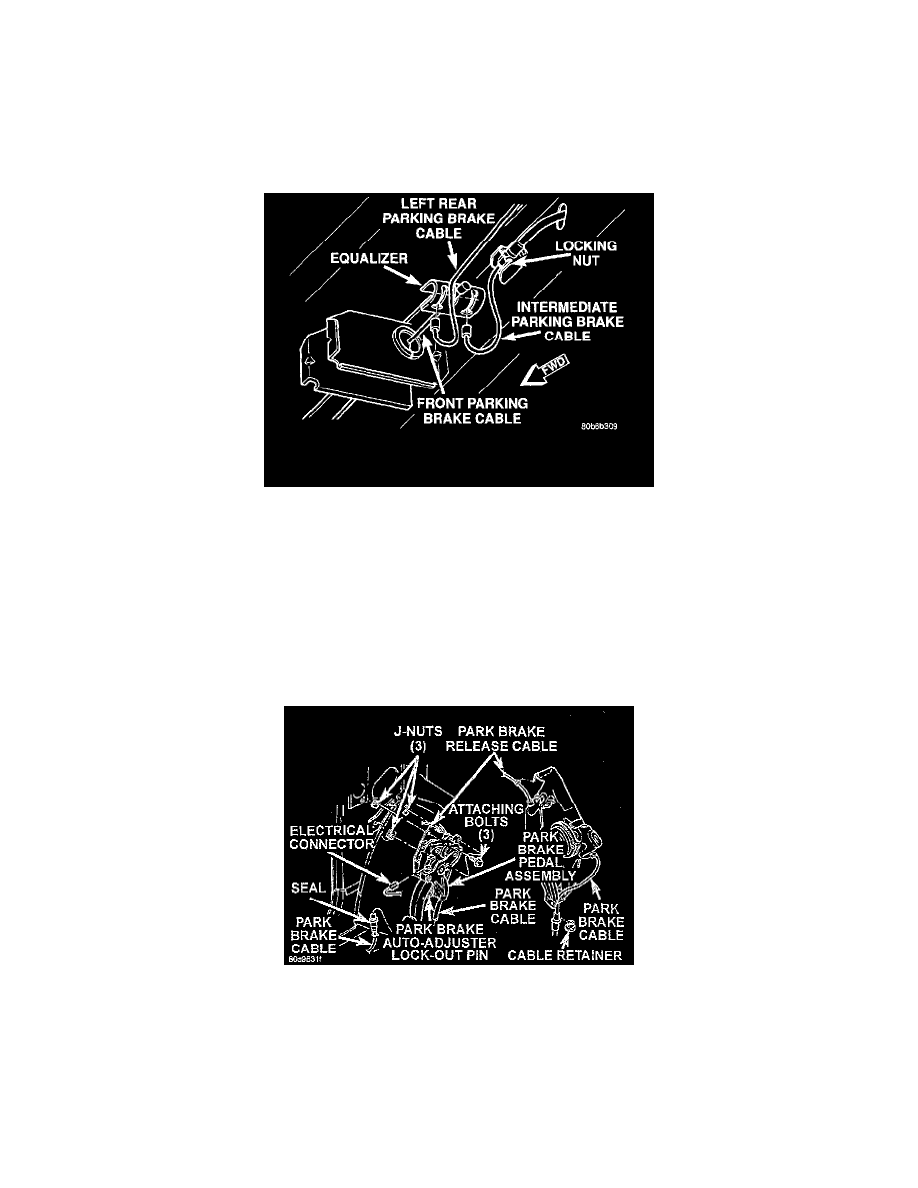
Parking Brake Cable Attachment To Equalizer
7. Remove the front parking brake cable from the parking brake cable equalizer.
8. Remove tension from front park brake cable. Tension is removed by releasing the locking pliers from the front park brake cable.
9. Remove the 3 bolts mounting the wiring junction block to the instrument panel.
NOTE: When removing the lower mounting bolt, push the park brake pedal down 5 clicks to access the lower mounting bolt.
10. Remove the lower bolt mounting the park brake pedal to the body.
11. Remove the forward bolt mounting the park brake pedal to the body.
12. Remove the upper bolt mounting the park brake pedal to the body.
Park Brake Pedal Mounting
13. Disconnect the electrical connector for the brake light switch.
14. Pull downward on front park brake cable while rotating park brake pedal mechanism out from behind junction block.
15. Remove park brake pedal release cable from park brake mechanism.
16. Remove the ground switch for the red brake warning lamp from the park brake pedal mechanism.
17. Remove front park brake cable button from park brake pedal mechanism. Tap end housing of front park brake cable out of park brake pedal
mechanism.