
Voyager AWD V6-201 3.3L (1992)
8. Remove bolts holding outboard seat belt anchor to floor.
9. Remove seat belt retractor covers.
10. Remove screw holding coat hook to quarter panel.
11. Remove screws holding upper quarter trim panel to inner quarter panel.
12. Separate upper quarter trim panel from vehicle.
13. Reverse the preceding operation for installation.
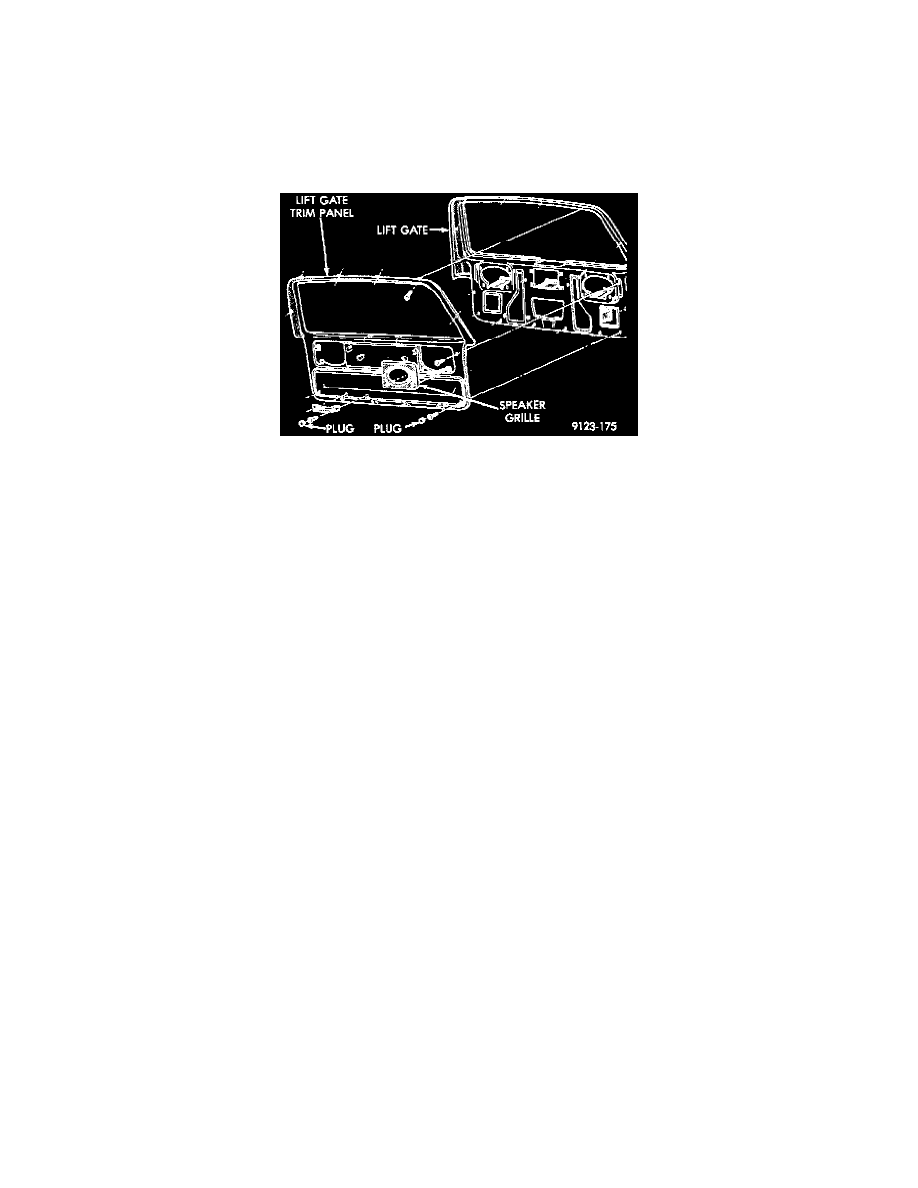
Lift Gate Trim Panel
Lift Gate Trim Panel
REMOVAL
1. Raise lift gate and remove courtesy lamp lenses.
2. Remove courtesy lamp assemblies. Insert courtesy lamps through openings in the trim panel into lift gate, if equipped.
3. Remove speaker grilles, if equipped.
4. Remove plugs at the ends of the assist handle, and remove screws. Separate handle from trim panel, if equipped.
5. Remove push-in fasteners from above the rear window.
6. Remove two trim plugs at lower corners of trim panel and remove screws.
7. Disengage frog-leg fasteners around perimeter of trim panel. Separate trim panel from lift gate.
INSTALLATION
1. Position trim panel under lift gate between the prop-rod cylinders. Insert courtesy lamp assemblies through trim cover openings.
2. Position frog-leg fasteners below holes in lift gate, one at a time, push (do not pound) fasteners into locked position.
3. Install assist handle, courtesy lamps, outer corner attaching screws, speaker grilles and push-in fasteners above rear window.
Right B-Pillar Trim Cover