
Aztek V6-3.4L VIN E (2001)
Trunk / Liftgate Interior Trim Panel: Service and Repair
Liftgate Trim Panel Replacement
Removal Procedure
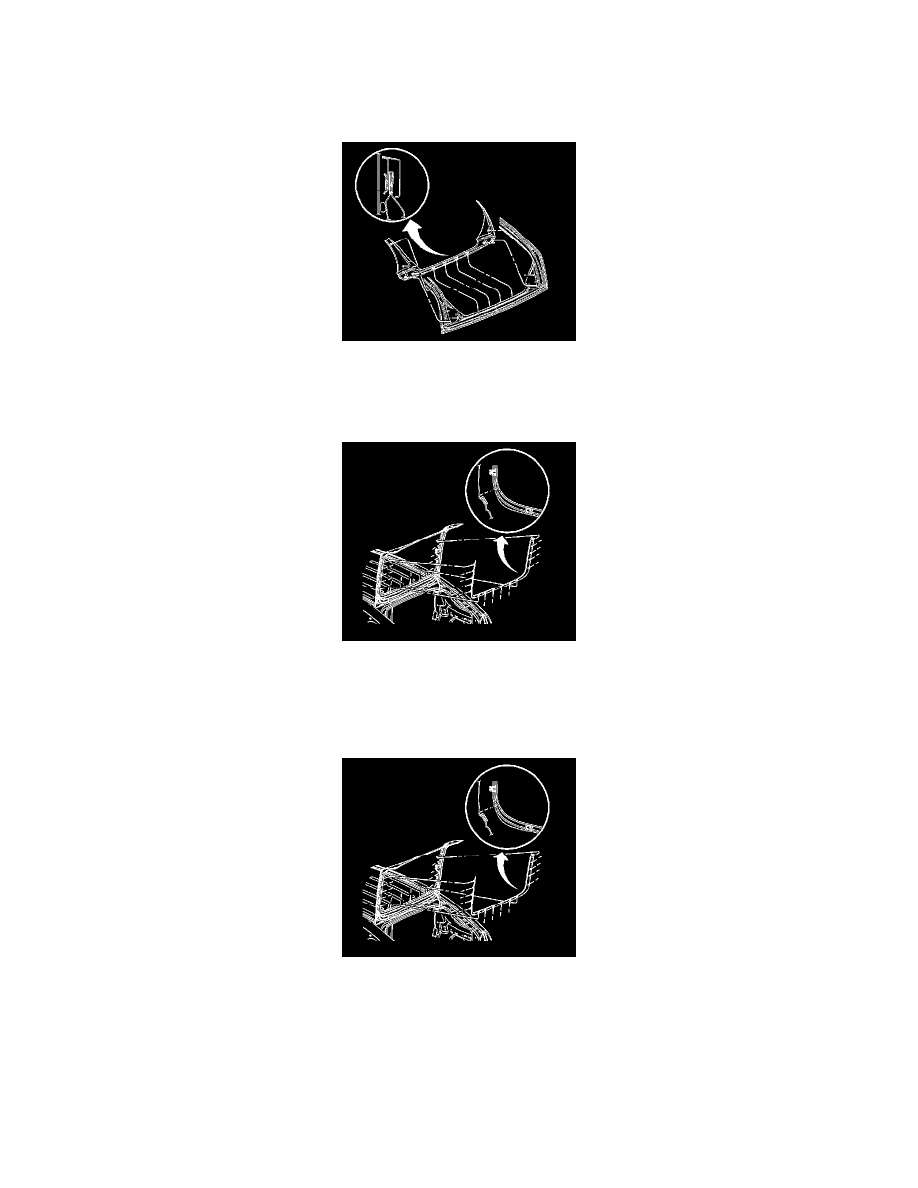
1. Open the liftgate.
2. Remove the lower liftgate trim panel sides by pulling the left and right sides from the liftgate frame.
3. Remove the lower liftgate trim panel from the pinch-weld flange by pulling up from the pinch-weld flange.
4. Remove the lower liftgate trim panel from the vehicle.
5. Remove the upper liftgate trim panel sides by pulling the left and right sides from the liftgate frame.
6. Remove the upper liftgate trim panel from the pinch-weld flange by pulling up from the pinch-weld flange.
7. Remove the upper liftgate trim panel from the vehicle.
Installation Procedure
1. Install the upper liftgate trim panel to the liftgate by pressing down until fully seated.
2. Position the defogger harness to the cutout in the upper trim panel.
3. Install the right and the left side upper trim panel by pressing in until seated.