
Aztek V6-3.4L VIN E (2001)
3. Install the bolts to the rear quarter lower trim panel at the cargo tie down locations.
Tighten the rear quarter lower trim panel bolts to 6 Nm (53 lb in).
4. Install the rear seat belt. Refer to Rear Seat Belt Retractor Replacement in Seat Belts.
5. Install the endgate sill plate. Refer to Rear Floor Rear Trim Plate Replacement (See: Rear Floor Rear Trim Plate Replacement).
Quarter Upper Trim Panel Replacement
Quarter Upper Trim Panel Replacement
Removal Procedure
1. For the Aztek, remove the rear roof garnish molding. Refer to Rear Upper Garnish Molding Replacement (See: Rear Upper Garnish Molding
Replacement).
2. Remove the rear seat belt guide loop from the rear upper quarter trim panel. Refer to Rear Seat Belt Retractor Replacement in Seat Belts.
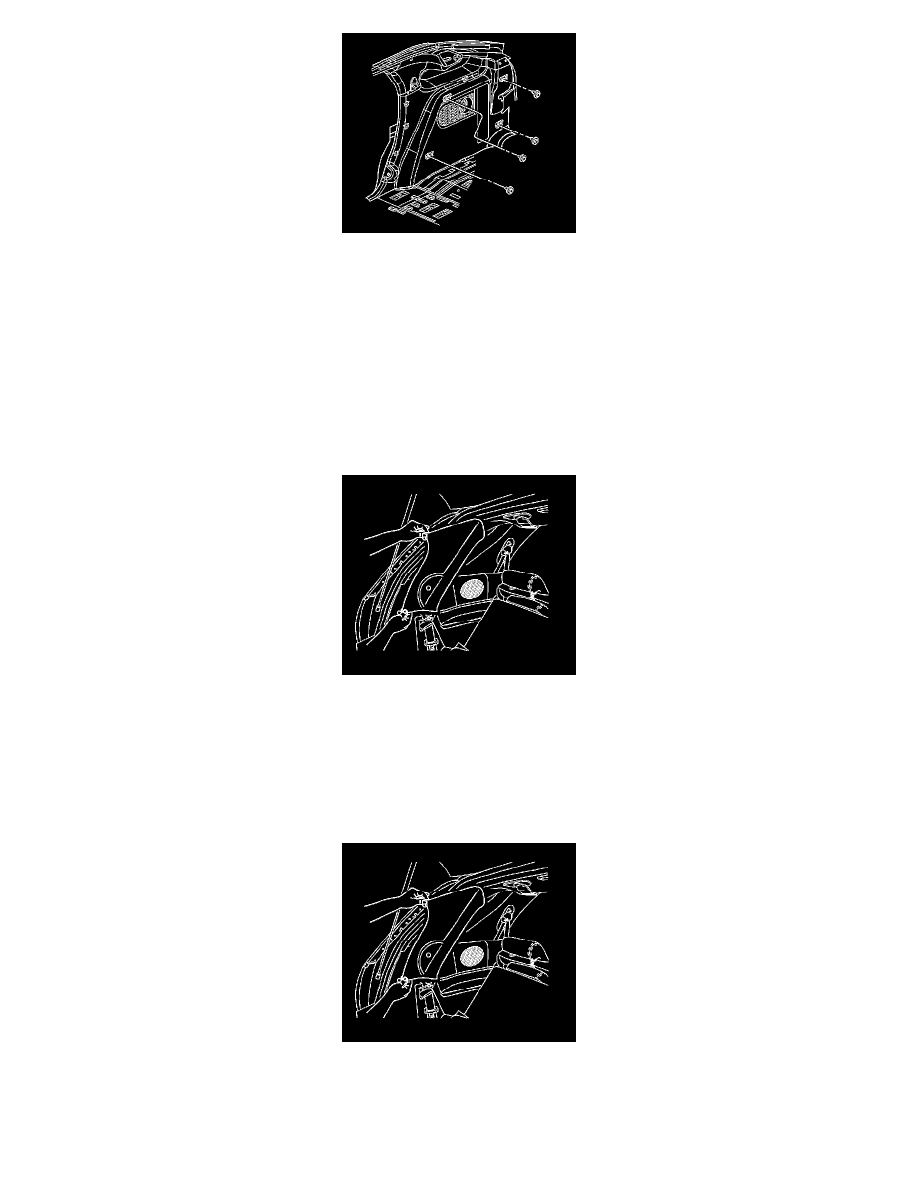
3. Remove the bolt from the rear upper quarter trim panel.
4. Remove the trim panel from the rear quarter inner panel, by pulling the panel to release the push-in retainers.
5. Remove the trim panel from the vehicle.
Installation Procedure
1. Align the push-in retainers on the rear quarter upper trim panel to the rear quarter inner panel.
2. Install the push-in retainers, applying pressure to secure at all of the retainers locations.
Notice: Refer to Fastener Notice in Cautions and Notices.