
Aztek V6-3.4L VIN E (2001)
Notice: Refer to Fastener Notice in Service Precautions.
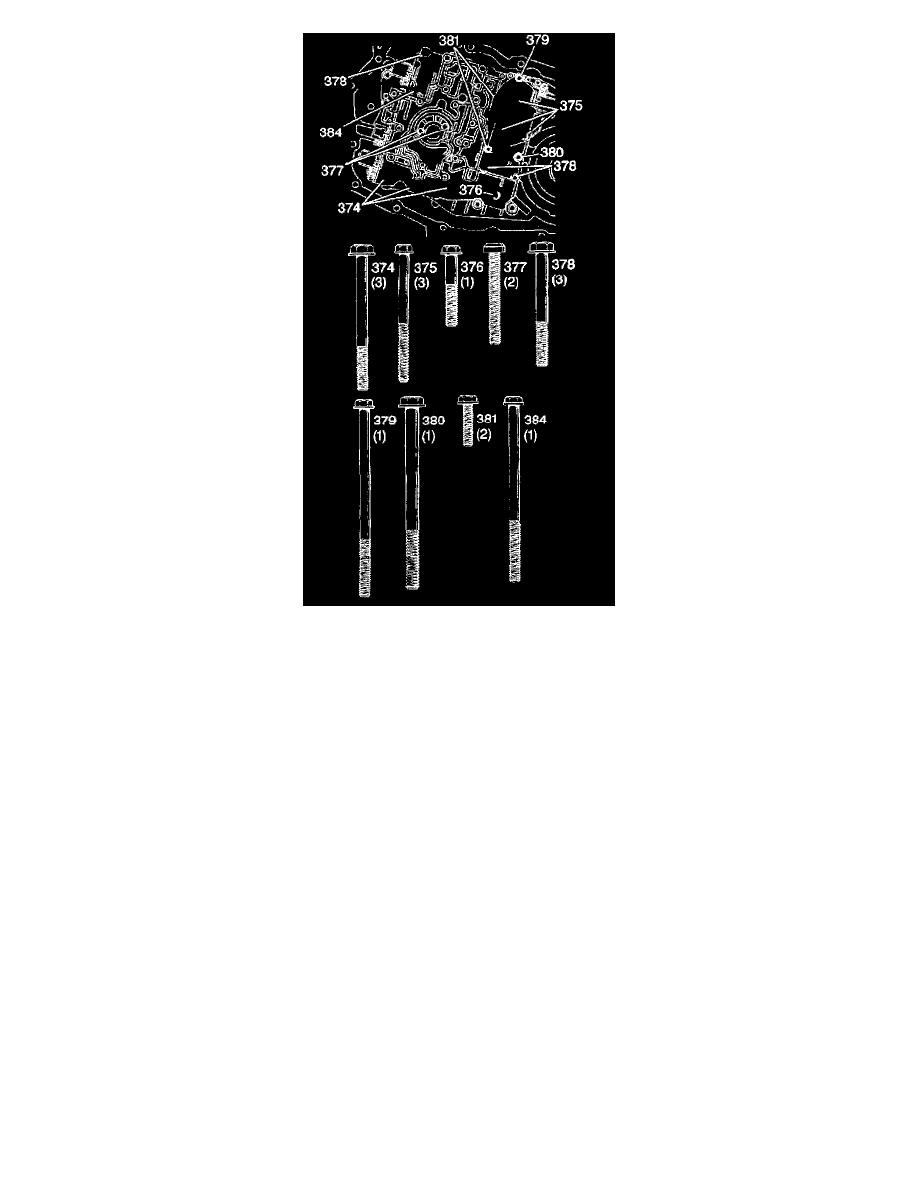
5. Install the valve body bolts (374,381, 384).
^
Tighten the M6 X 1.0 X 20 bolt to 8 Nm (70 inch lbs.).
^
Tighten the M6 X 1.0 X 30 bolt to 12 Nm (106 ft. lbs.).
^
Tighten the M6 X 1.0 X 45 bolt to 12 Nm (106 inch lbs.).
^
Tighten the M6 X 1.0 X 55 bolt to 12 Nm (106 inch lbs.).
^
Tighten the M6 X 1.0 X 60 bolt to 12 Nm (106 inch lbs.).
^
Tighten the M6 X 1.0 X 65 bolt to 12 Nm (106 inch lbs.).
^
Tighten the M6 X 1.0 X 85 bolt to 12 Nm (106 inch lbs.).
^
Tighten the M6 X 1.0 X 95 bolt to 16 Nm (12 ft. lbs.).
^
Tighten the M8 X 1.25 X 90 bolt to 25 Nm (18 ft. lbs.).
Important: Do NOT use impact type tools on the valve body or on the oil pump.
6. Install the oil pump.
7. Install the case side cover.