
Bonneville V6-231 3.8L VIN 3 SFI (1988)
Removing Reservoir
CAUTION:Do not clamp across master cylinder body.
8. Clamp flange on master cylinder body in vise.
CAUTION:Do not attempt to remove quick take-up valve from the body. The valve is not serviceable separately.
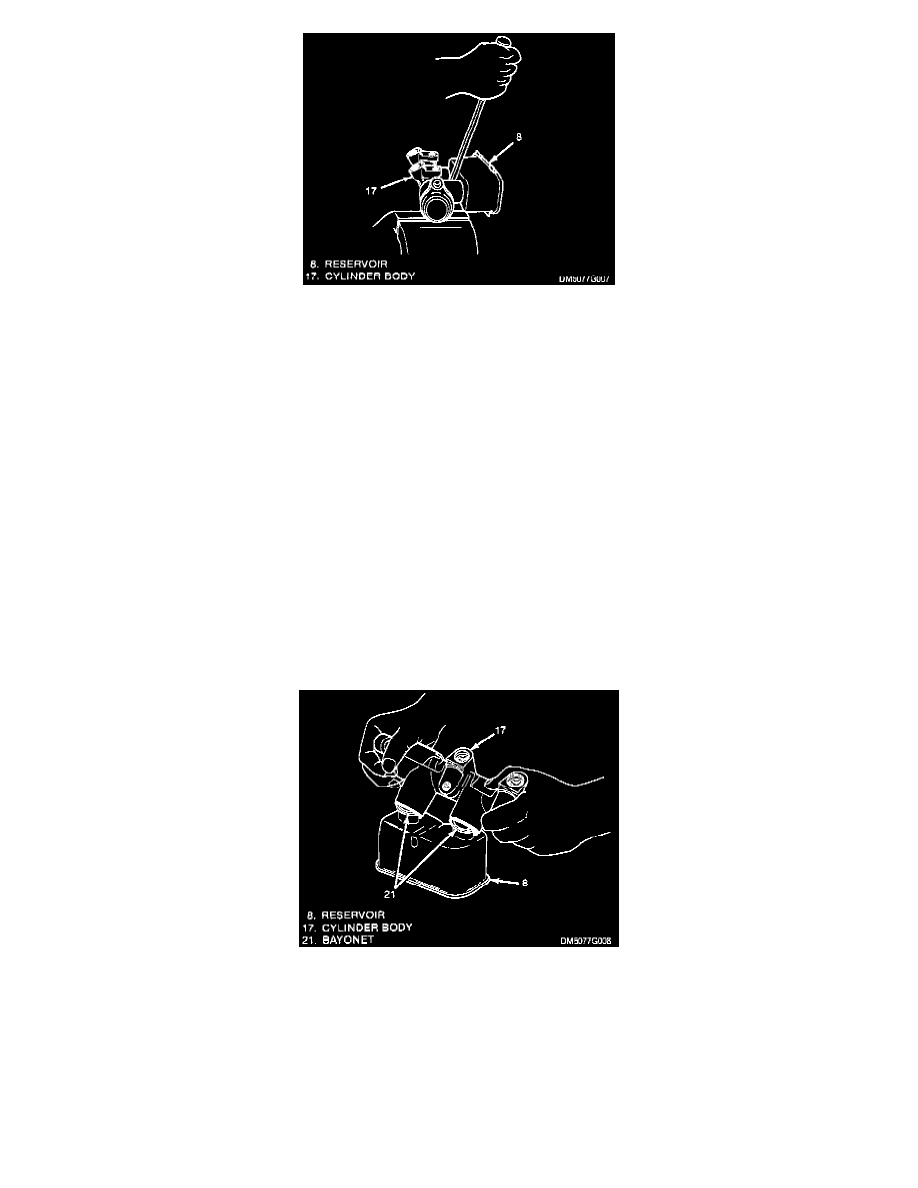
9. Remove reservoir using a pry bar.
NOTE: Use wooden block between cylinder body and reservoir if necessary, to provide better pry bar leverage.
10. Remove reservoir grommets.
11. Inspect master cylinder bore for corrosion.
NOTE: Do not use abrasive material on master cylinder bore. Replace if bore is corroded.
Assembly
NOTE: Clean all parts not included in repair kit with denatured alcohol then dry with compressed air.
1. Lubricate new reservoir grommets, then install into reservoir grooves. Ensure grommets are properly seated.
Installing Reservoir
2. Thoroughly lubricate reservoir bayonets with clean brake fluid.
3. Install reservoir onto master cylinder body using rocking motion.
4. Install new lubricated seals and spring retainer on secondary piston.
5. Install spring and secondary piston assembly into cylinder.
6. Install lubricated primary piston. Depress primary piston into cylinder, then install retainer.
7. Install fluid level sensor switch and proportioners.
Fluid Level Sensor Switch
- Install fluid level sensor switch until locking tabs snap in place.