
Bonneville V6-231 3.8L VIN 3 SFI (1988)
Control Arm: Service and Repair
Front Suspension
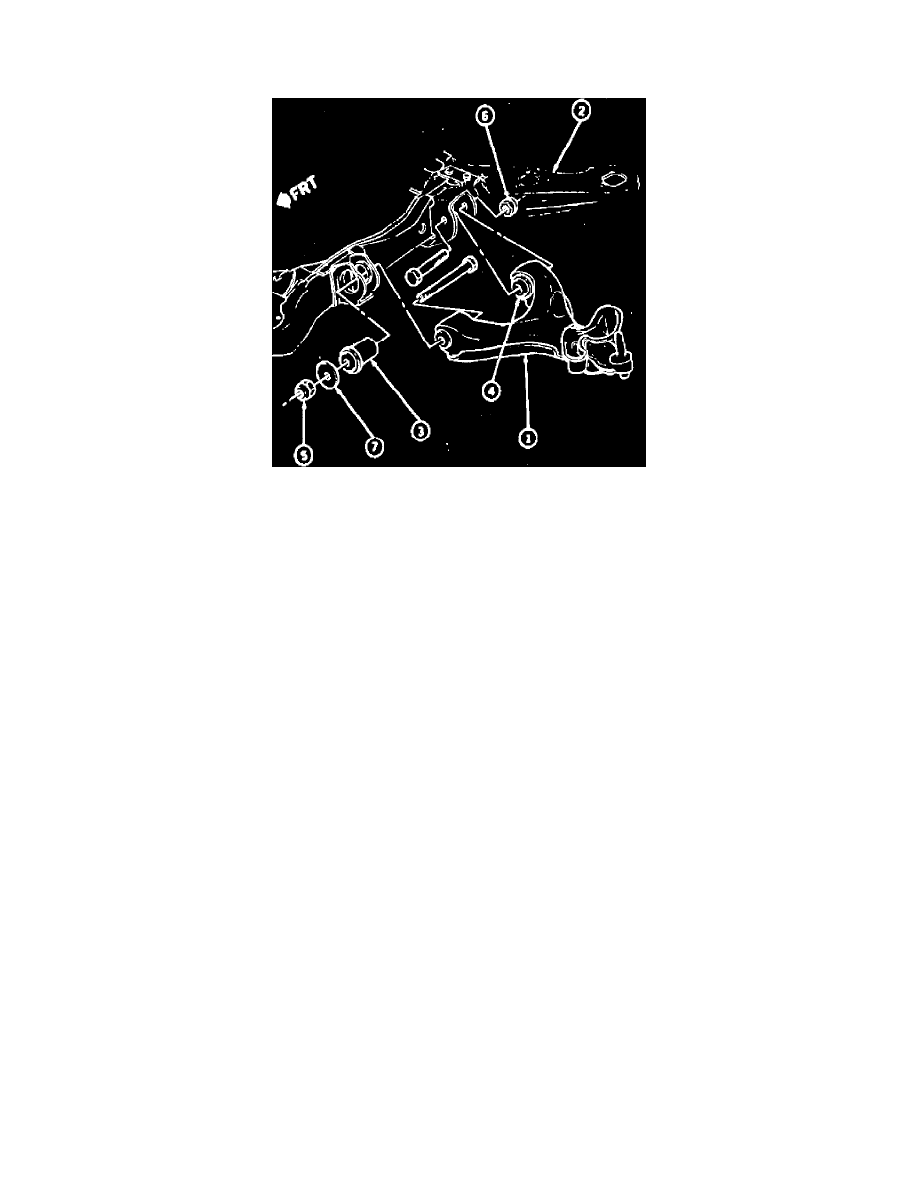
Fig. 6 Control arm assembly
1.
Raise and support vehicle and place jackstands under cradle. Vehicle weight should not be placed on the control arms.
2.
Remove wheel assembly.
3.
Install drive axle boot protectors.
4.
Remove cotter key from ball joint nut and, using tool J-34505, separate ball joint from steering knuckle.
5.
Remove stabilizer bar bushing to control arm bolt.
6.
Remove control arm mounting bolts and the control arm, Fig. 6.
7.
Reverse procedure to install. When installing control arms, install but do not torque control arm mounting bolts. Sufficiently tighten bolts to assure
security but final torque is applied when vehicle weight is supported by control arms. Torque rear arm bolt to 90 ft. lbs. and front bolt to 140 ft.
lbs.